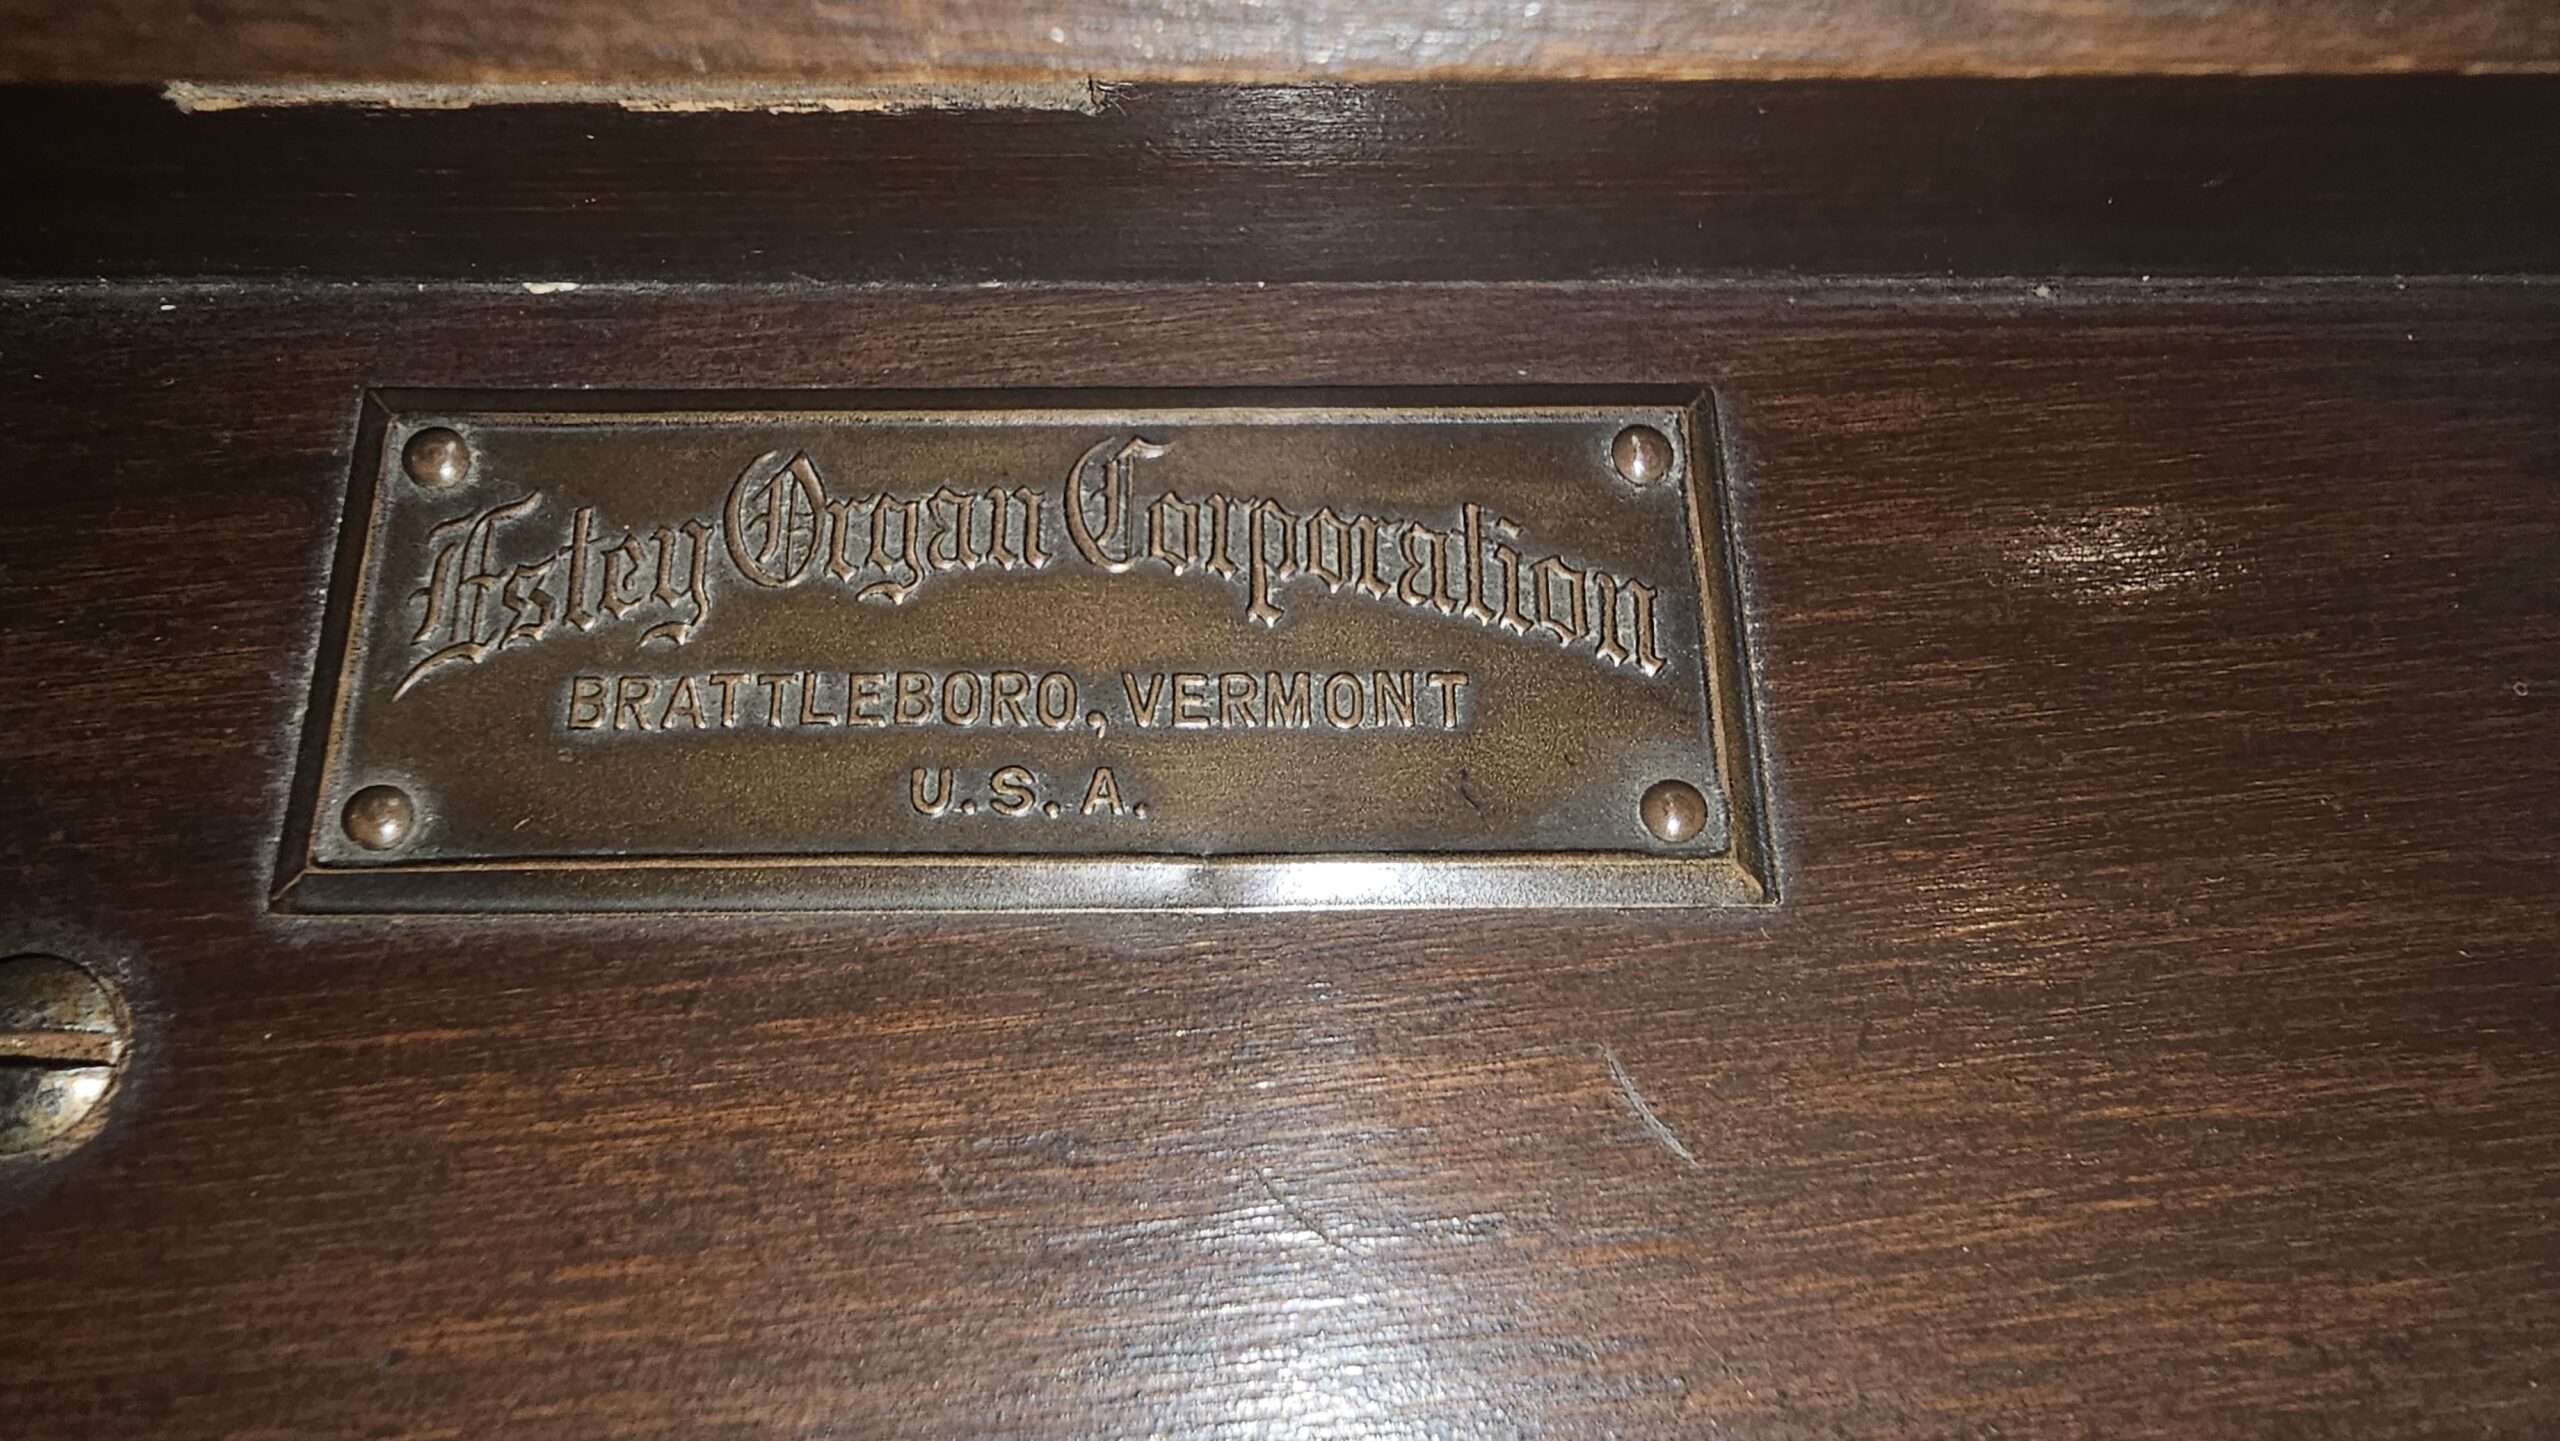
Matches Pedal Operated Junior Organ in 1939 catalog
Prev
Next
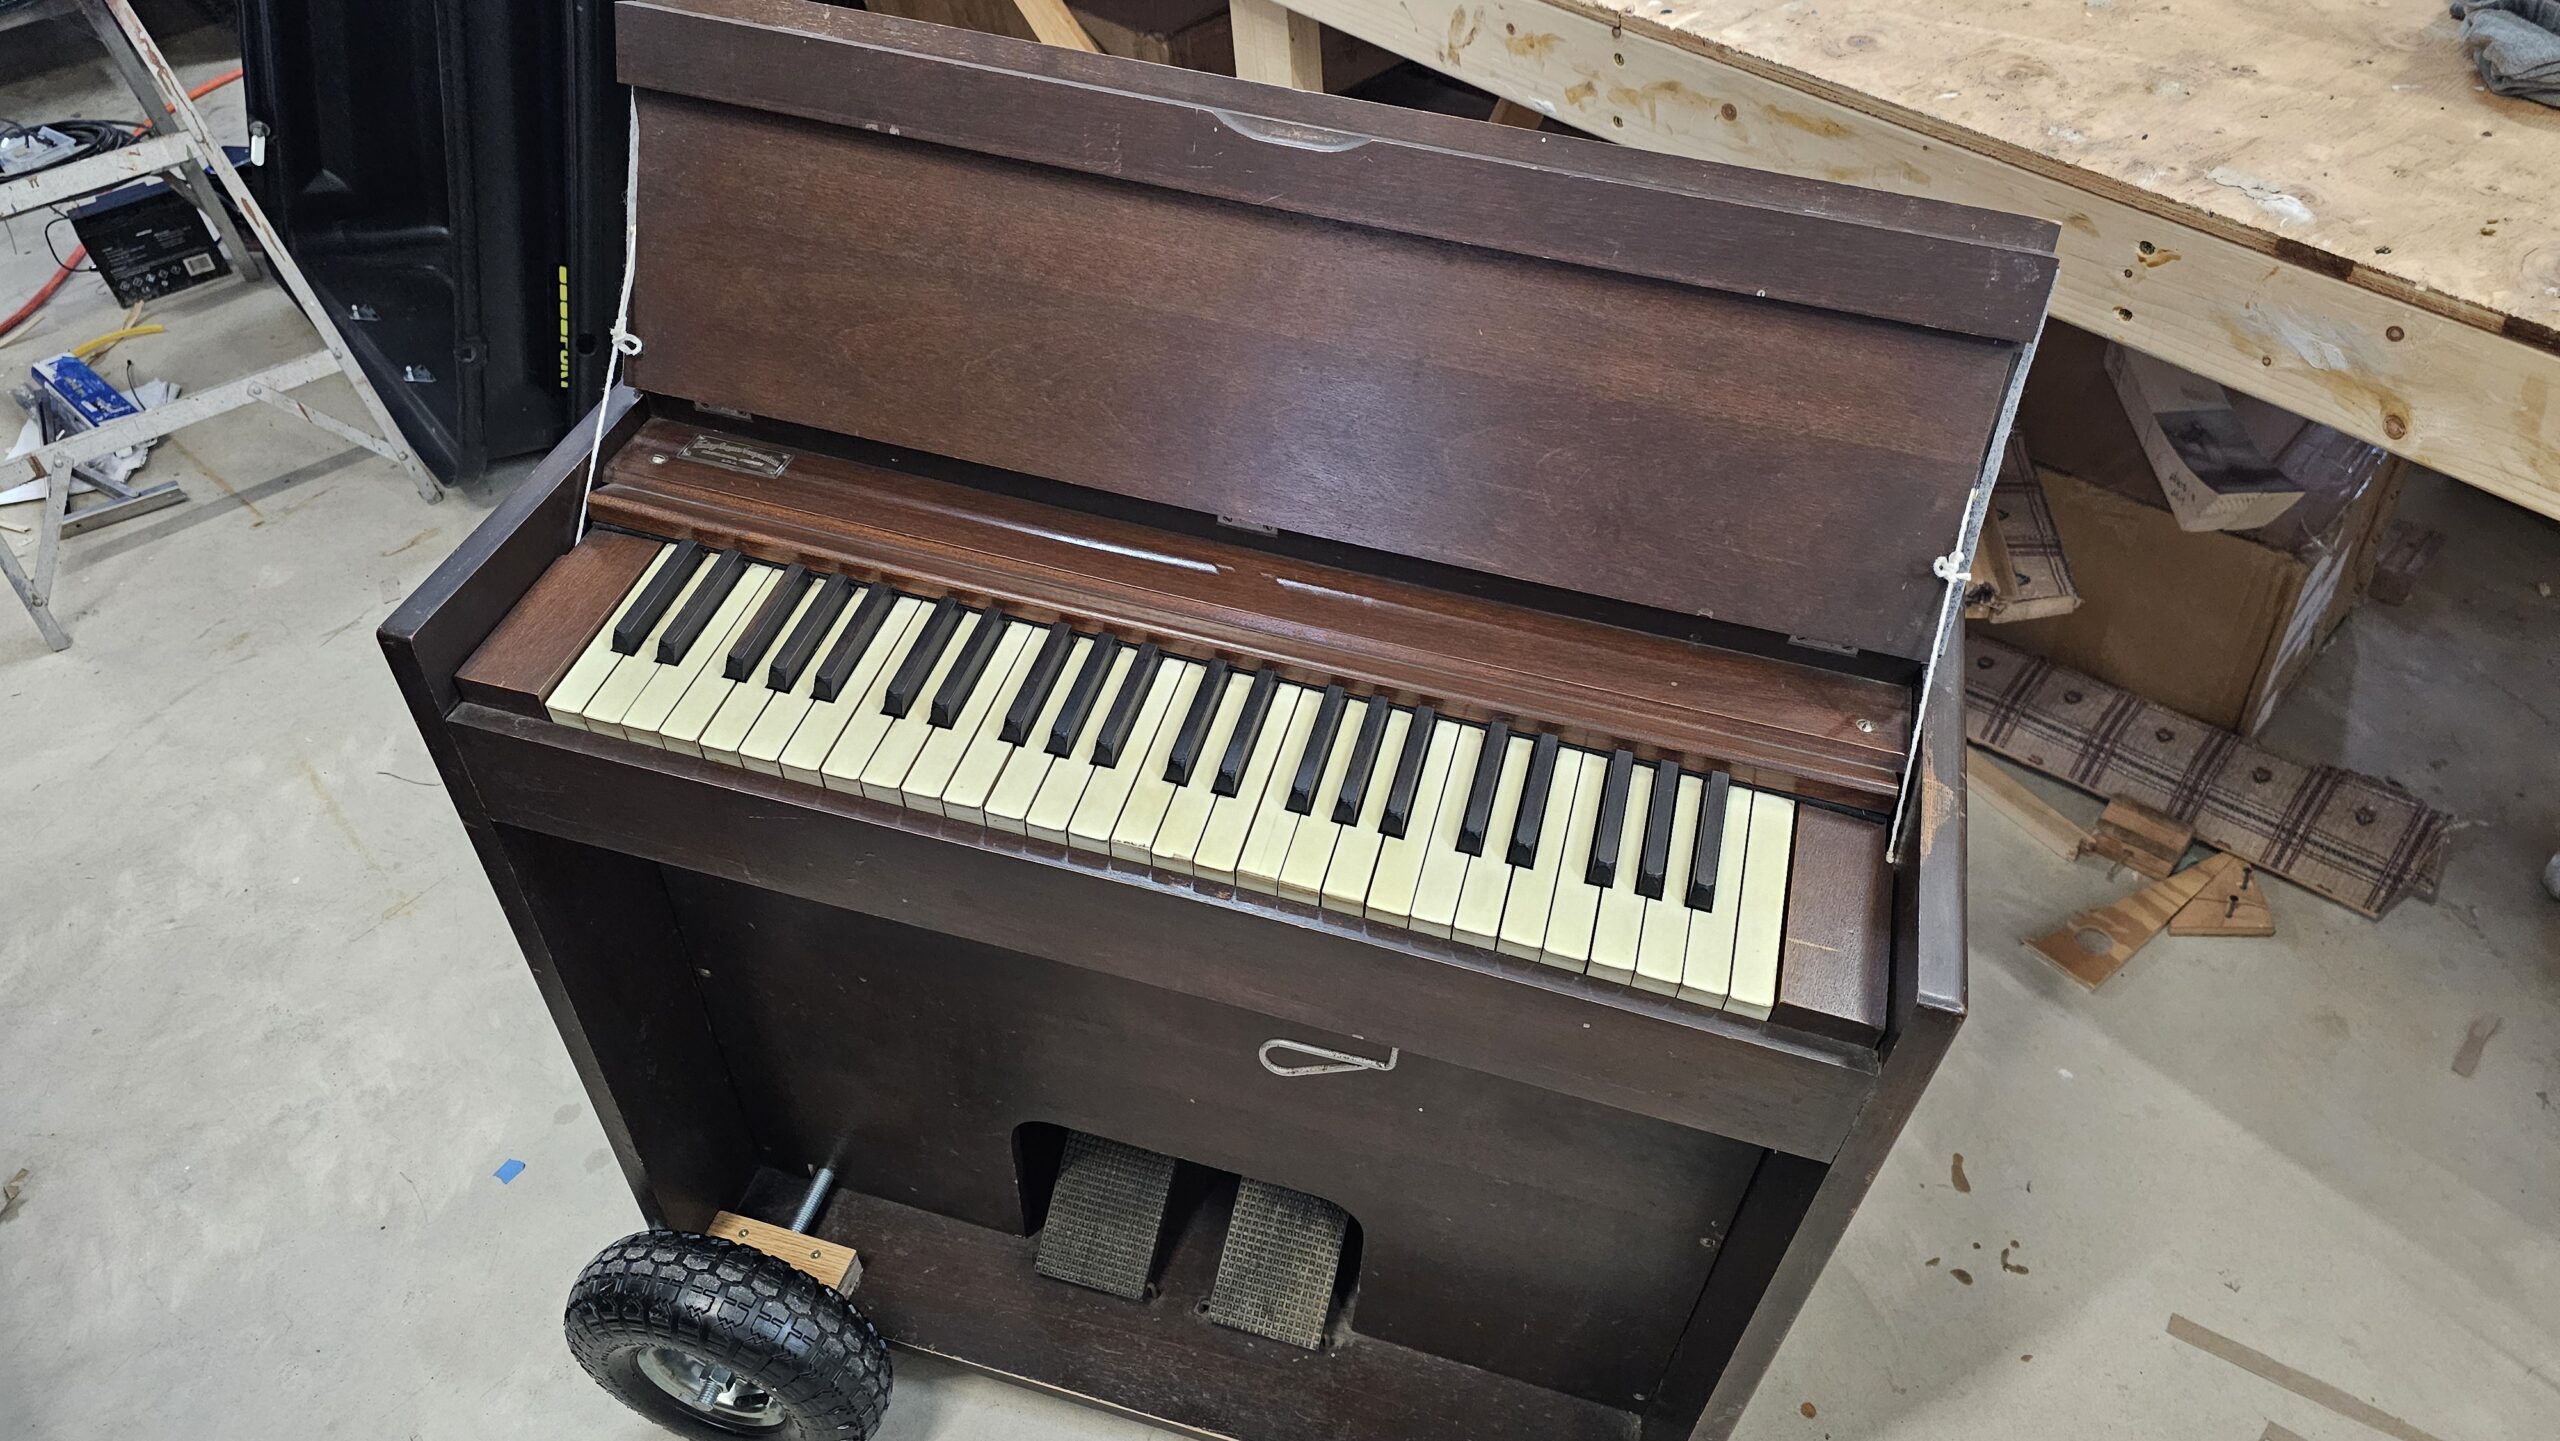
In addition to bringing this Estey Junior Organ back into playable shape, I added removable pneumatic tires and a handle for easier transportation around a college campus, as well as an electronic pickup setup for easier recording and possibly playing the instrument in a band with other musicians. The modification of adding the axle for the wheels may be difficult to reverse and is not consistent with the original design, but it will make the instrument more useful to me and help it reach broader audiences.
Initial Condition
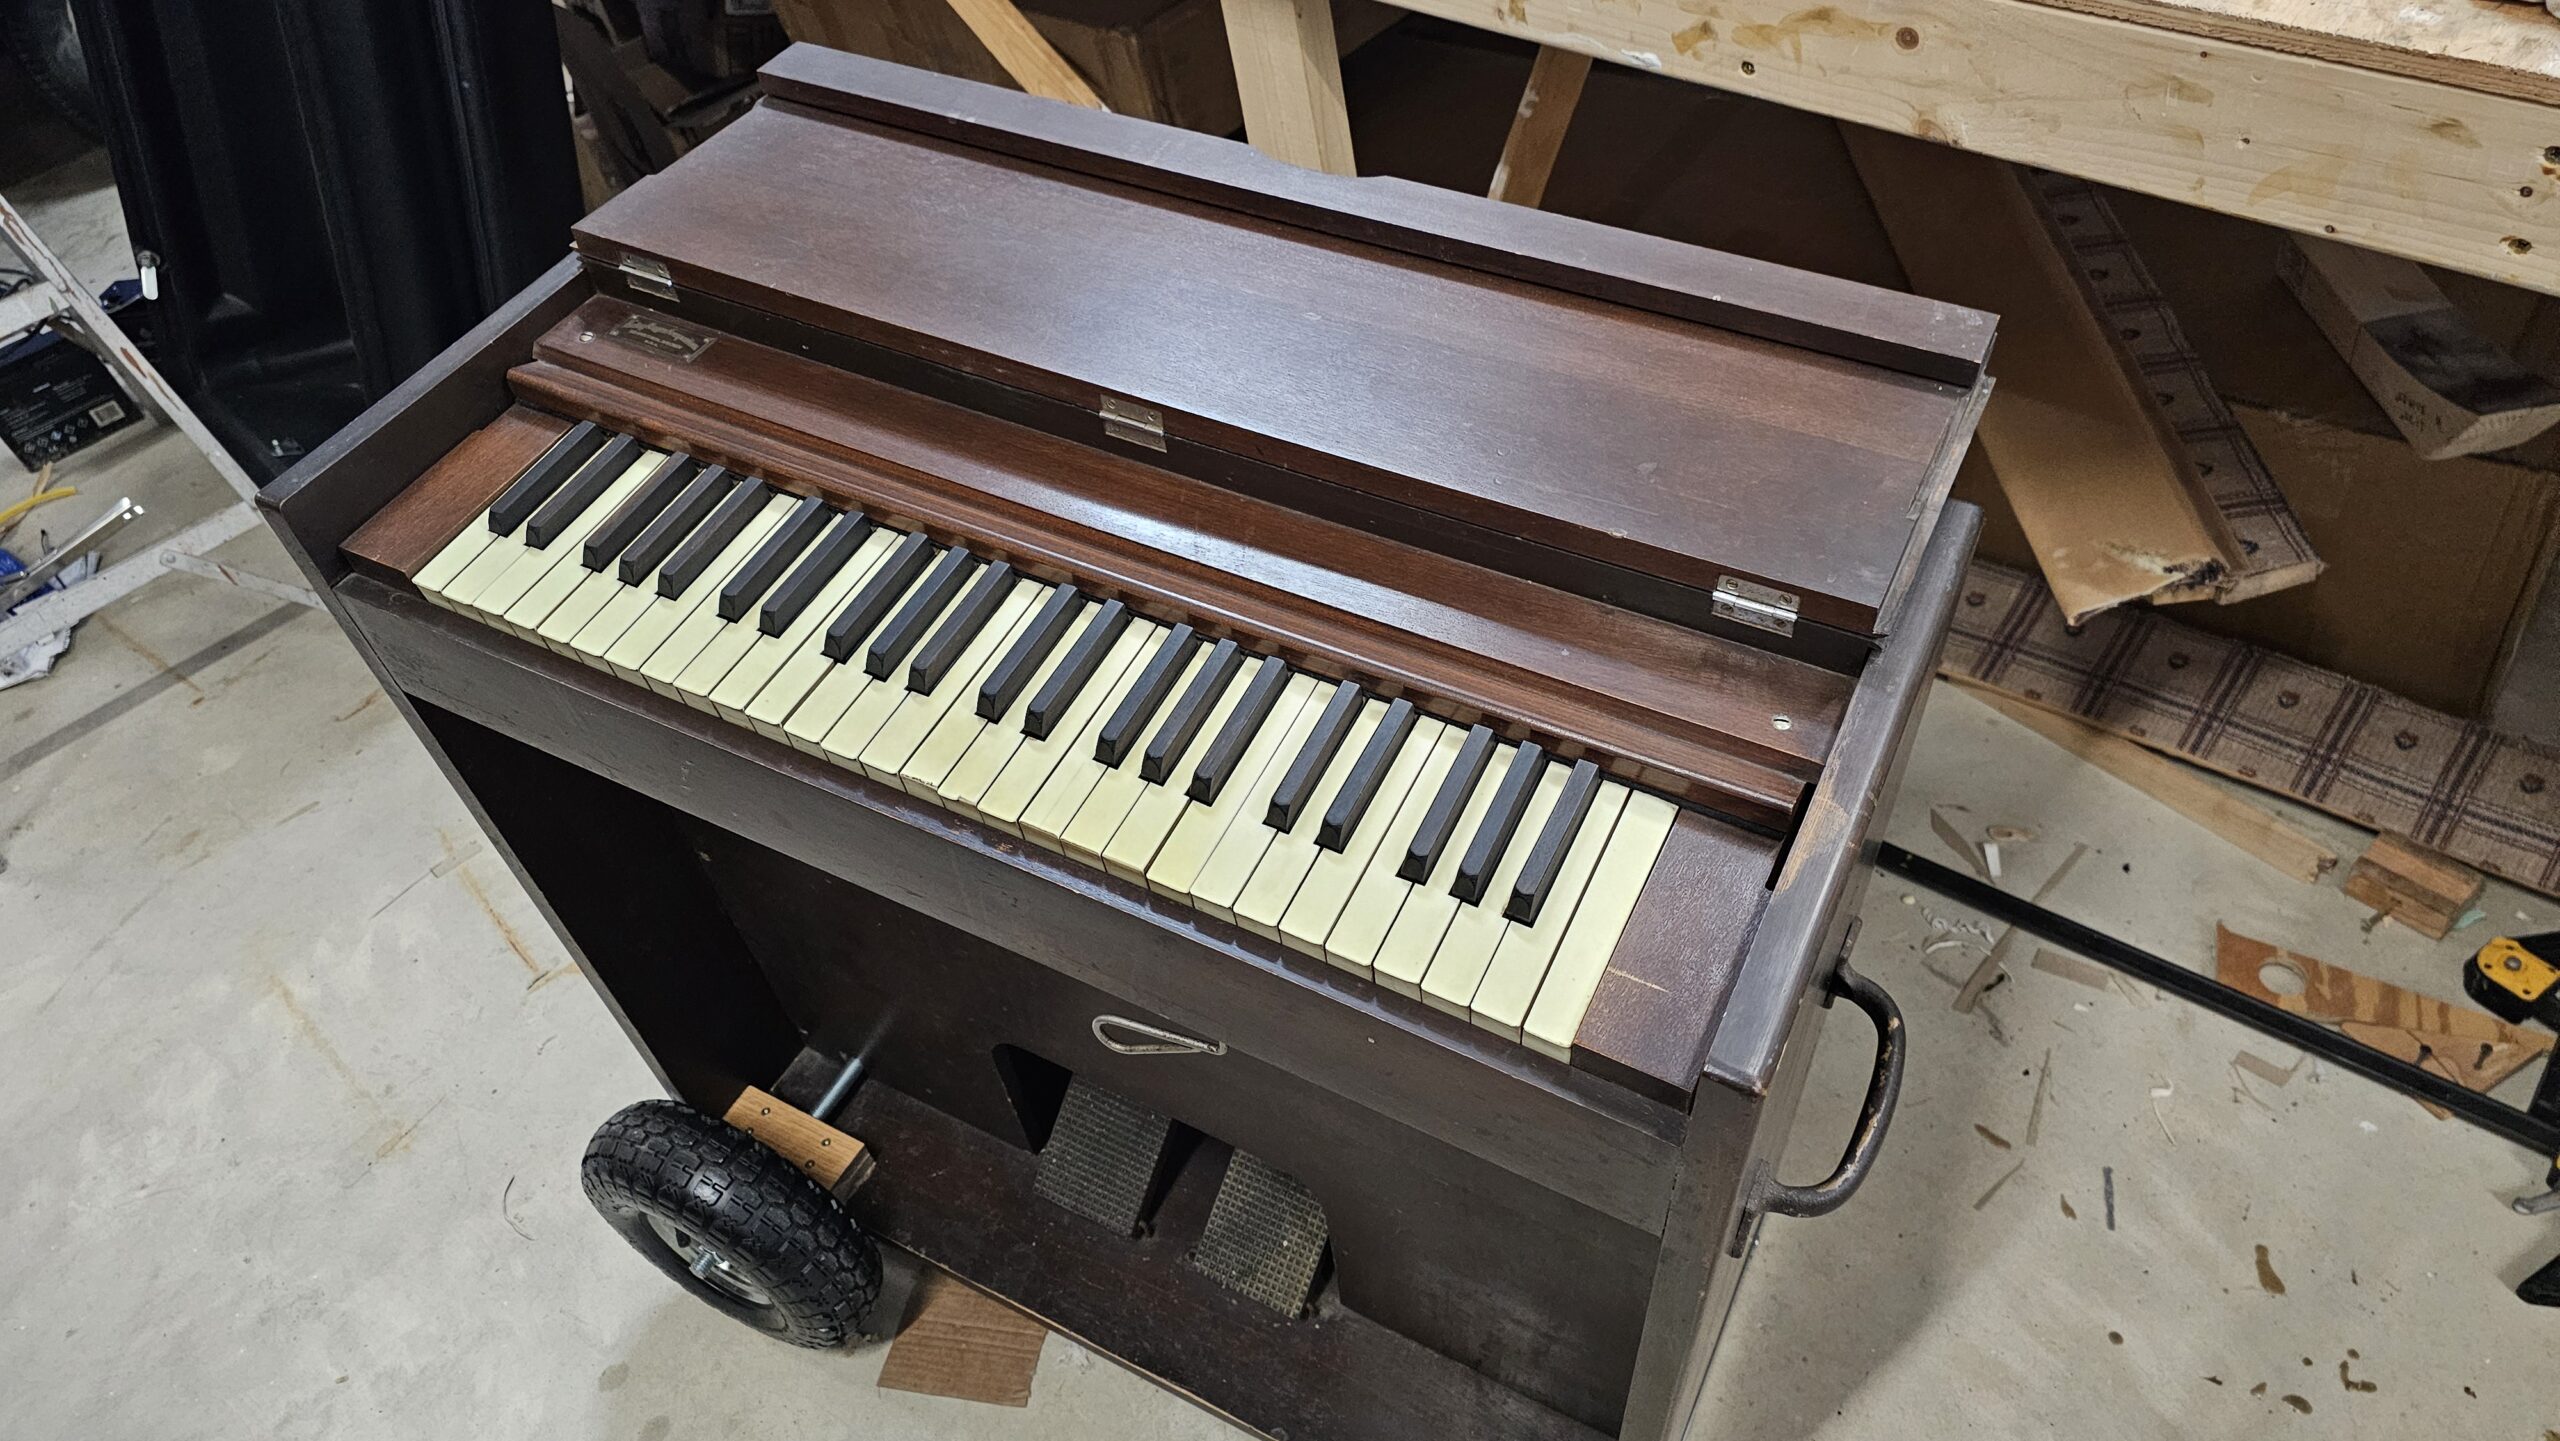
The organ was in fairly good shape to begin with. The bellows cloth had become very brittle and full of cracks, and the straps connecting the treadles to the bellows were broken, as is common. Otherwise, it was mostly just dirty.
The organ after bringing it home
Initial Disassembly
Back cover removed, revealing the bellows
Top cover removed, revealing upper action
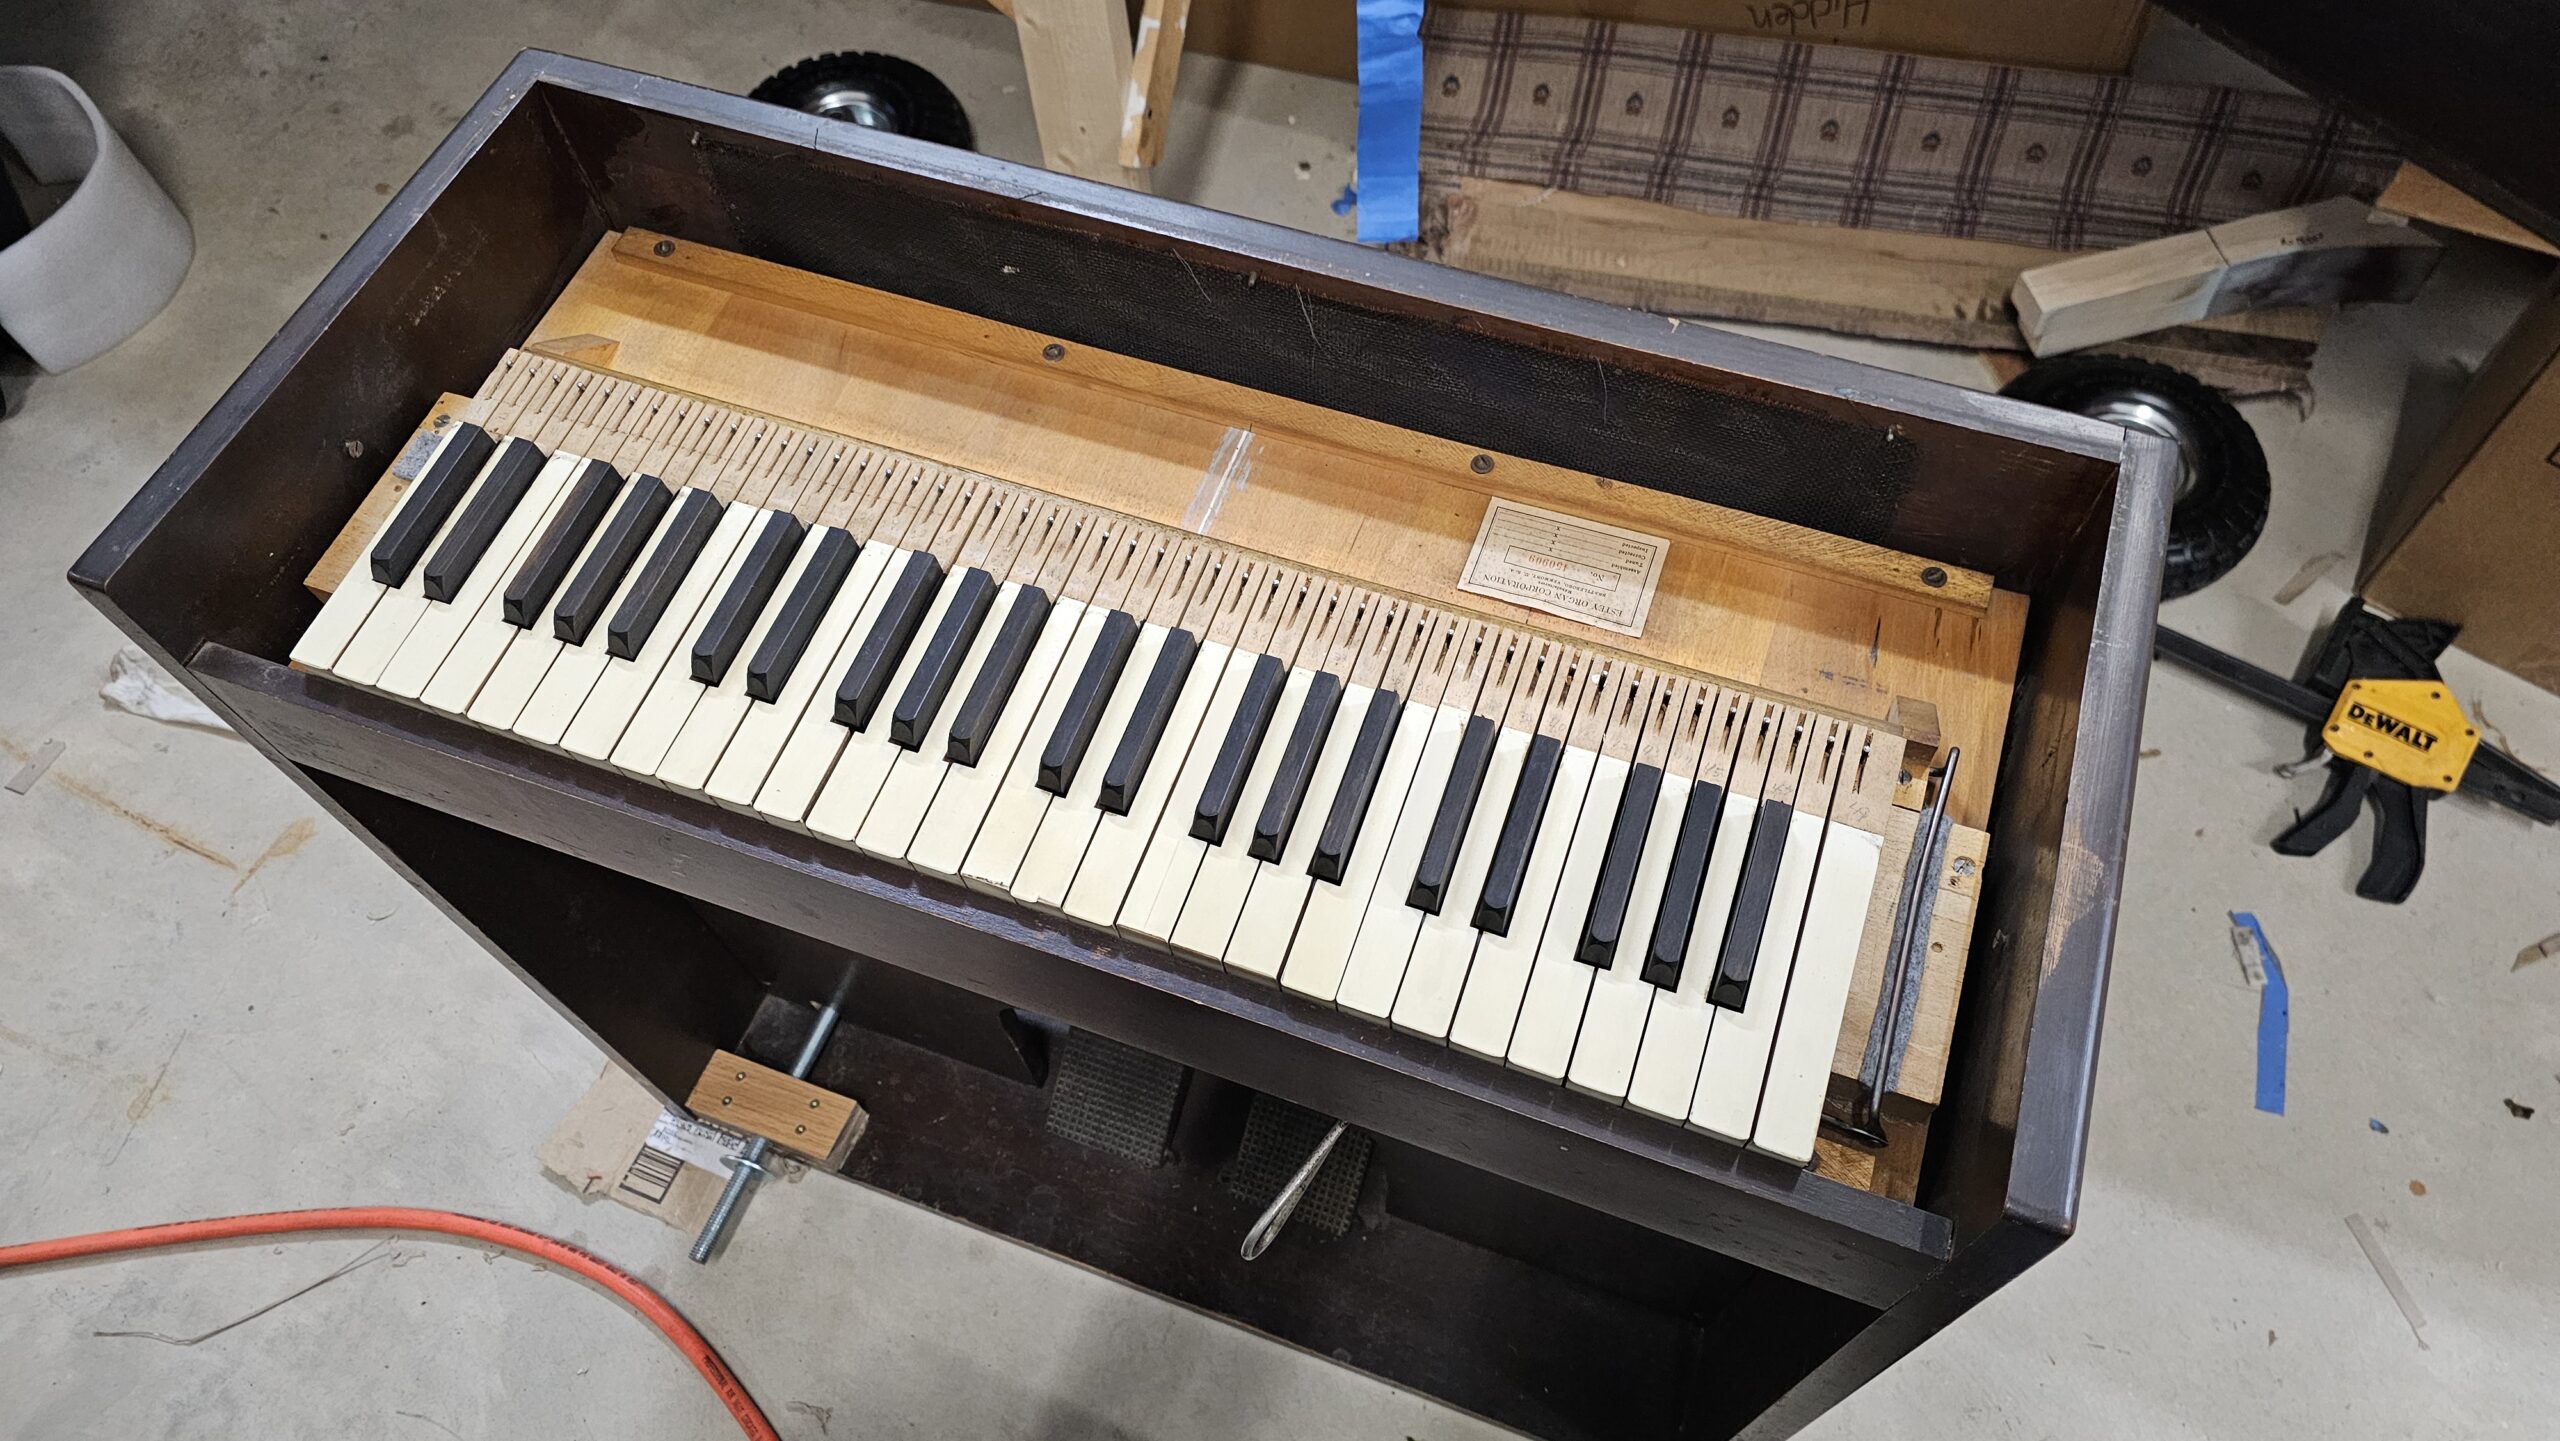
Removing keys after numbering them. A bobby pin (center) was, at some point, dropped into this instrument!
Organ with the upper action removed
Upper action on the bench
Organ case with lower action removed
The bench, with the organ’s innards sprawled about
Removing pallet valves for safe-keeping.
Removing reeds so they don’t get damaged.
Bellows
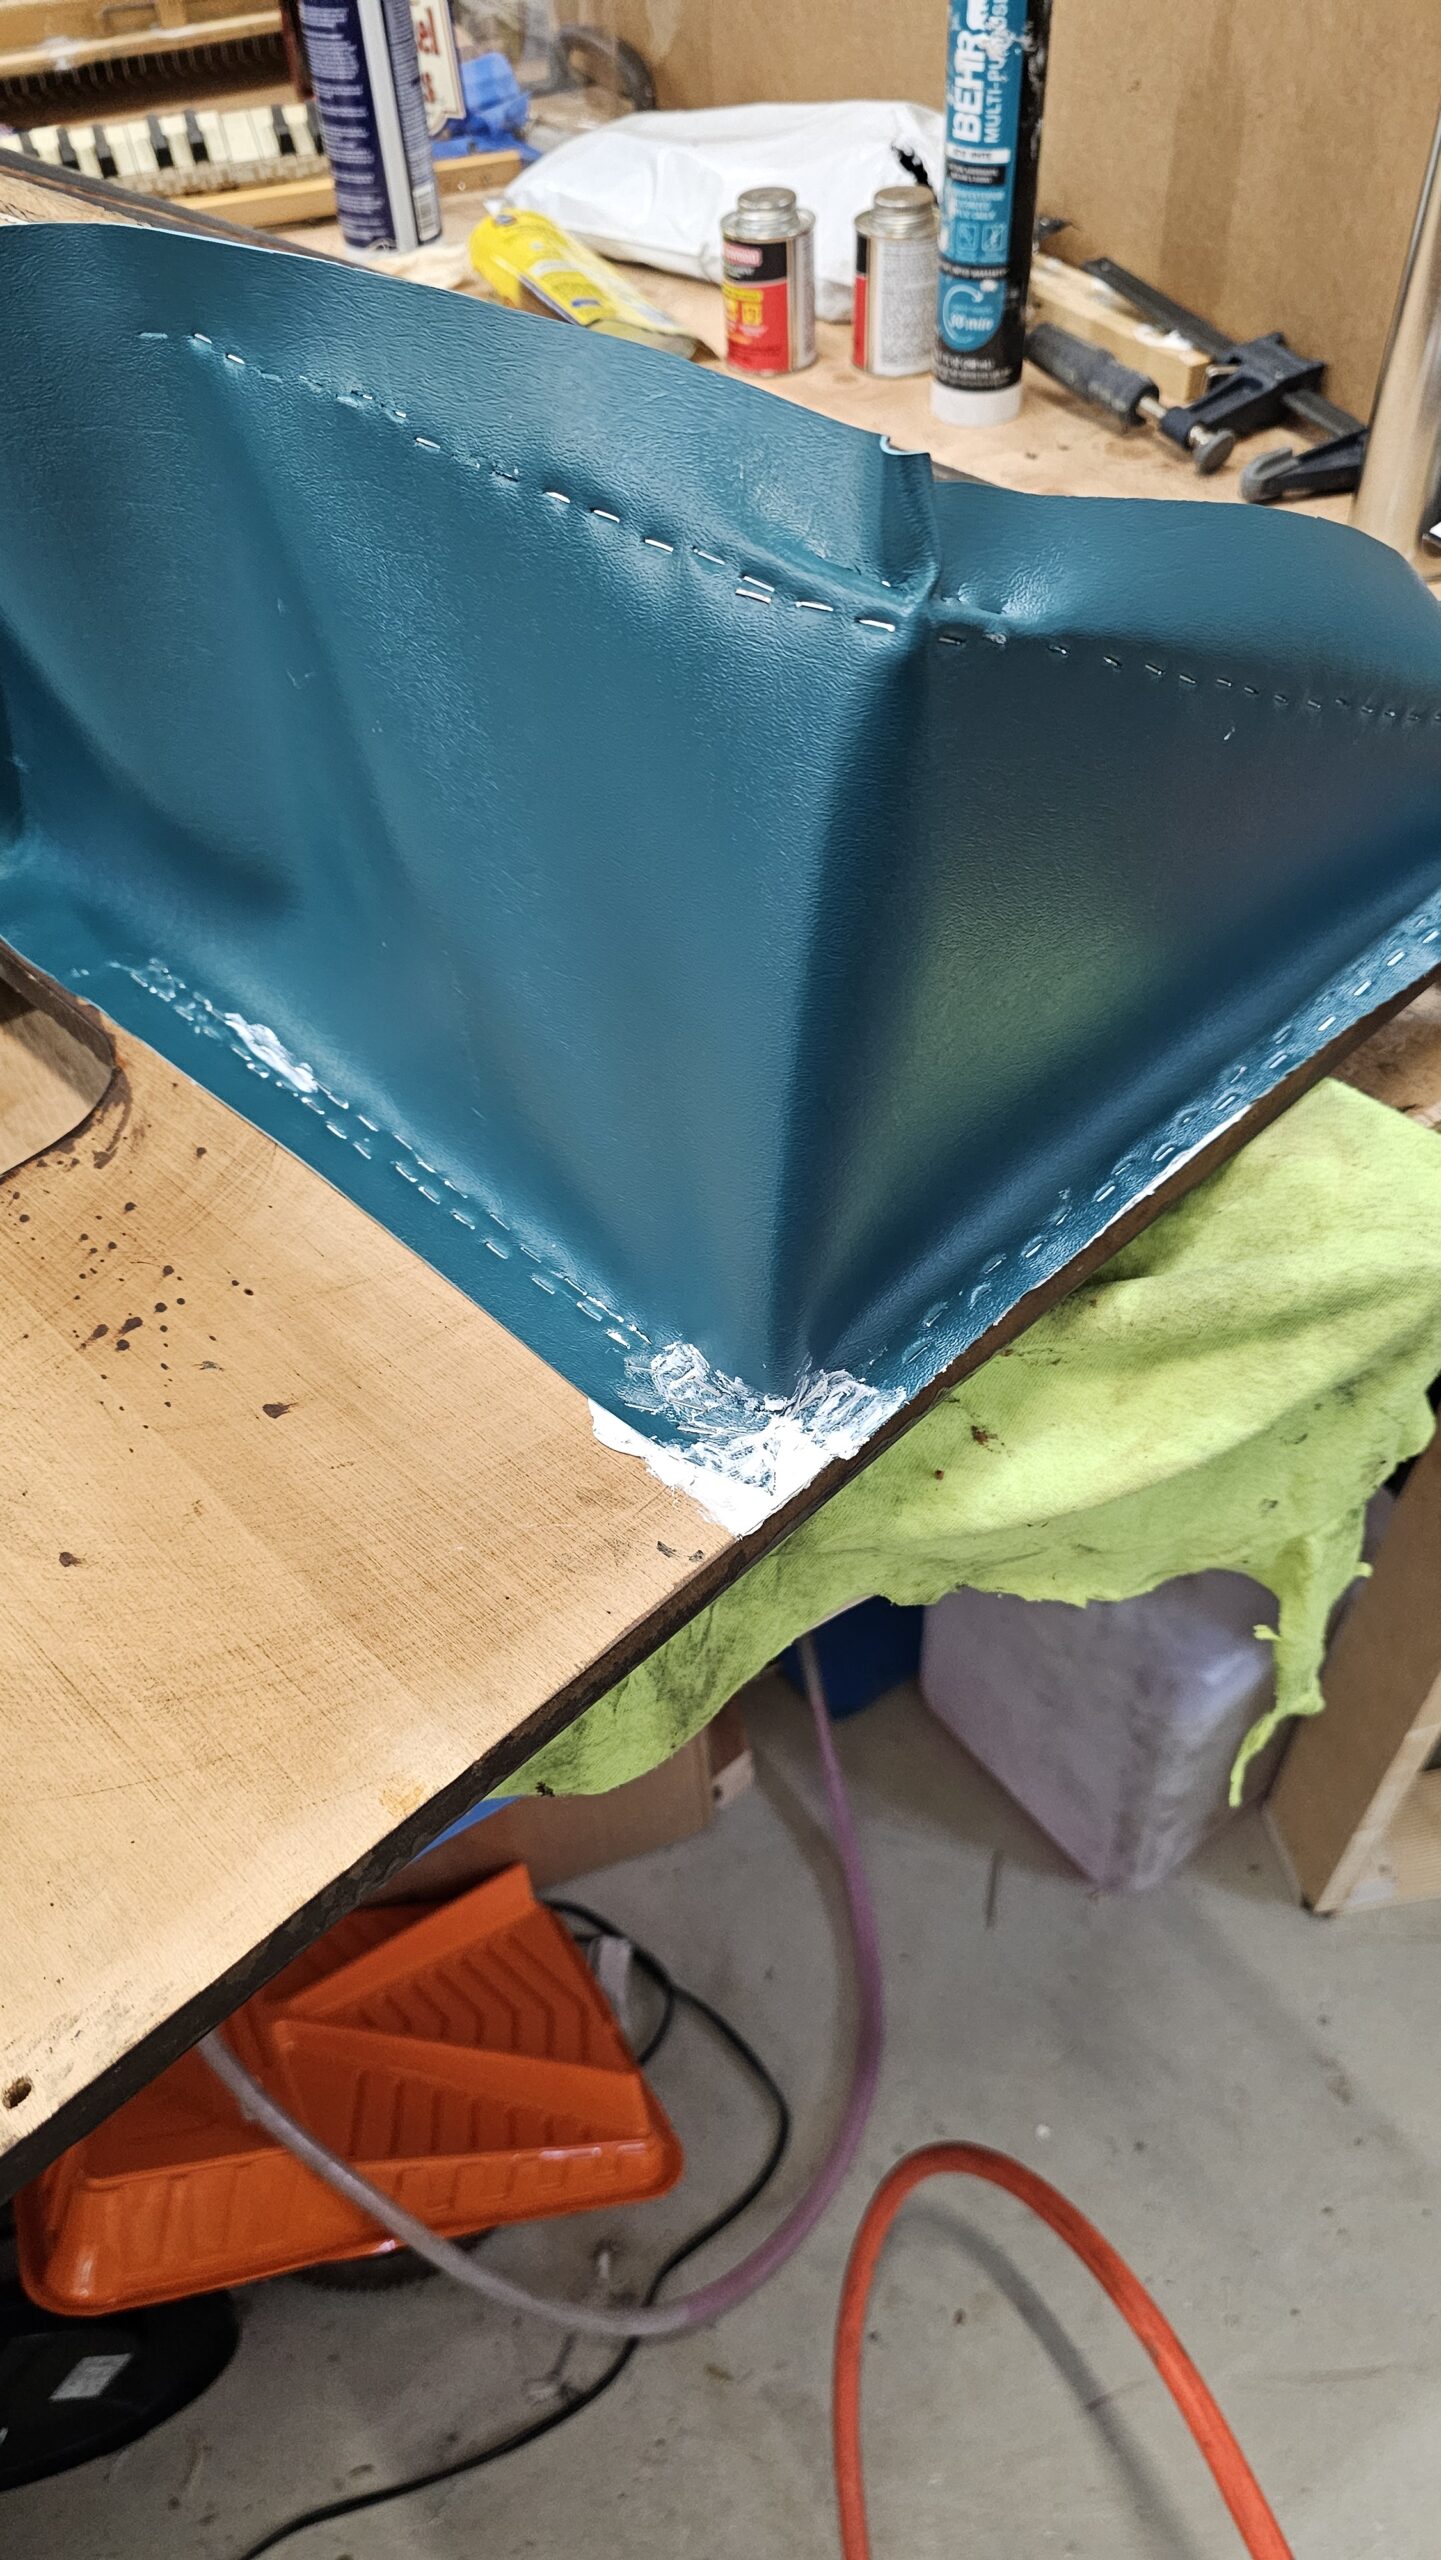
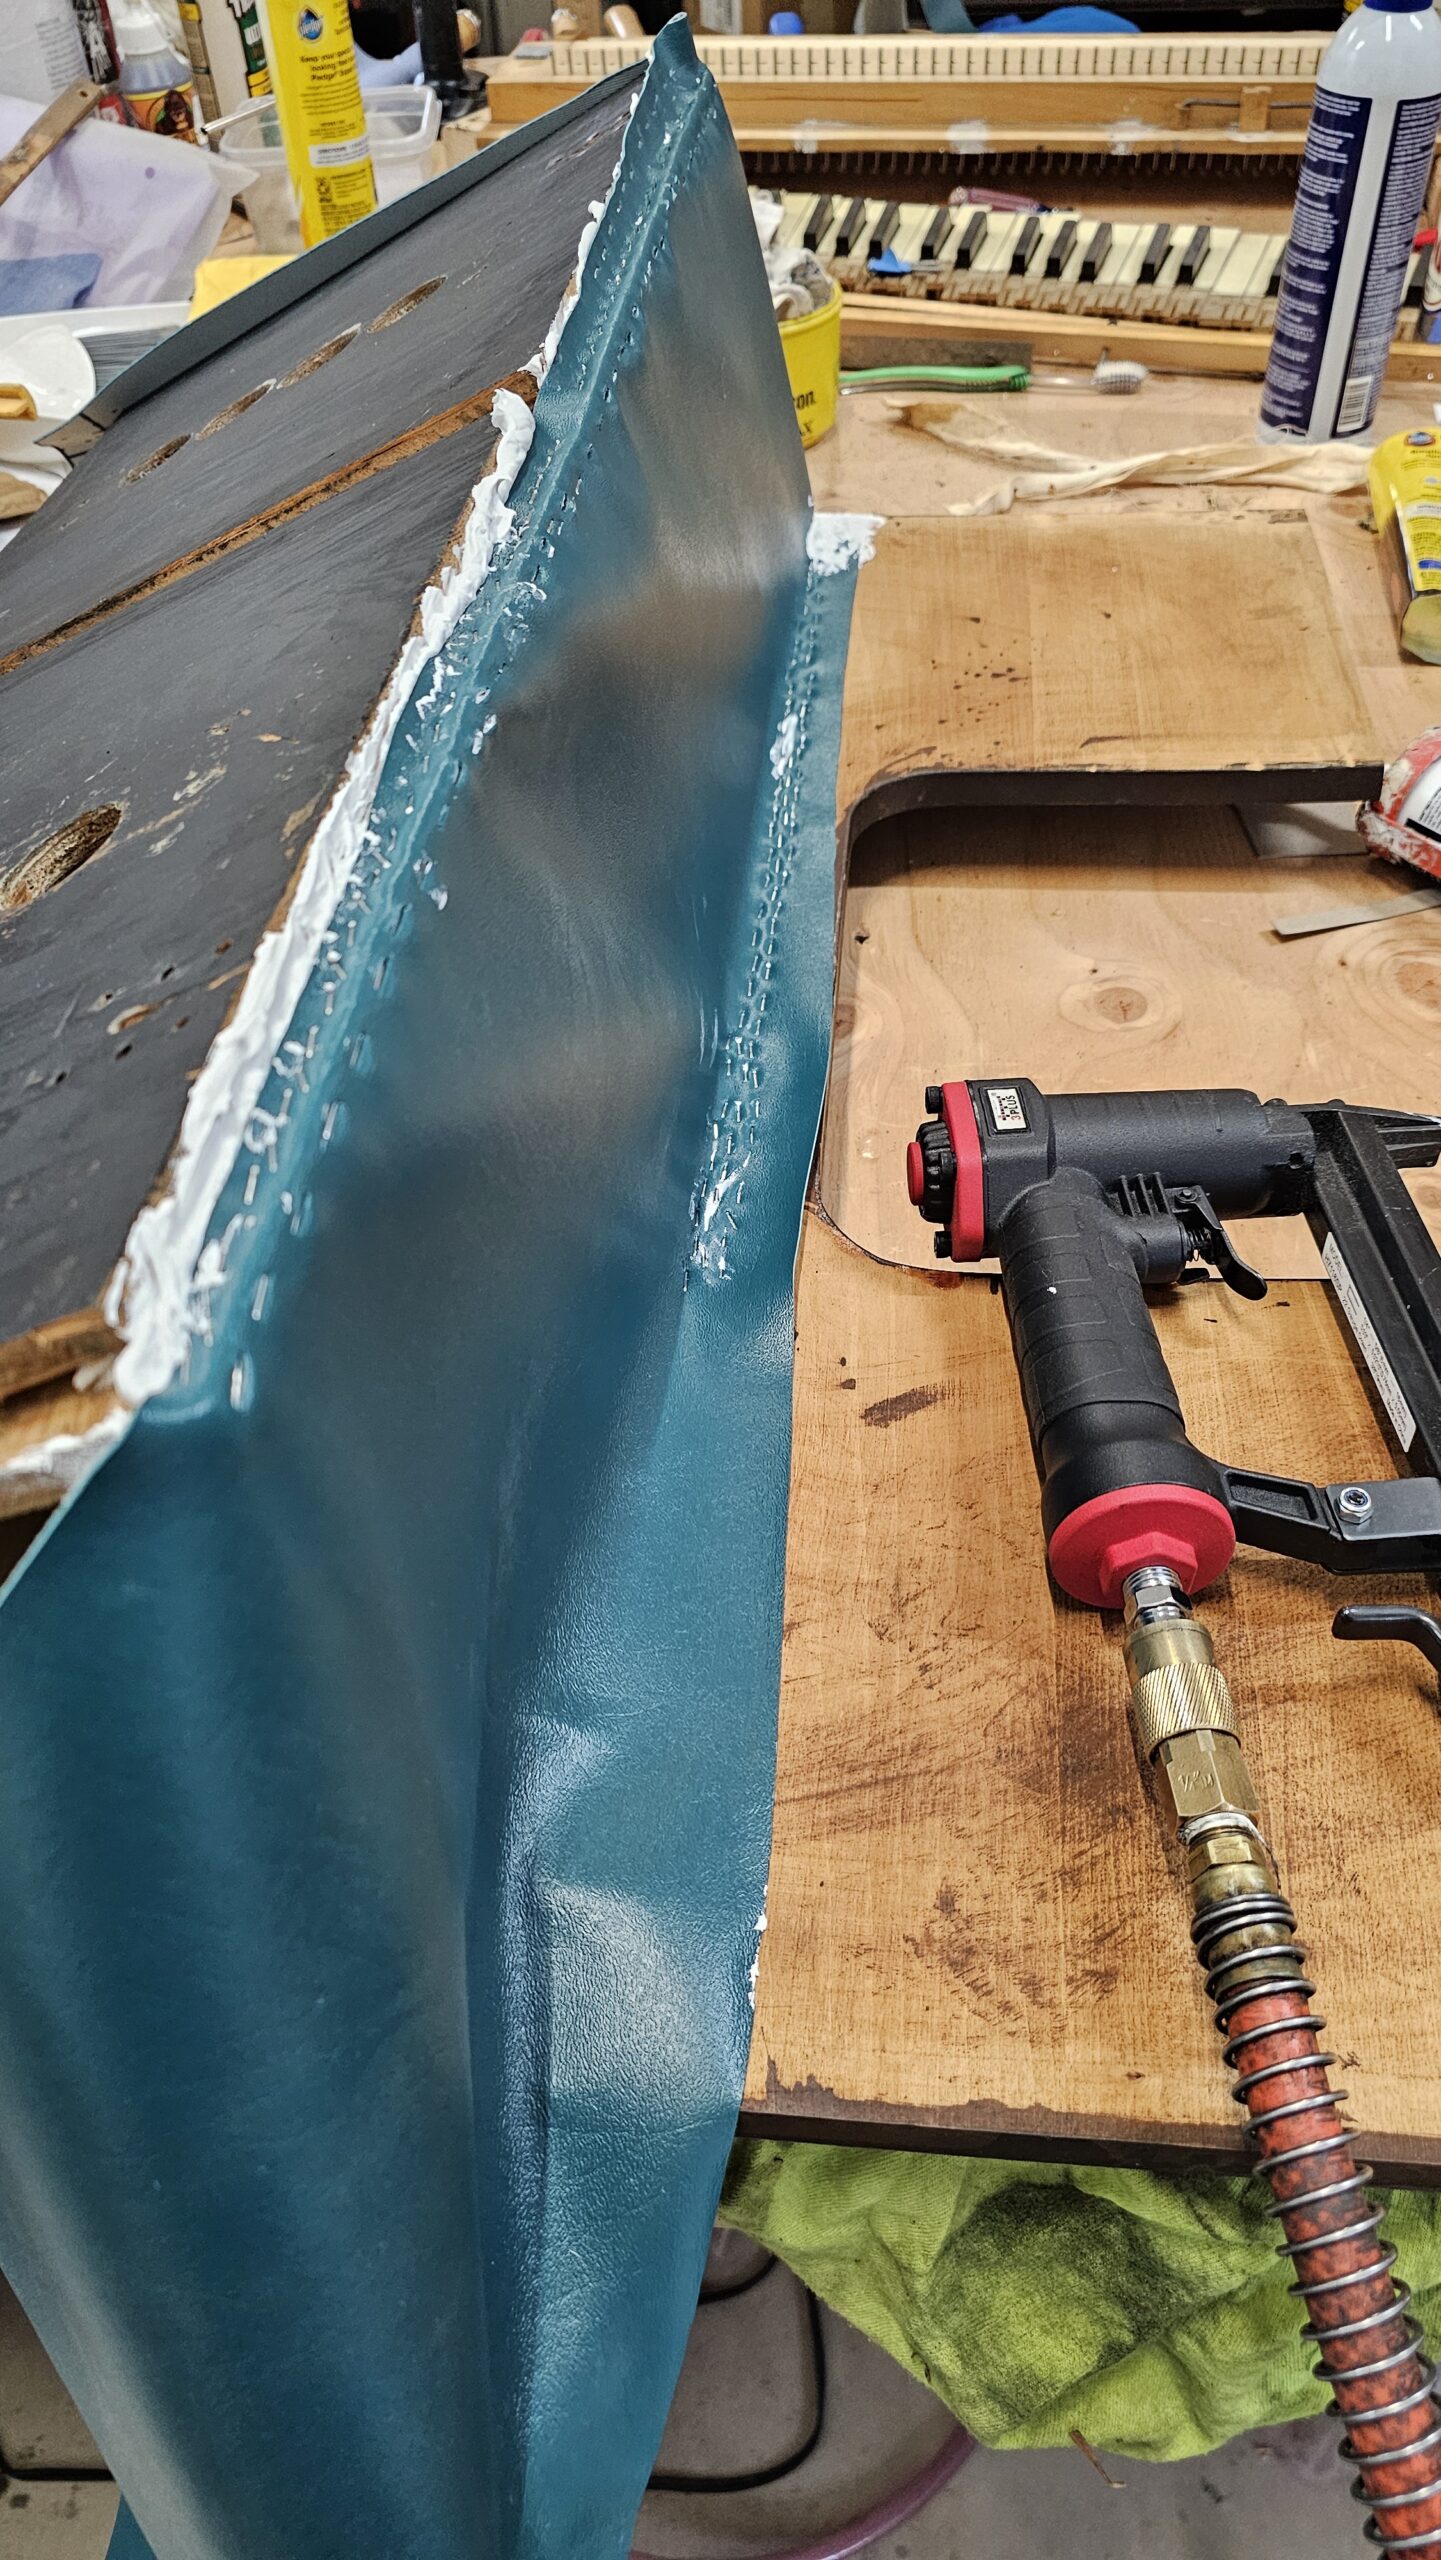
The bellows were re-done with a vinyl waterproof upholstery material that was on-hand. This material was affixed to the wood using Flex Paste and acrylic caulk.
The bellows, initially
Cracks in the brittle bellows-cloth
Using water to make the hide glue release
Old bellows-cloth removed
Cleaning mildew and removing any remaining hide glue
Wooden pieces disassembled and waxed
New cardboard stabilizers for the exhausters
New vinyl exhauster cloths with stabilizers glued with contact cement
Encouraging the new exhauster cloths to fold as they should
Replacing the reservoir hinge with twill tape and hide glue
Preparing to glue the other side of the reservoir hinge (one board is suspended at a 90-degree angle to ease this process)
New exhauster hinges
Inner exhauster valves (leather replaced by neoprene, with a piece of felt glued on to reduce oscillations)
Exhauster hinges gluing up
Reservoir springs installed
Installing the reservoir cloth with Flex Paste and acrylic caulk, and many staples
Installing exhauster cloth
Exhauster propped open
Bellows all glued up, waiting for it to cure
Installing the torsion springs for the exhausters
Case
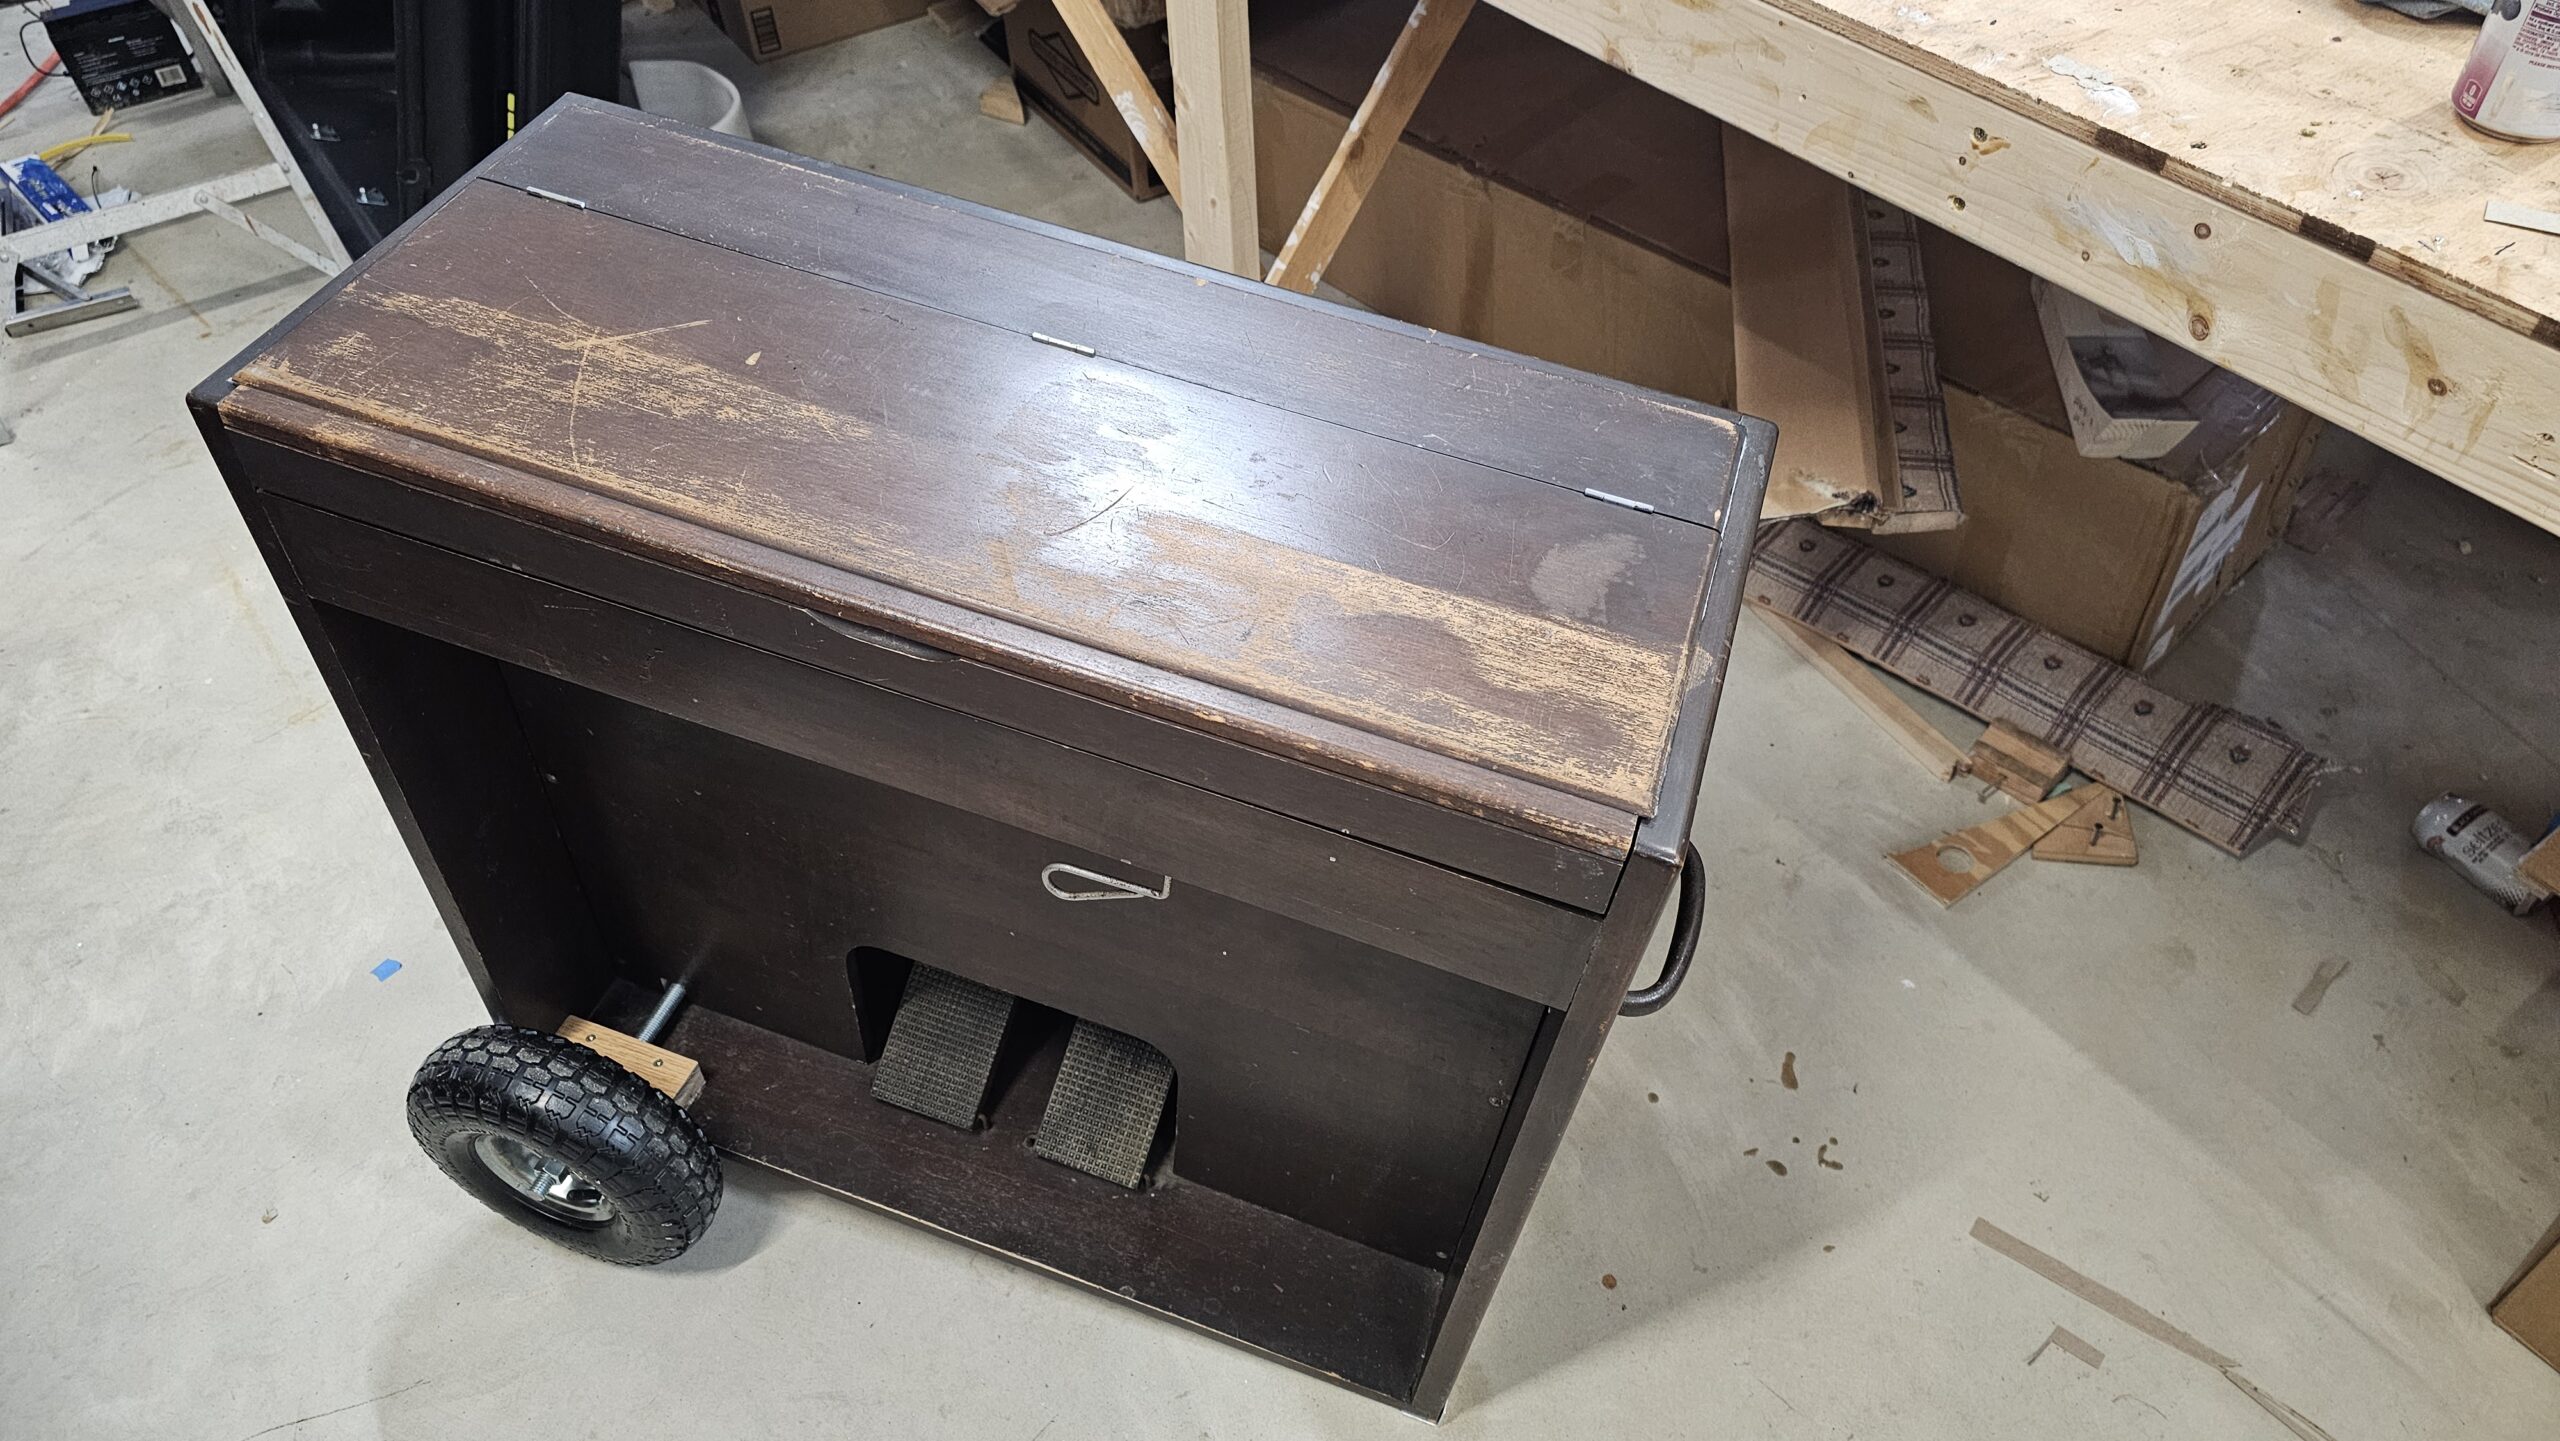
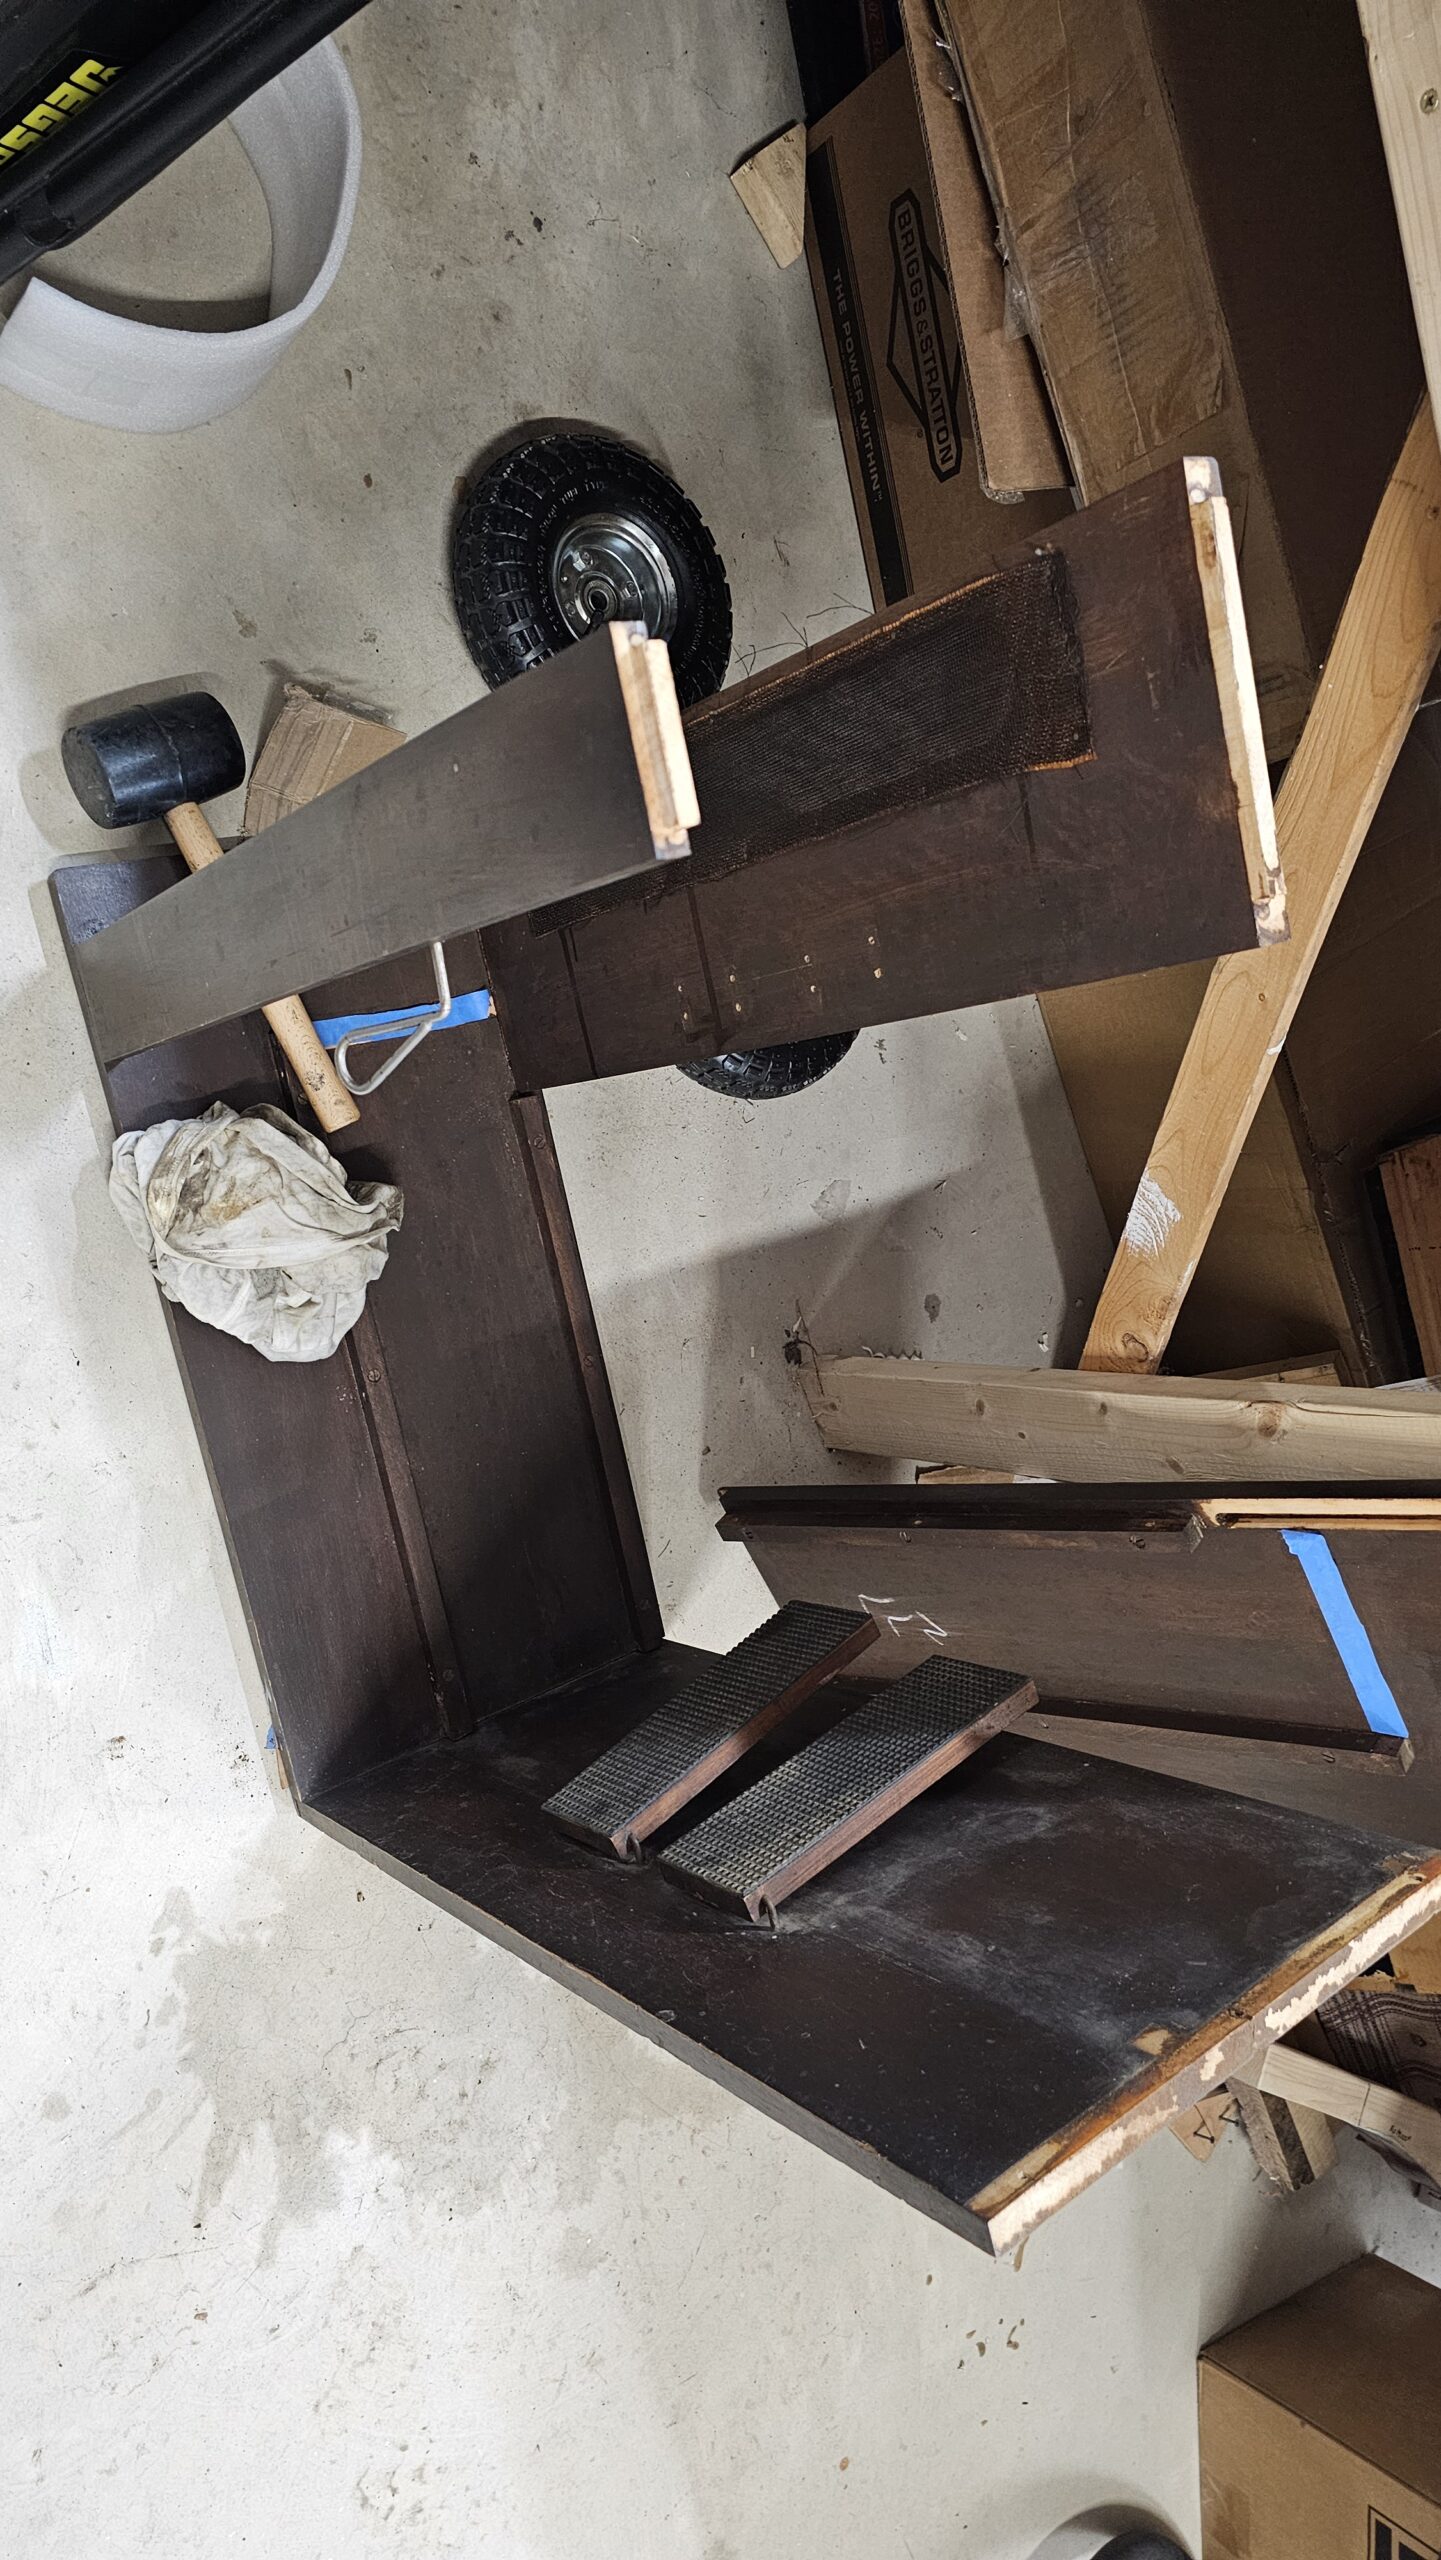
I modified the case to have a pair of removable pneumatic tires and a handle for easy transportation, as I intend to bring this organ to college with me. As I will need to be able to move it up and down stairs by myself, this modification will make the instrument far more useful to me and perhaps expose it to new audiences.
Otherwise, the case was knocked apart, cleaned with Murphy’s Oil Soap, and reassembled.
The case, disassembled
Assembling the case
Building and installing clamp blocks to hold the axle for the wheels
Finished scraped away for gluing the clamp blocks (sacrilegious, I know!)
Case fully assembled
Pneumatic tires added
Case assembled with tires and added skid plates on the bottom edges
Upper Action
Cleaning mildew inside the windchest
Filling cracks in the soundboard/reedpan
New felt for under the reeds
Cleaning each reed with a soft toothbrush and acid brush and reinstalling them
Pallet valves and new felt gasket installed
Assembly / More Upper Action
Bellows installed
Bellows straps installed
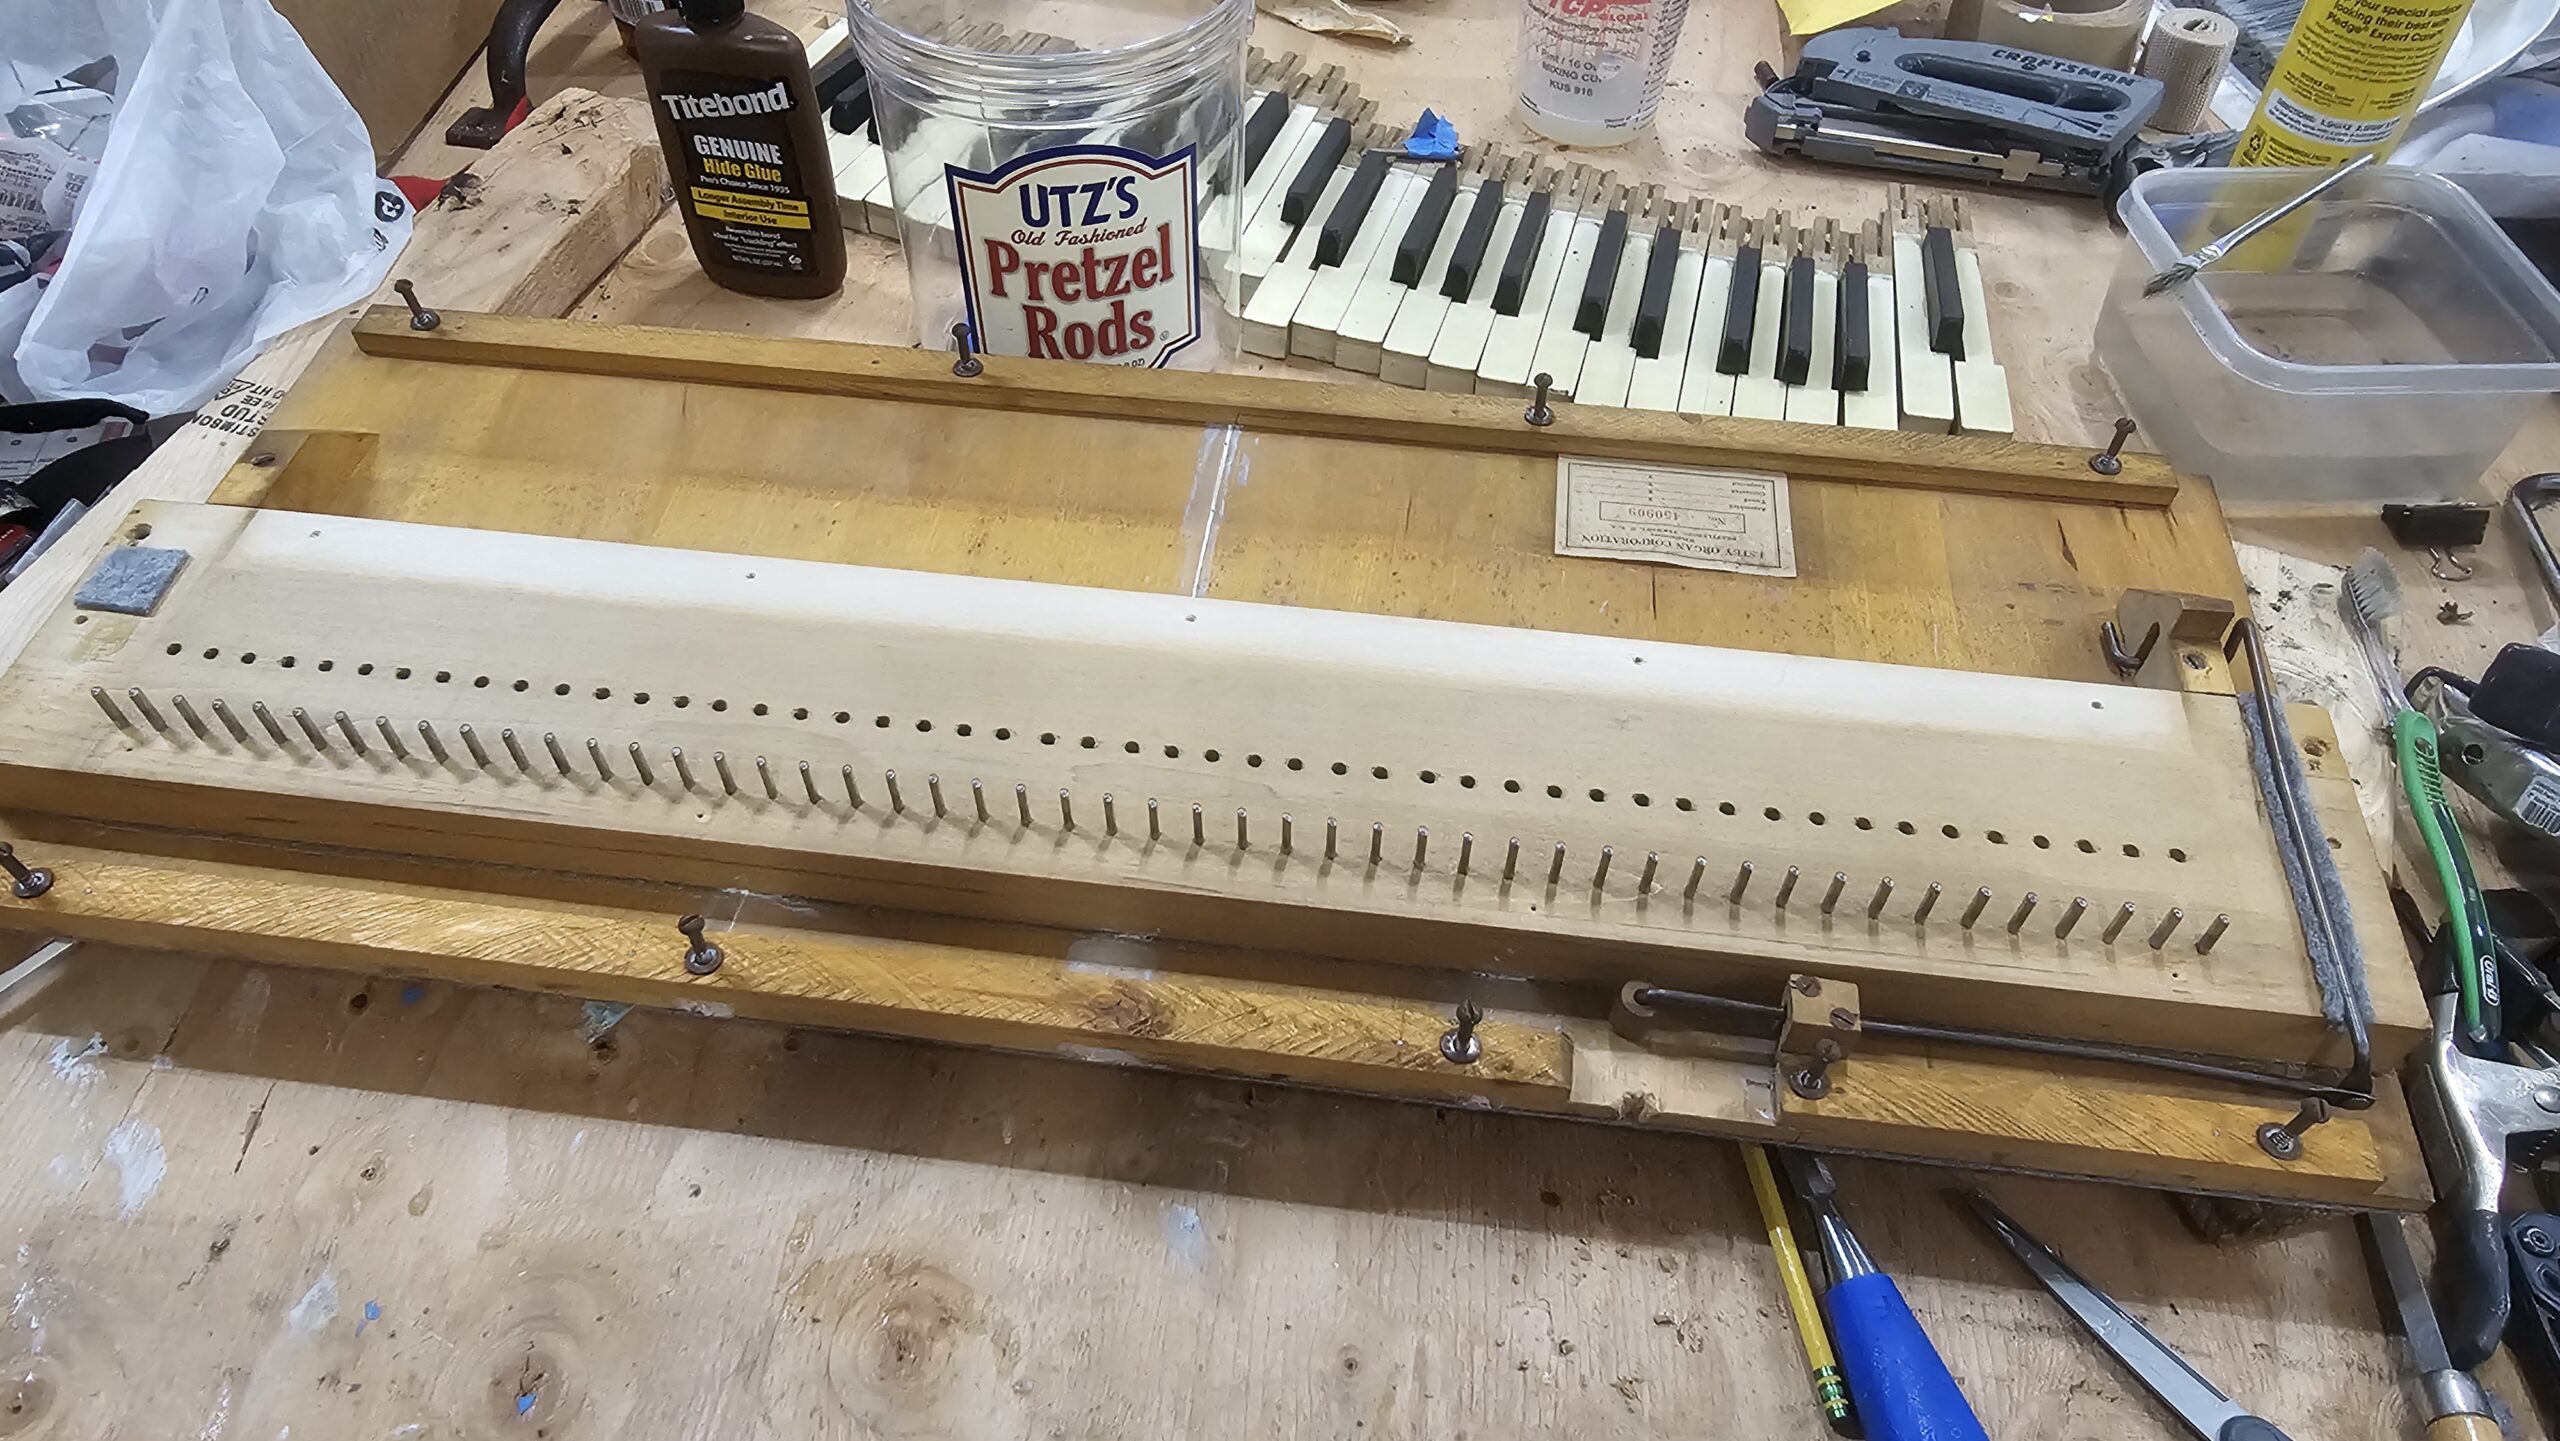
Upper action installed
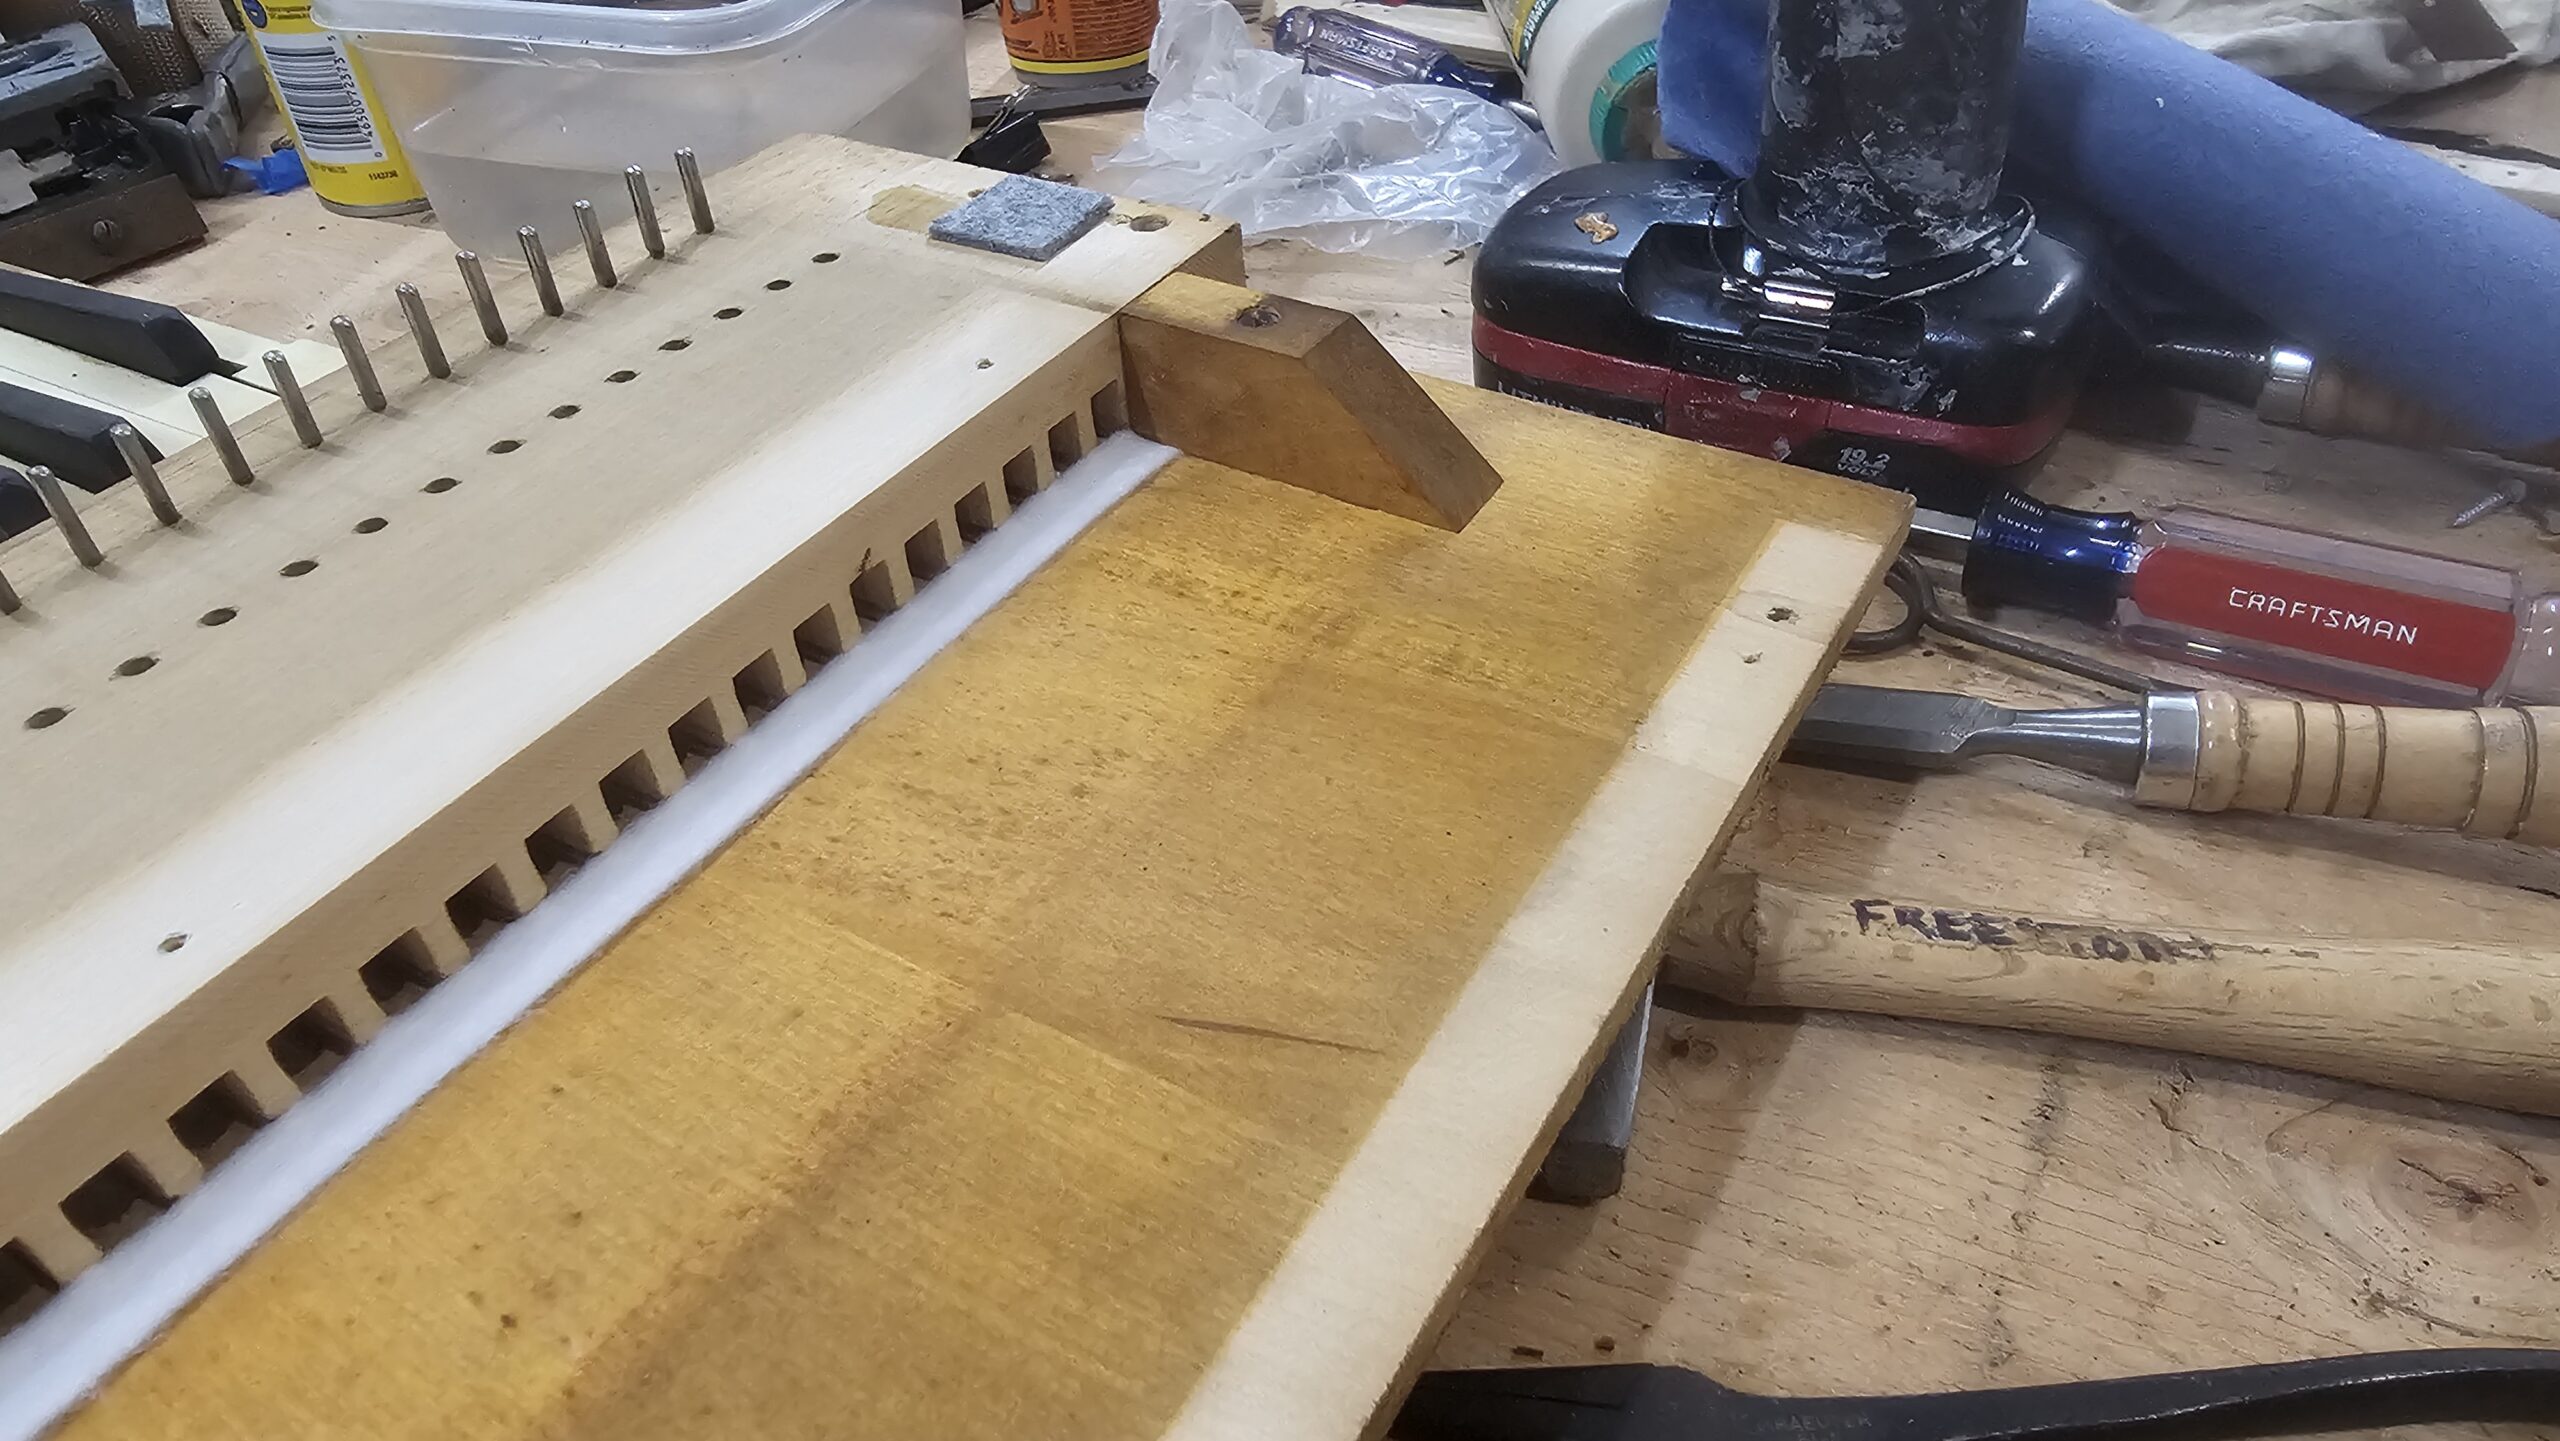
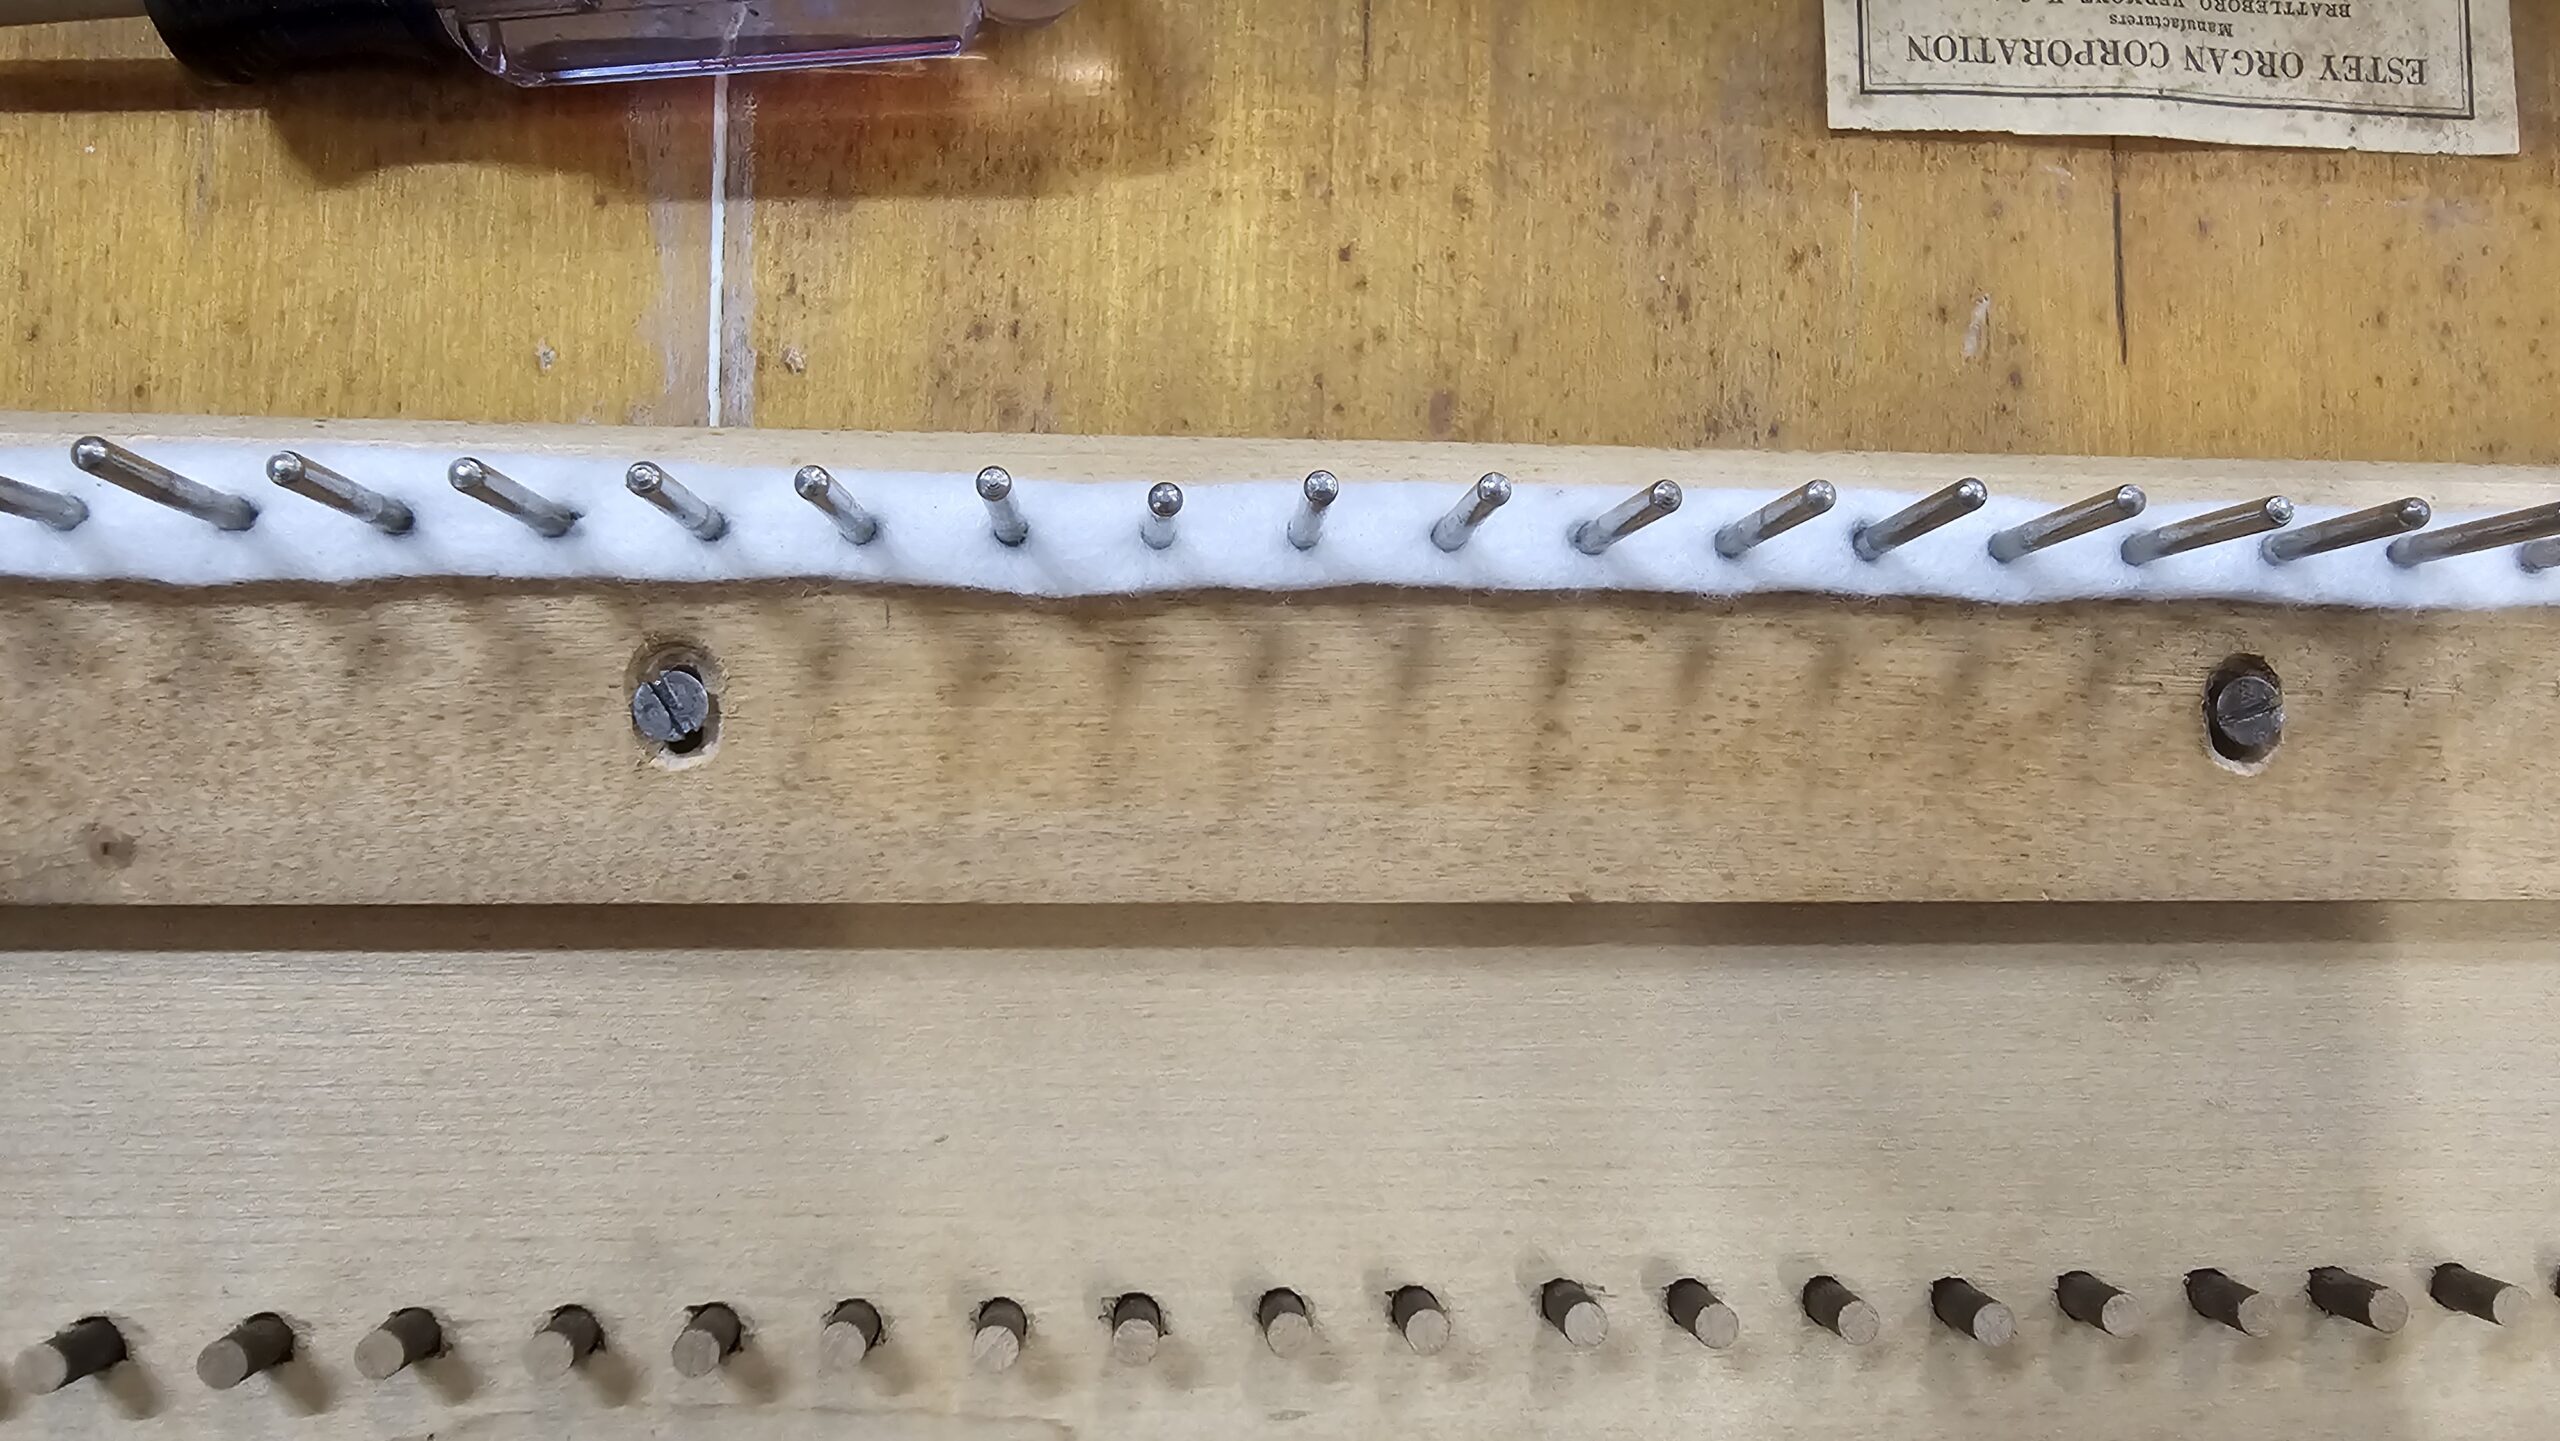
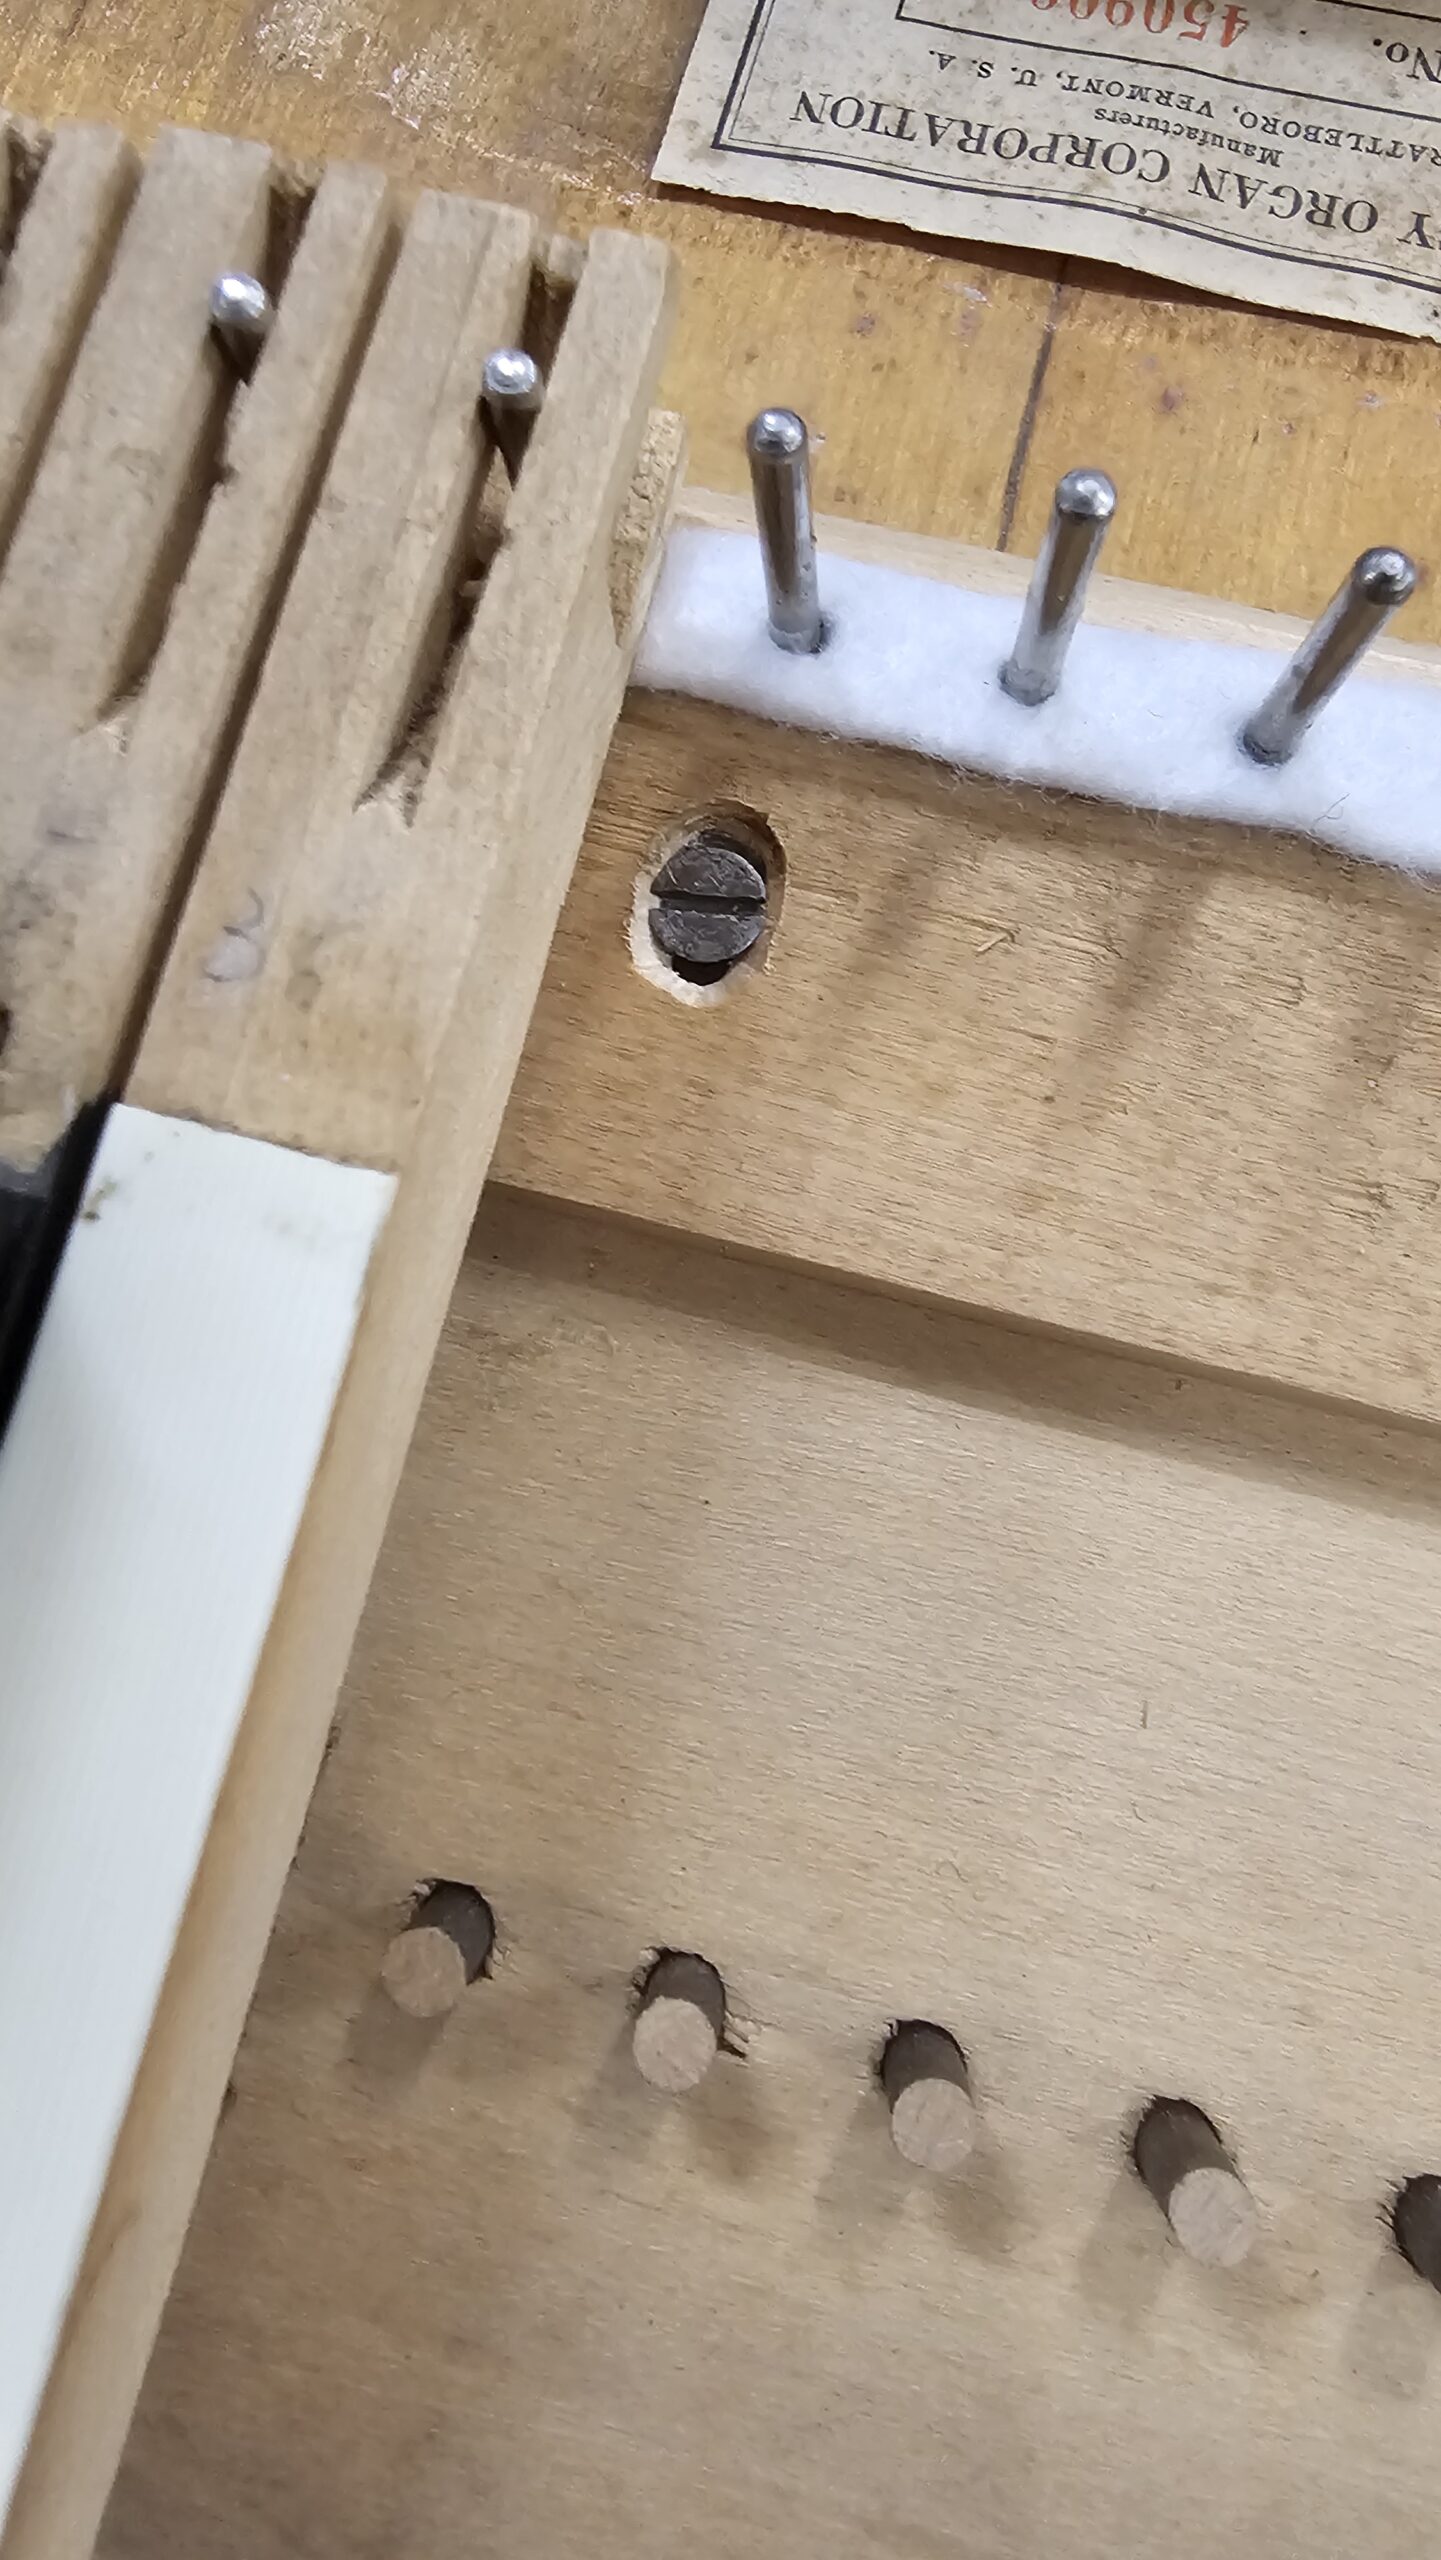
Installing the pitmans (they’re very short on this organ, since the keyboard is built into the top of the reedpan)
Pitmans installed
New felt for the key pins
Slots added so that the keyslip doesn’t interfere with the keys (slight difference in bellows construction has moved the action by ~1/16 inch)
Case partially apart… The keyslip was too high, had to knock it apart and re-glue at a lower height.
Case being glued back together (with hide glue)
Installing keys, checking their range of motion, turning railpins to reduce play (using original key bushings)
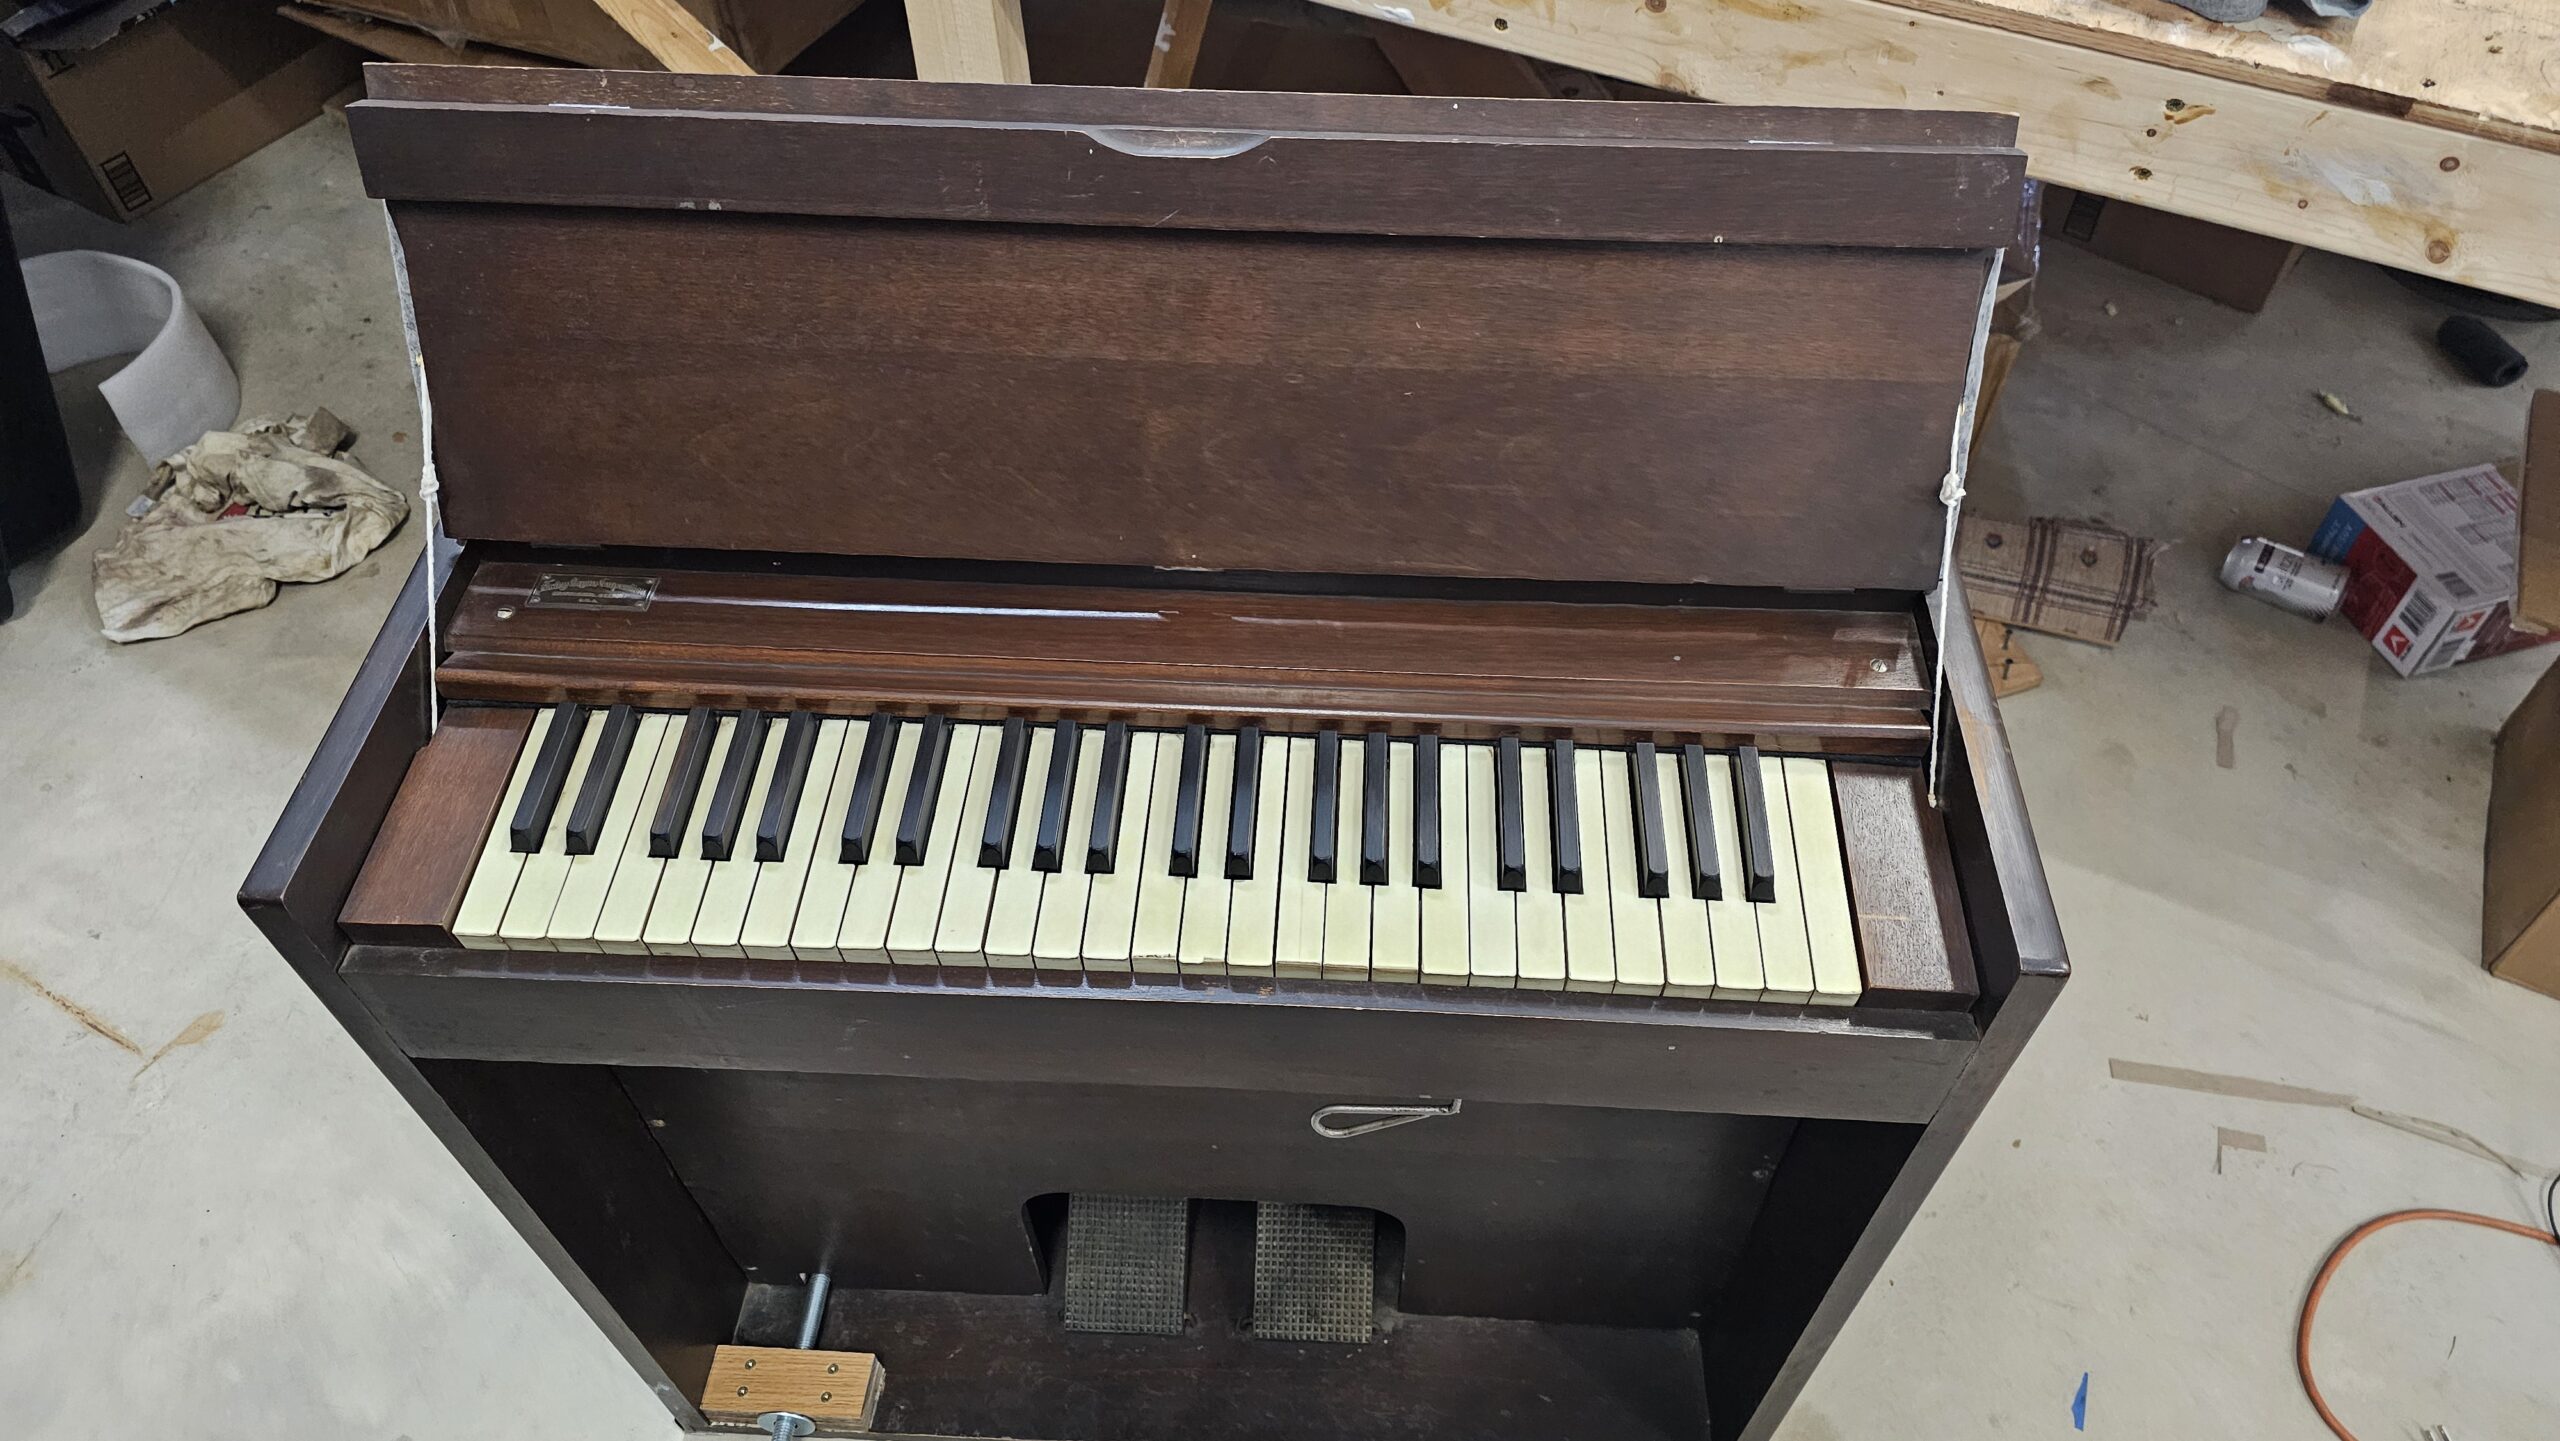
Keys installed, leaving leveling to another time (If I ever decide to get around to it)
Electronics
I build a phantom-powered differential piezo pickup preamp, largely based around the design by Alex Rice. This will give me more flexibility in recording the instrument and perhaps playing it in a band with other musicians.
Preamp circuit on perfboard
Preamp in an Altoids tin, with a panel-mount XLR connector, 3-way pickup selector, and gain knob mounted on a scrap of aluminum angle stock
Testing the circuit
Pickups installed in the organ. They are attached to the soundboard with screws, and cables are held in place with hot glue (the plastic, stringy kind)


 was, at some point, dropped into this instrument!")


")

")


")


")


")

")
")
")


")