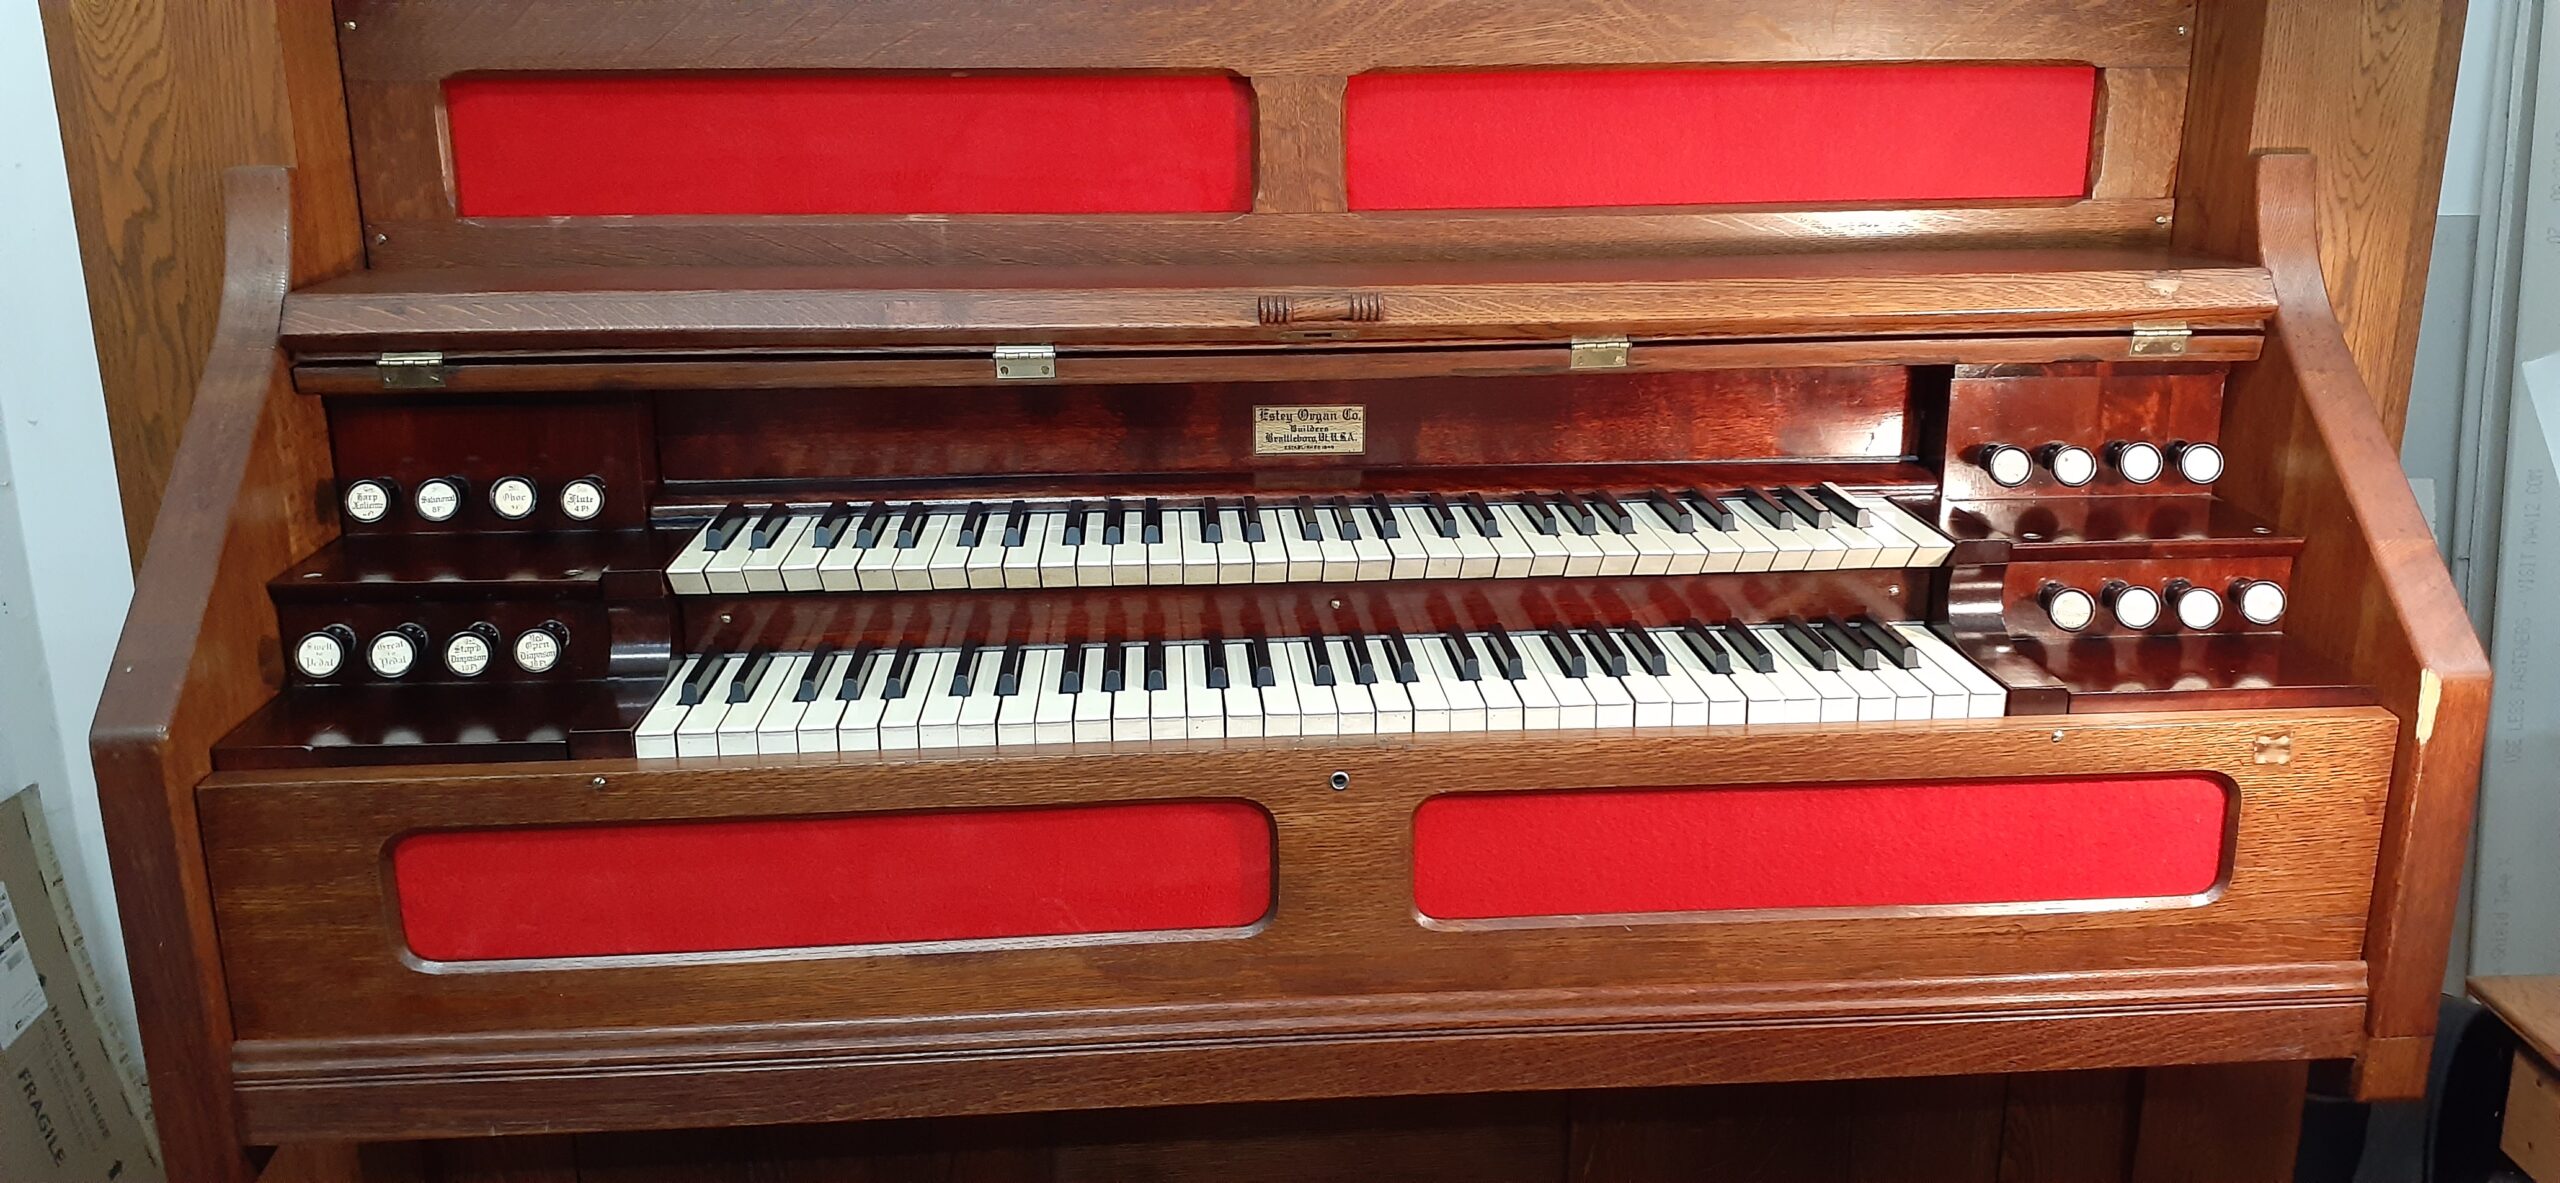
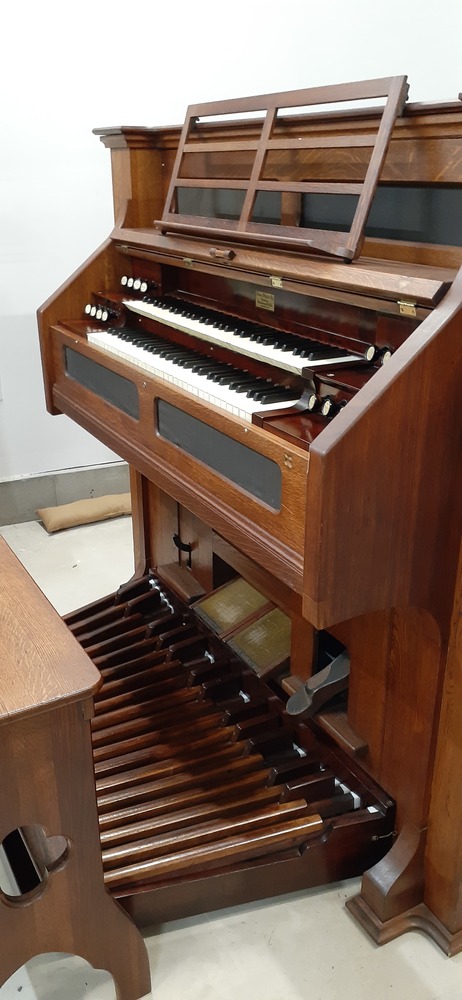
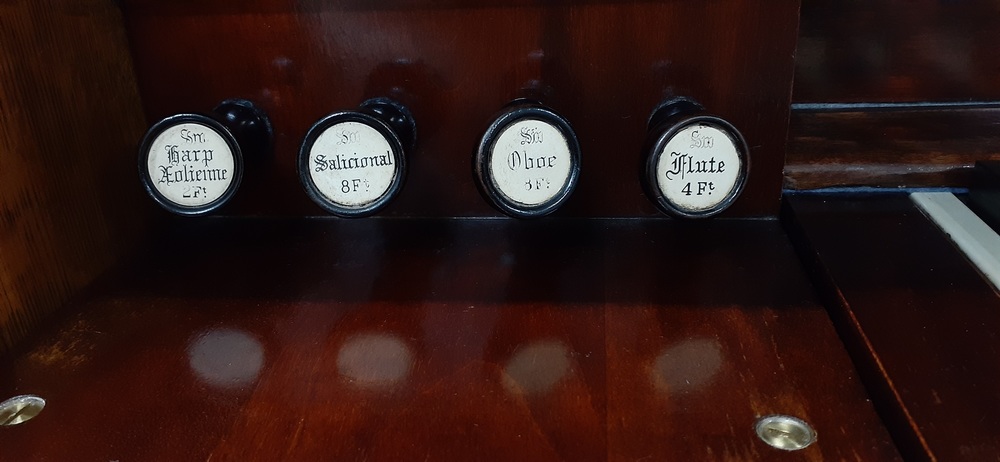
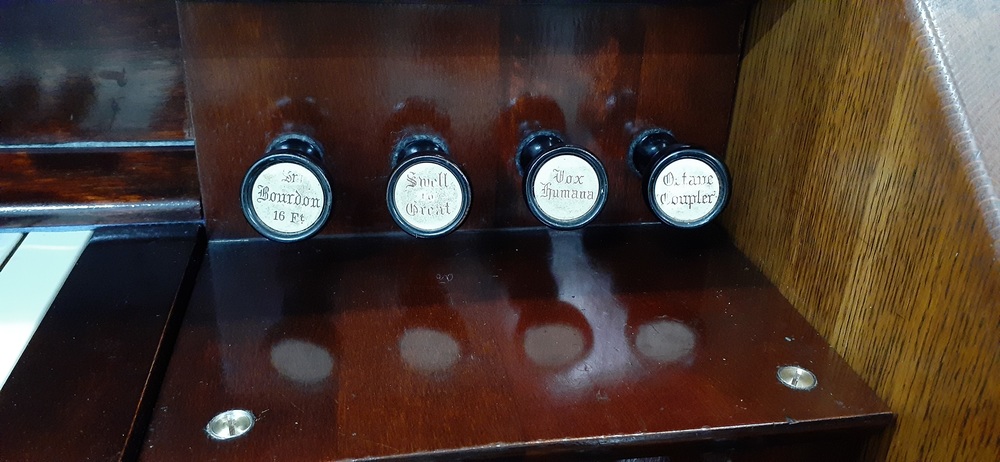
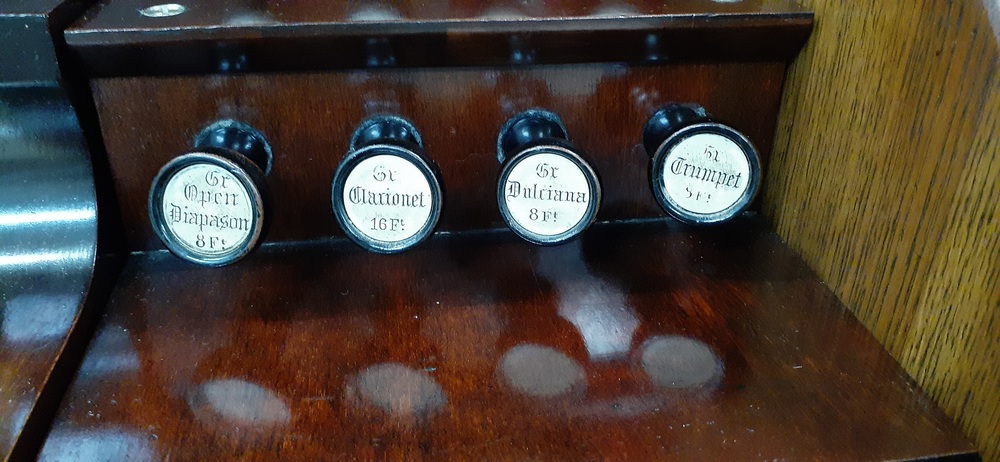
This 2-manual + pedals organ has 16 stops and a concave 30-note pedal board. It can be powered by the treadles (although the exhauster springs are quite large, making this process very tiring), manually by the “hand side blower,” or by the electric blower with it was at some point furnished. The electric blower is not an Estey Orgoblow system, but rather a blower from the Spencer Turbine Company.
This organ had been worked on ca. 2000, and evidence of much older, small repairs was found when working on it. In my hands, it was initially brought to full functionality in 2020. In 2022, some mold had began to grow back, and I performed a more thorough restoration of the action.
This page will document, roughly in order, the process undergone to bring this organ to its present condition. The second of the two “waves” of repairs will be documented after the conclusion of the first.
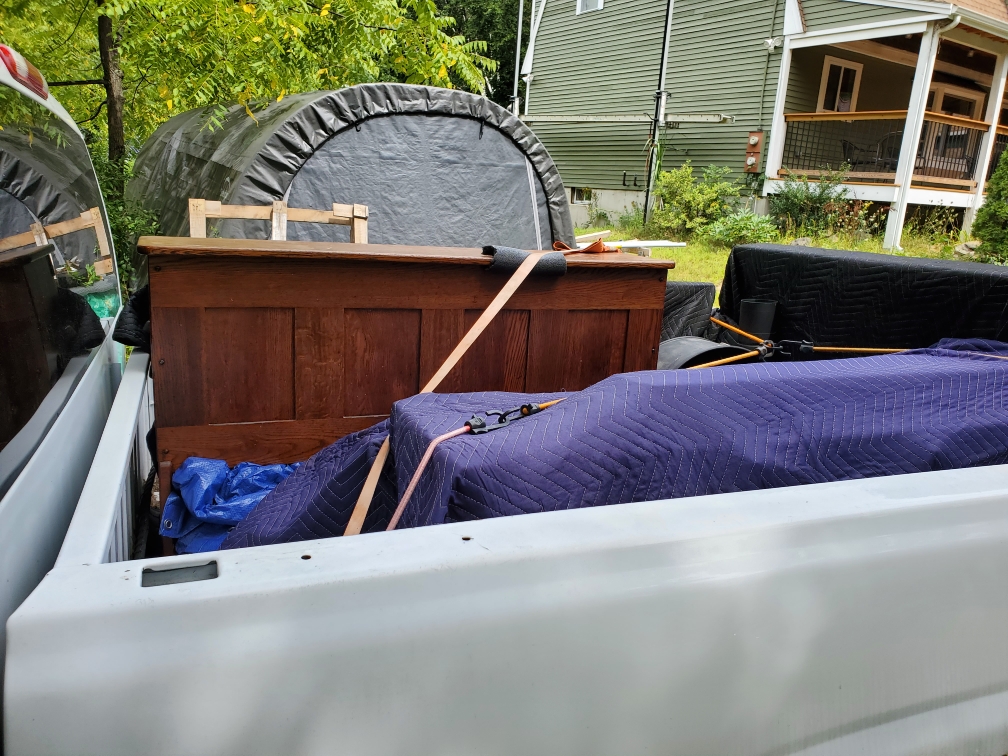
Transportation
After picking the organ up from a Craigslist listing, it was brought back to the garage.
The organ case and lower action on a trailer
Upper action, blower, bench, and pedal board in the bed of the truck
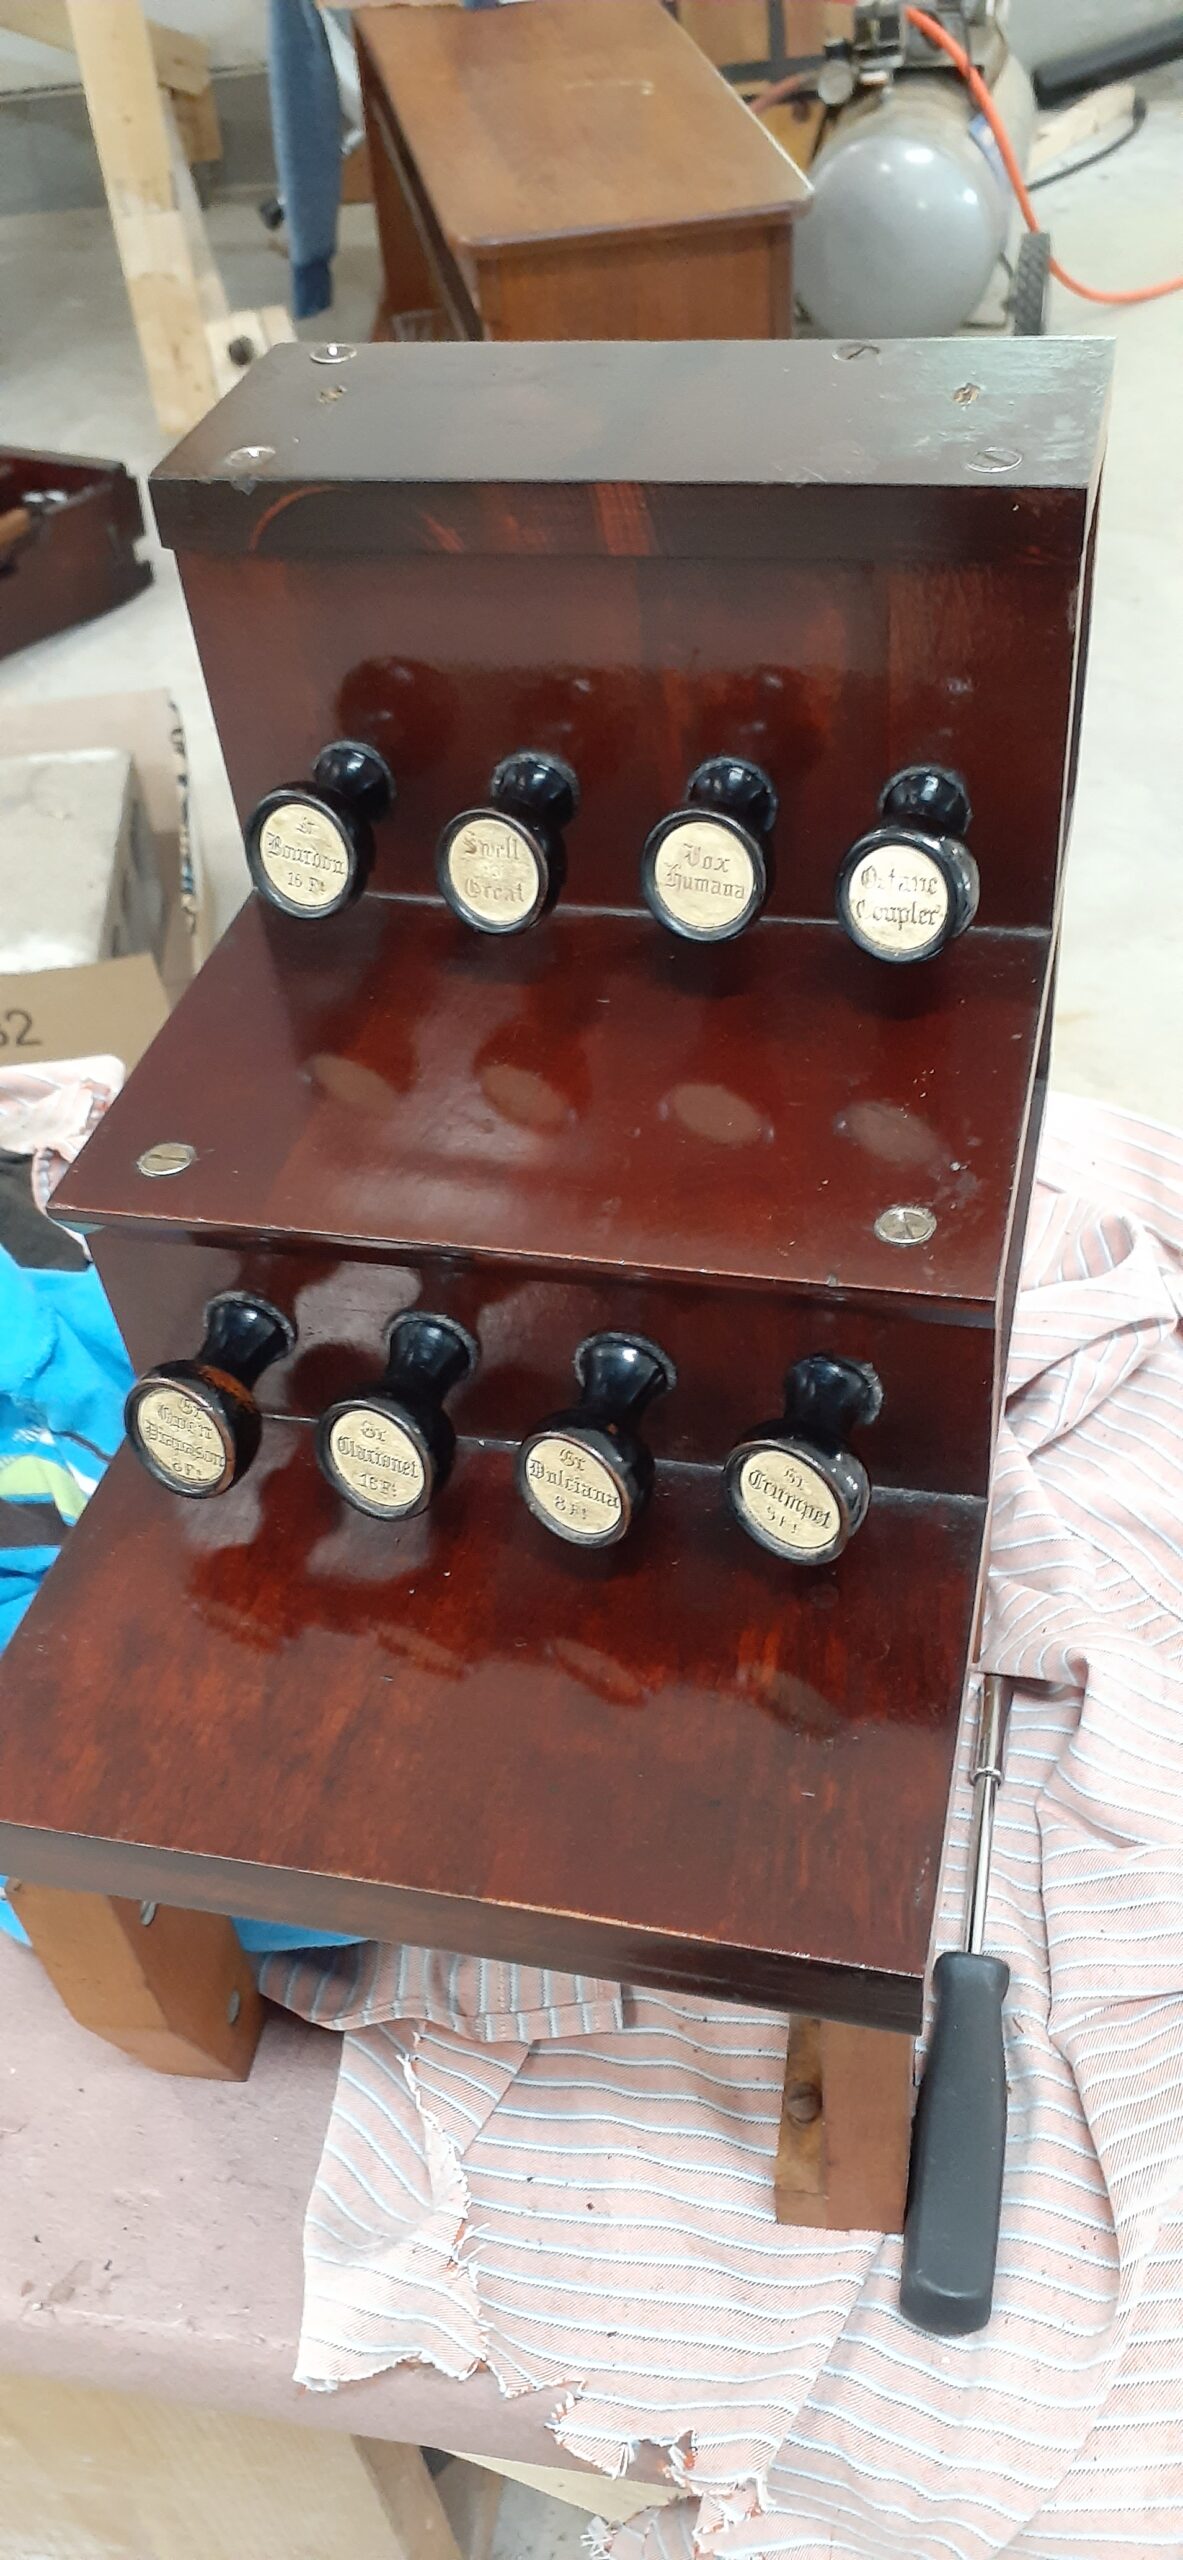
Pedal couplers, vox humana, and misc. case pieces in the back seat
Initial Condition
The work done to this organ in ~2000 included refinishing the case and replacing many of the felts. As such, the case was in excellent shape to begin with. Unfortunately, the organ became a home to a family of mice at some point since then, destroying the bellows, many pallet valves, many felts, and leaving plenty of cleaning to do.
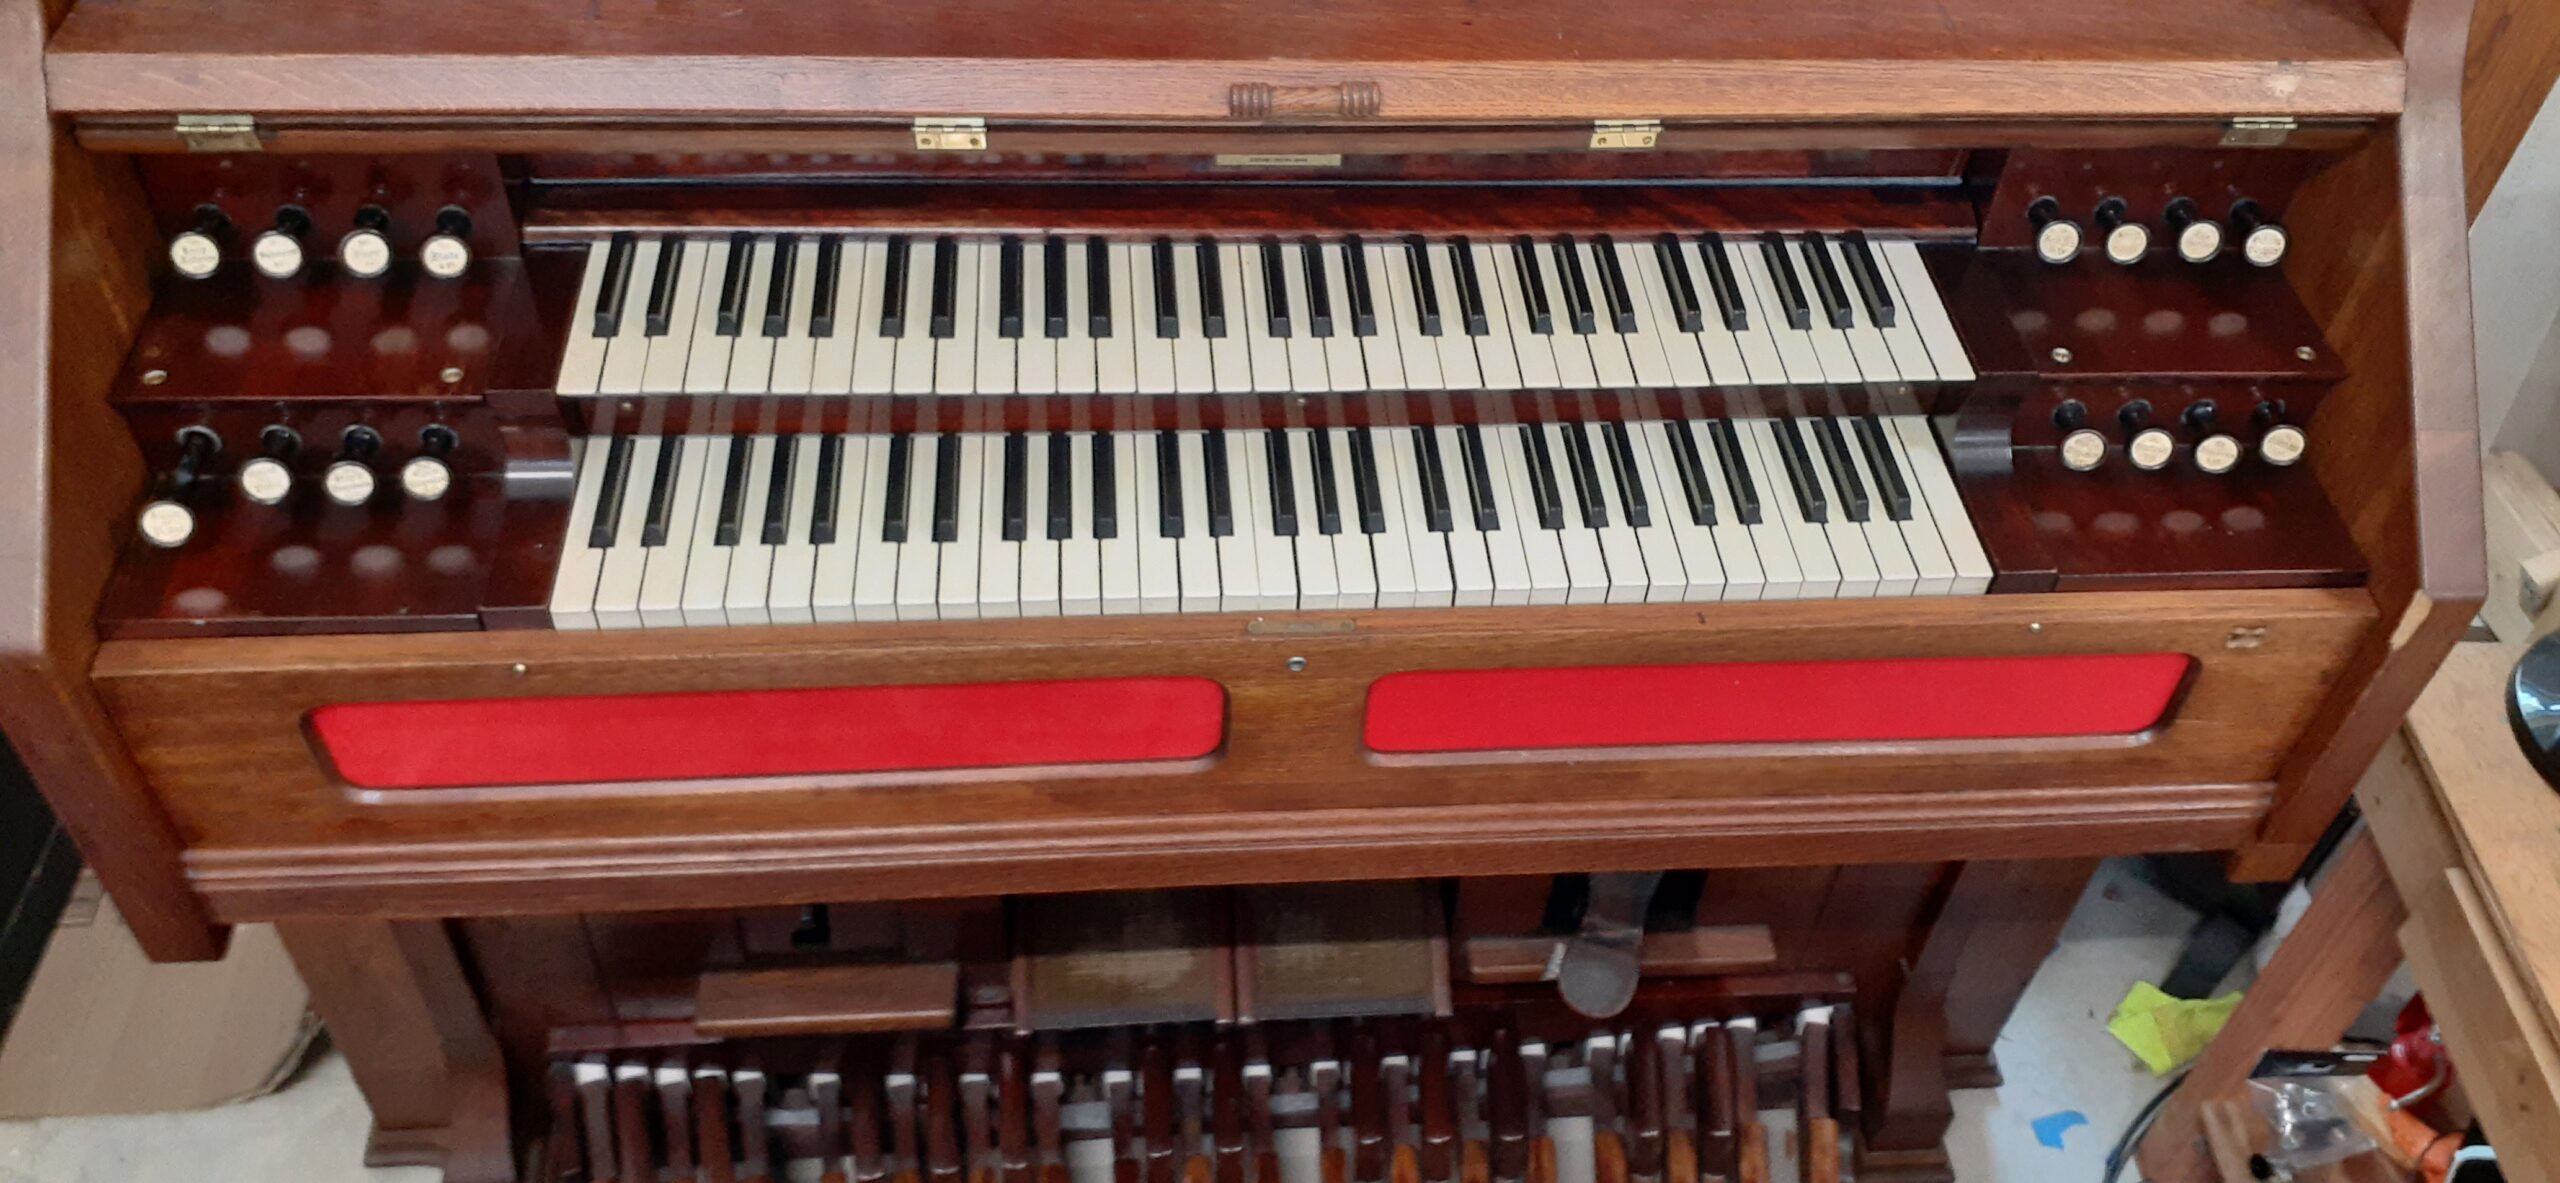
The case and lower action
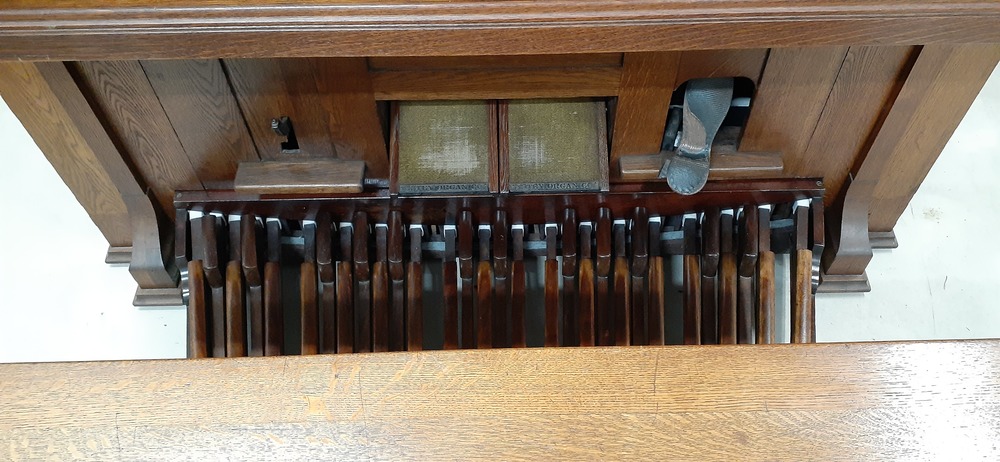
The concave pedal board
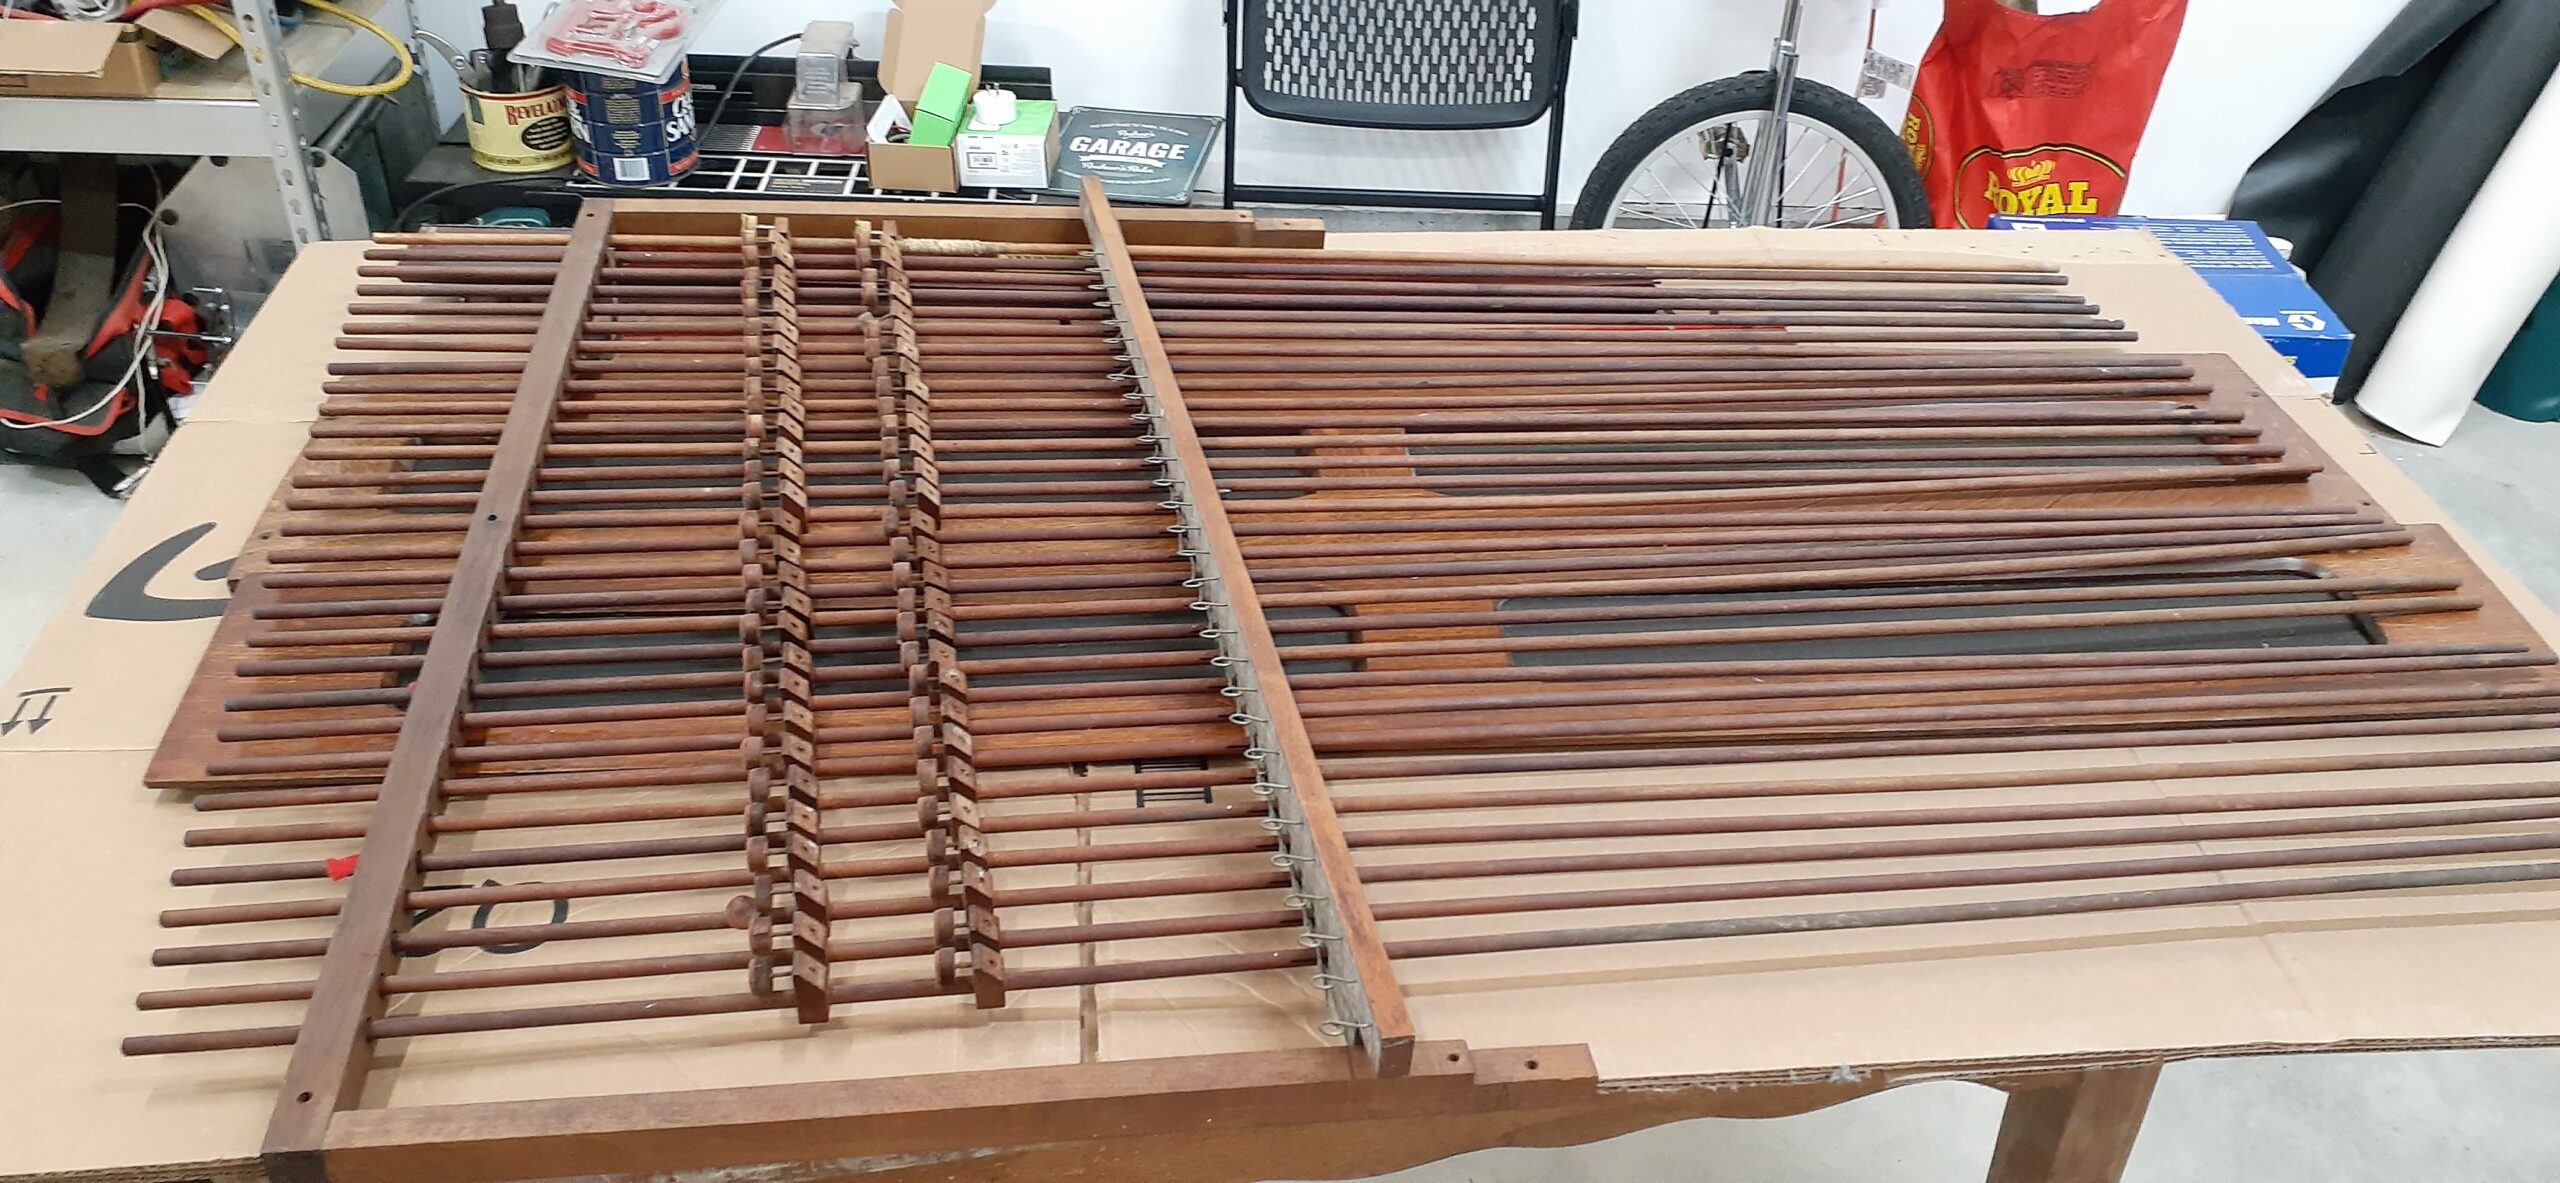
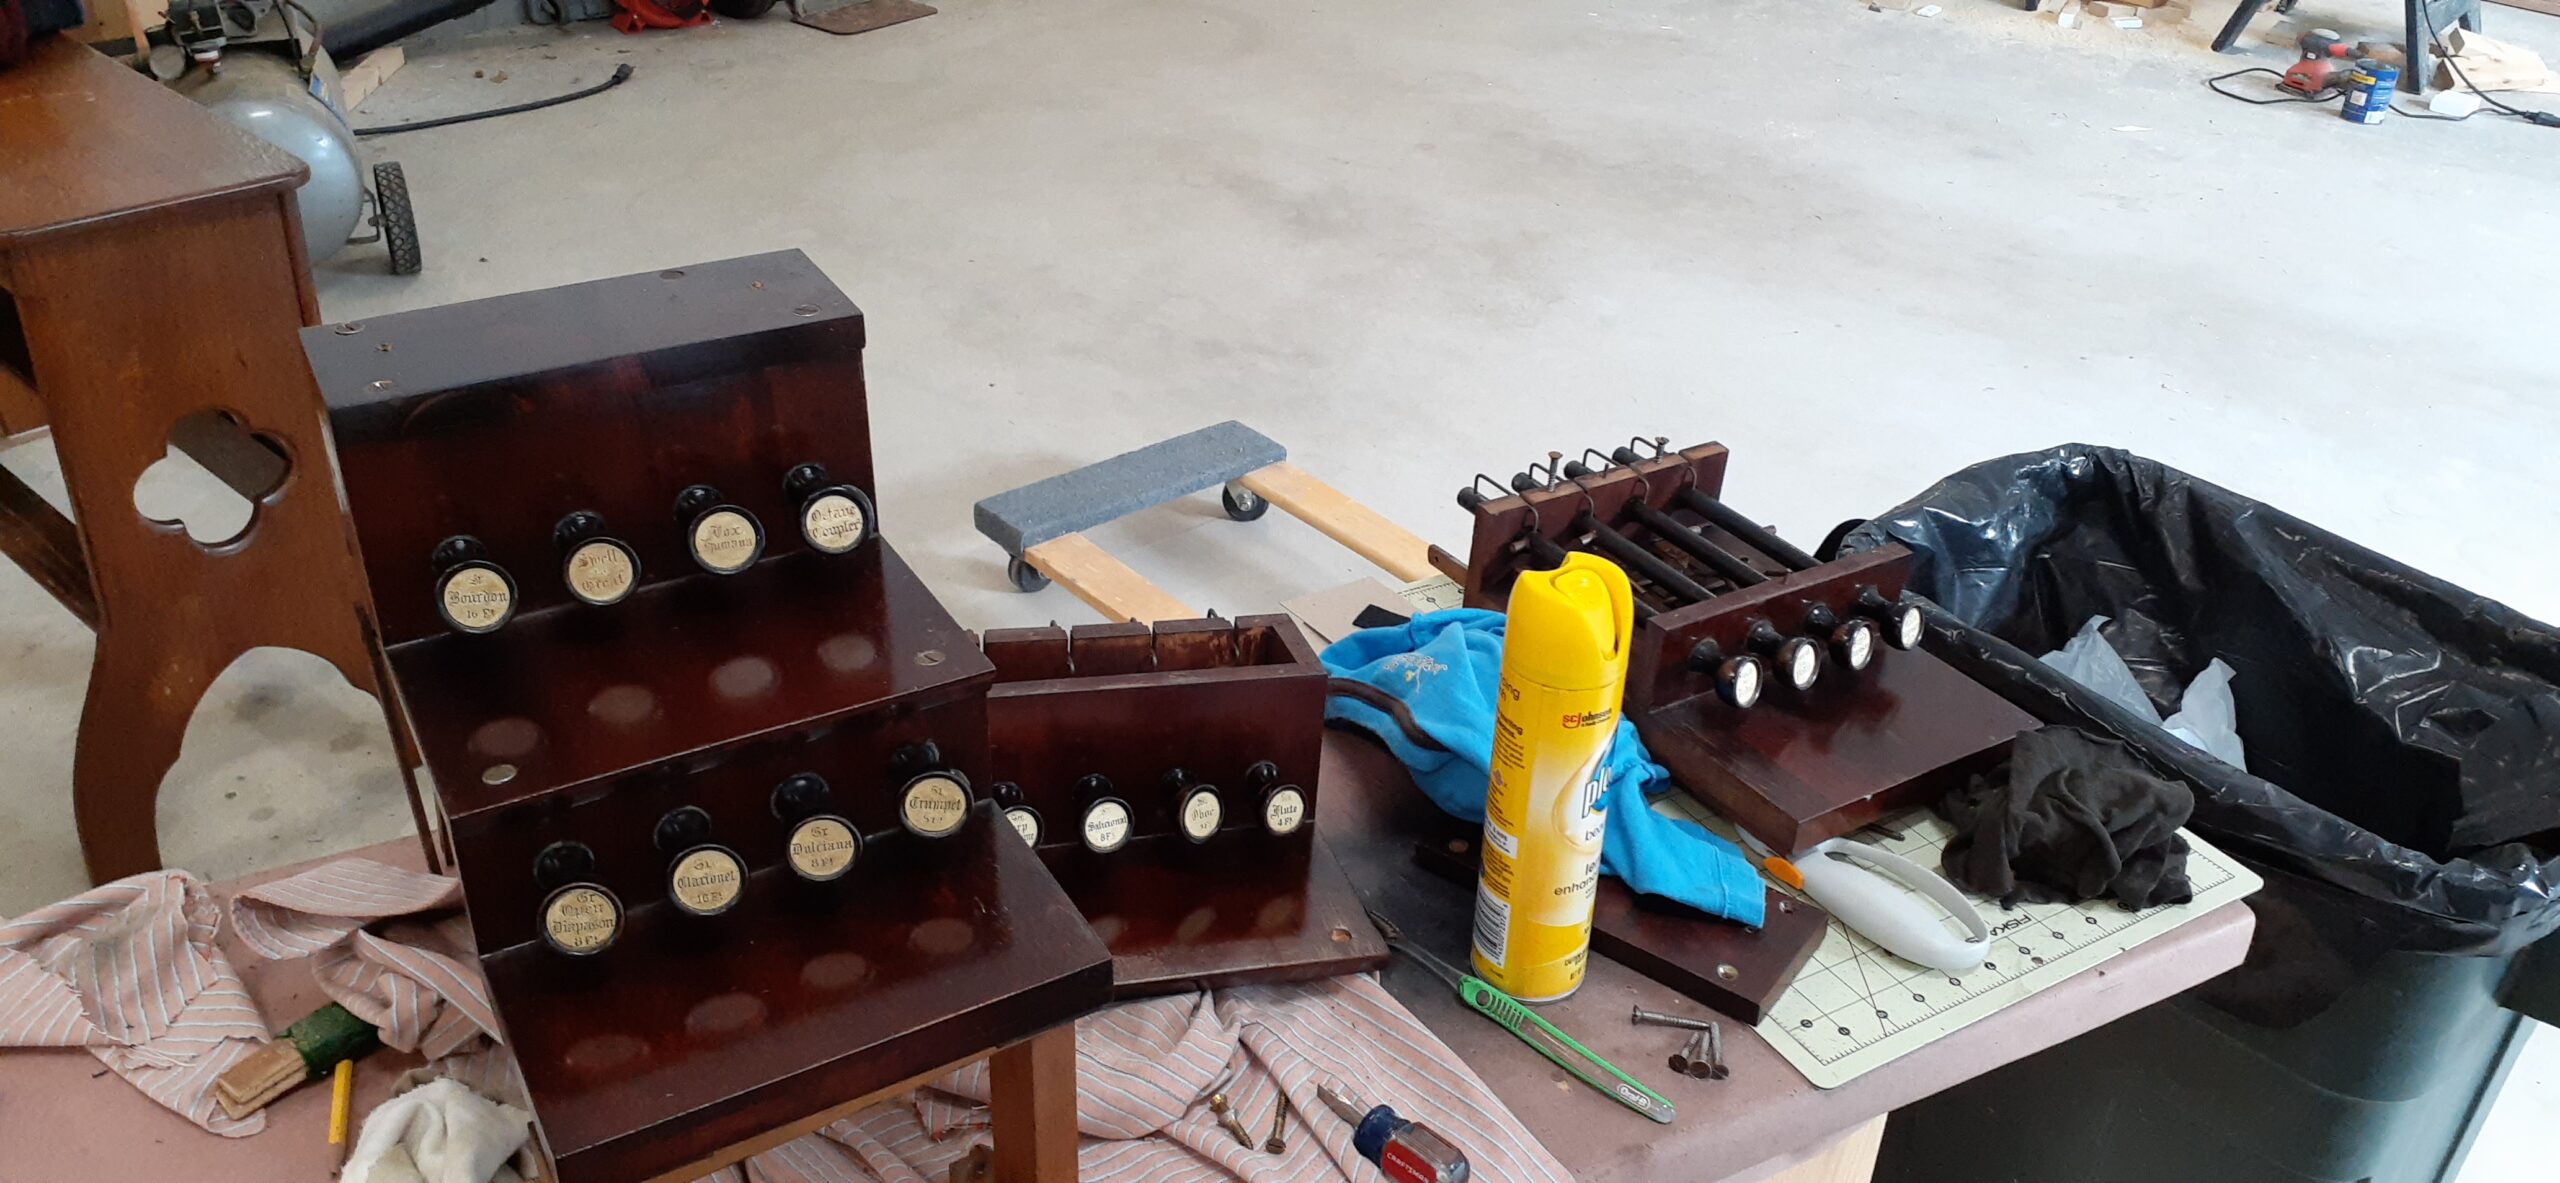
Couplers, sells, vox humana, music stand, and other pieces
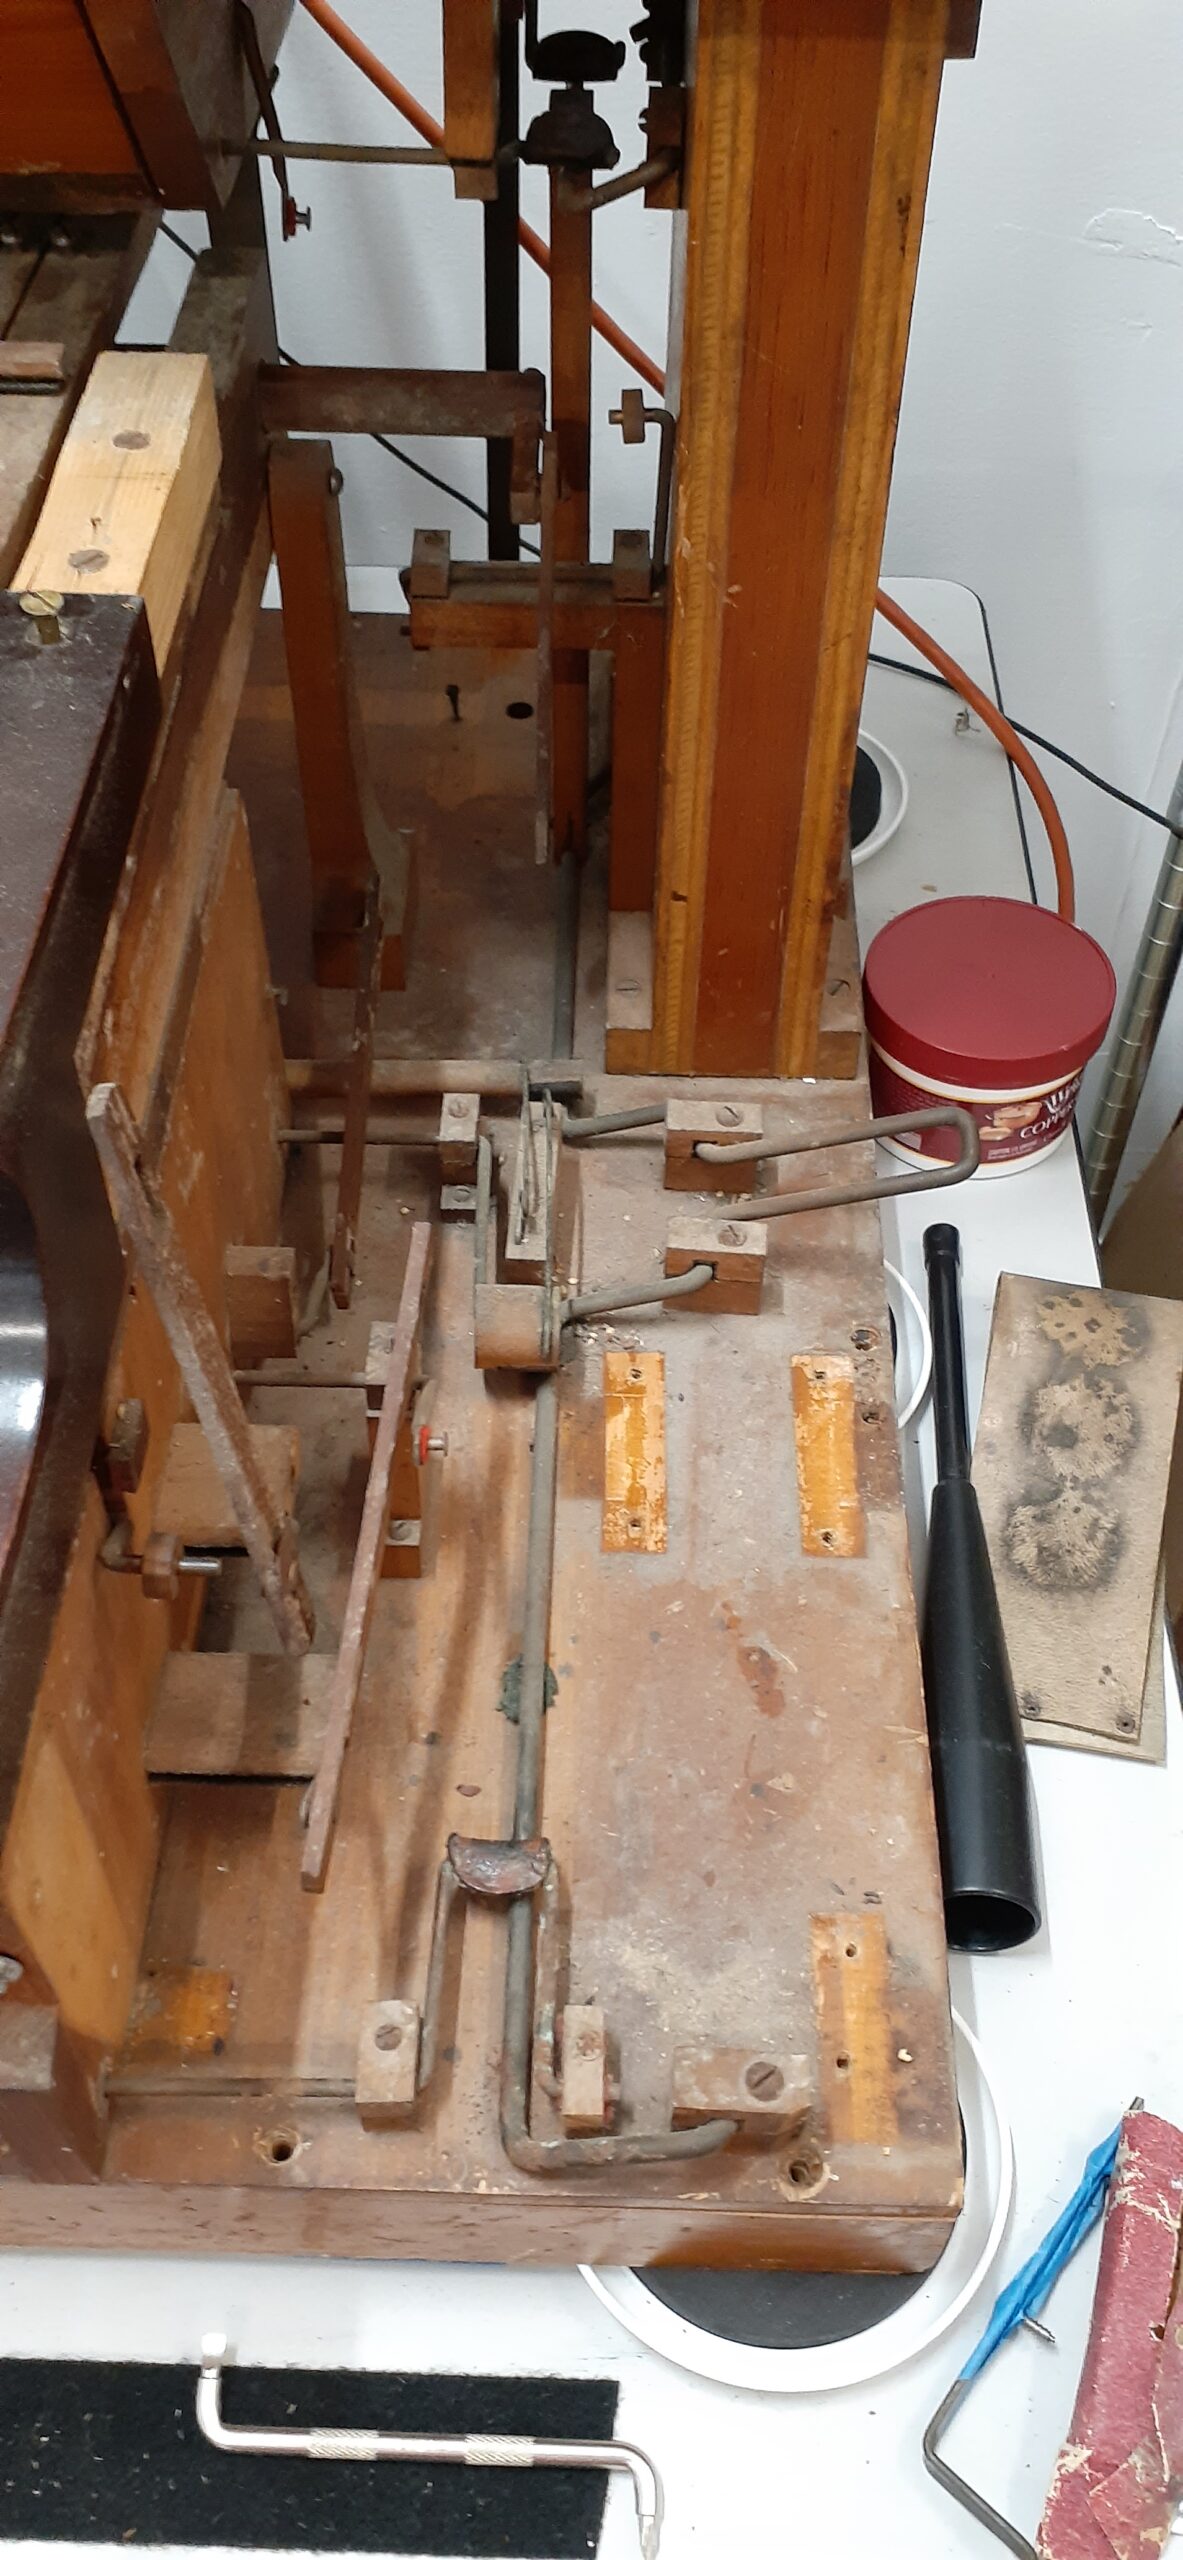
Treadles and pedal linkages
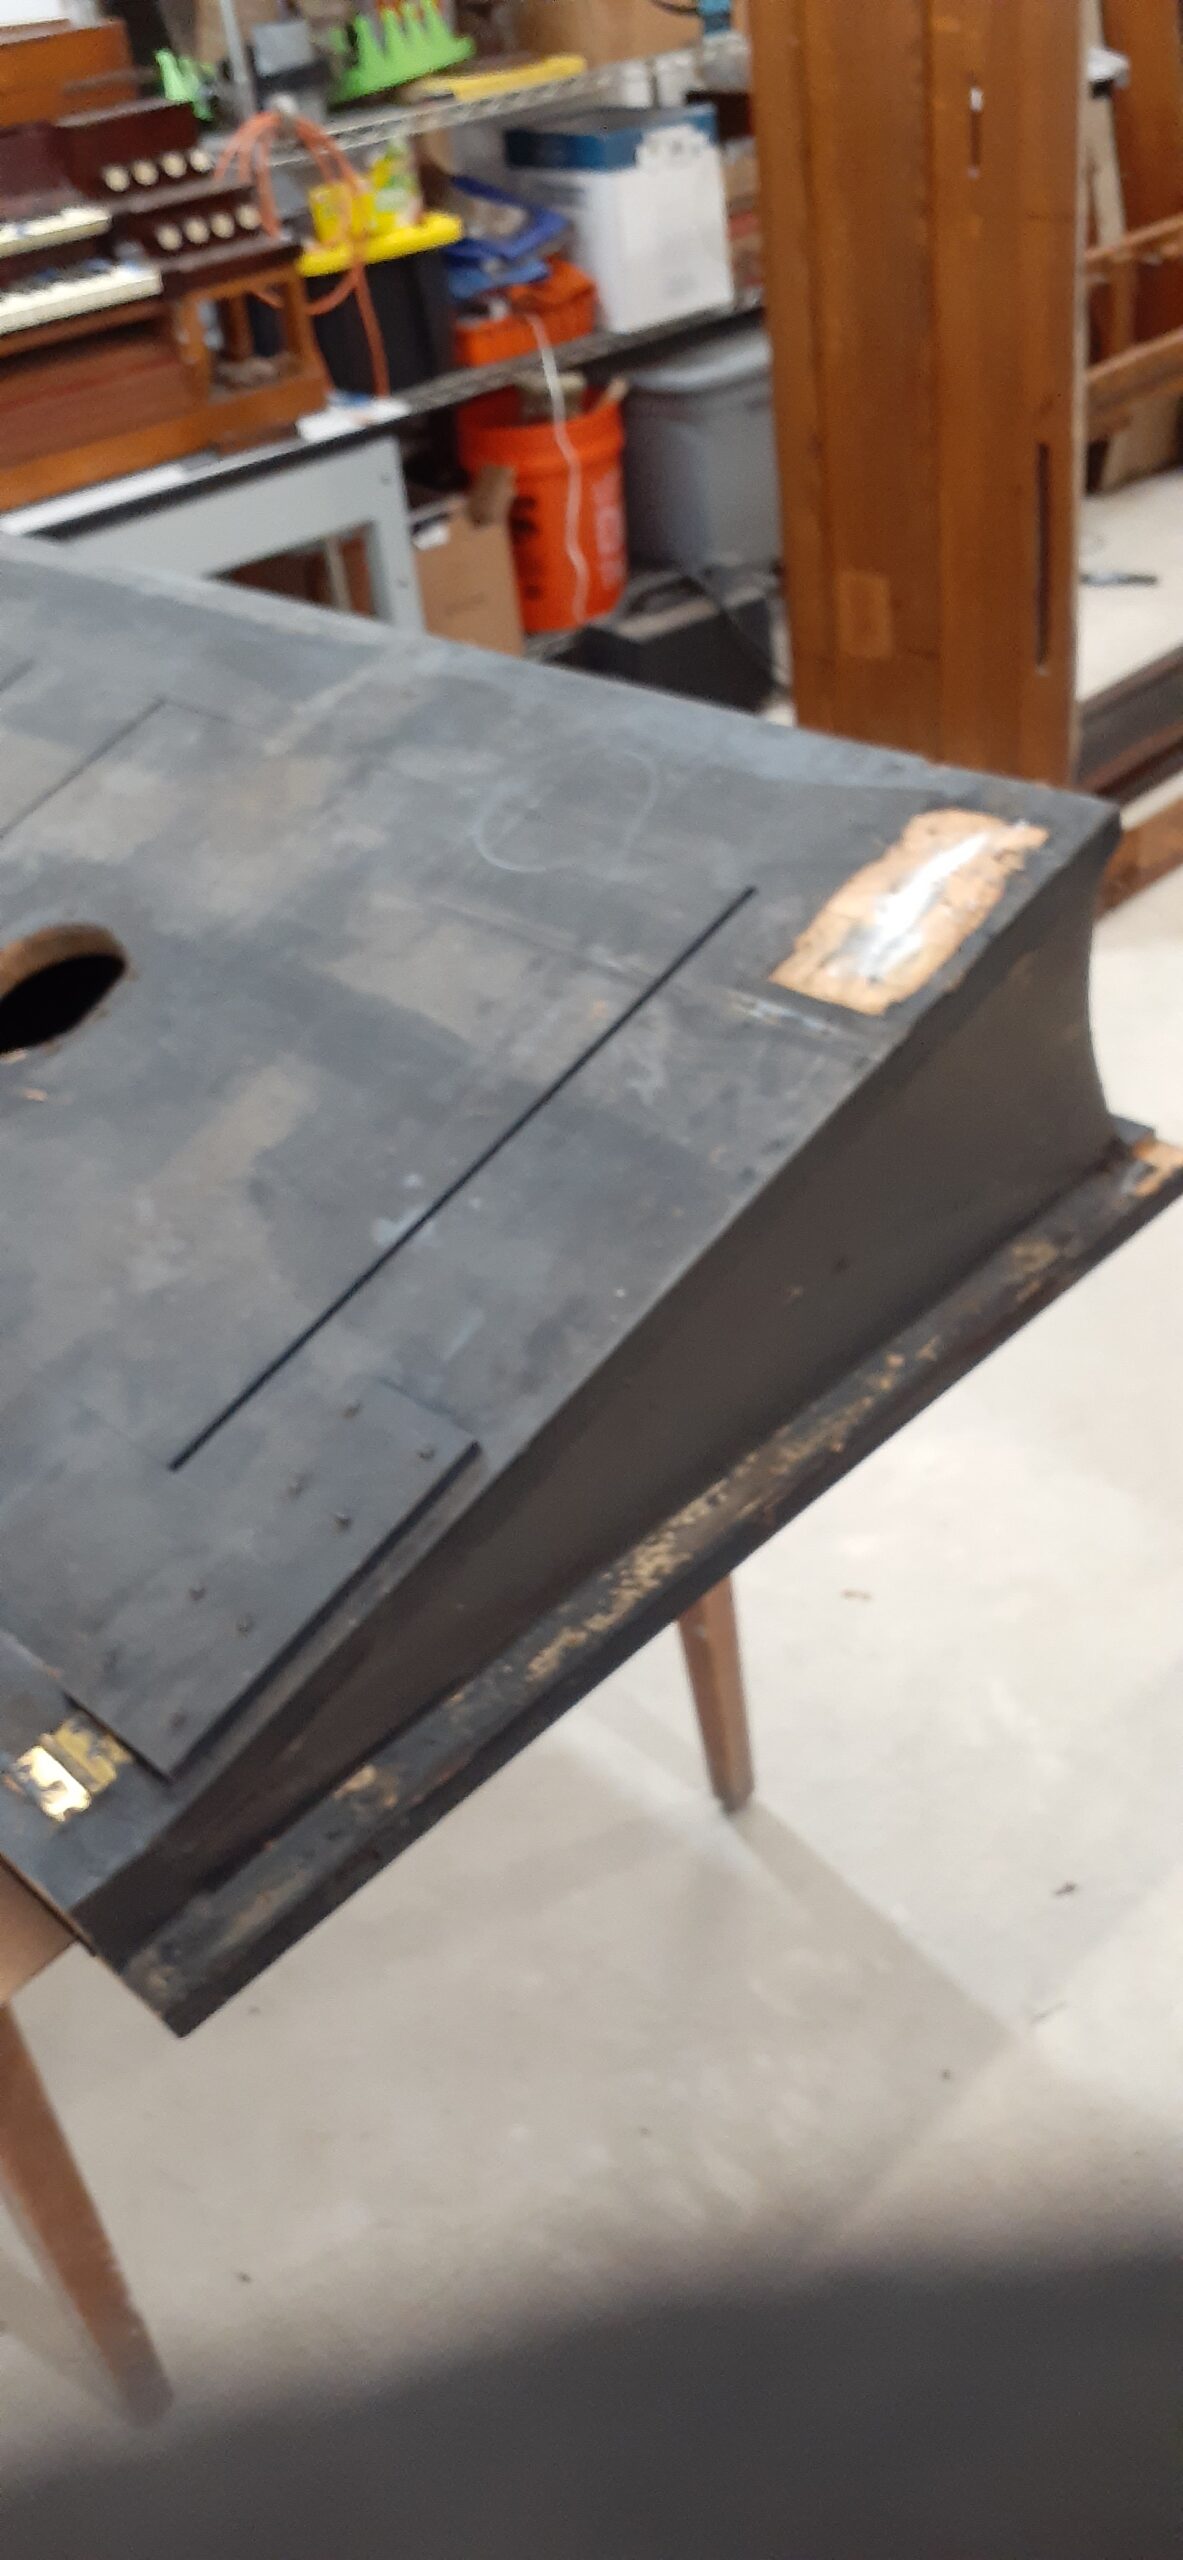
The back of the bellow reservoir (the flange is for connecting the electric blower)
The bench, beautifully refinished by a previous owner but very wobbly
A peek at some of the reeds
Part of the upper action
Behind some of the swell division swells — a view of some mutes
The exhausters, with the bellows cloth cracking at the folds
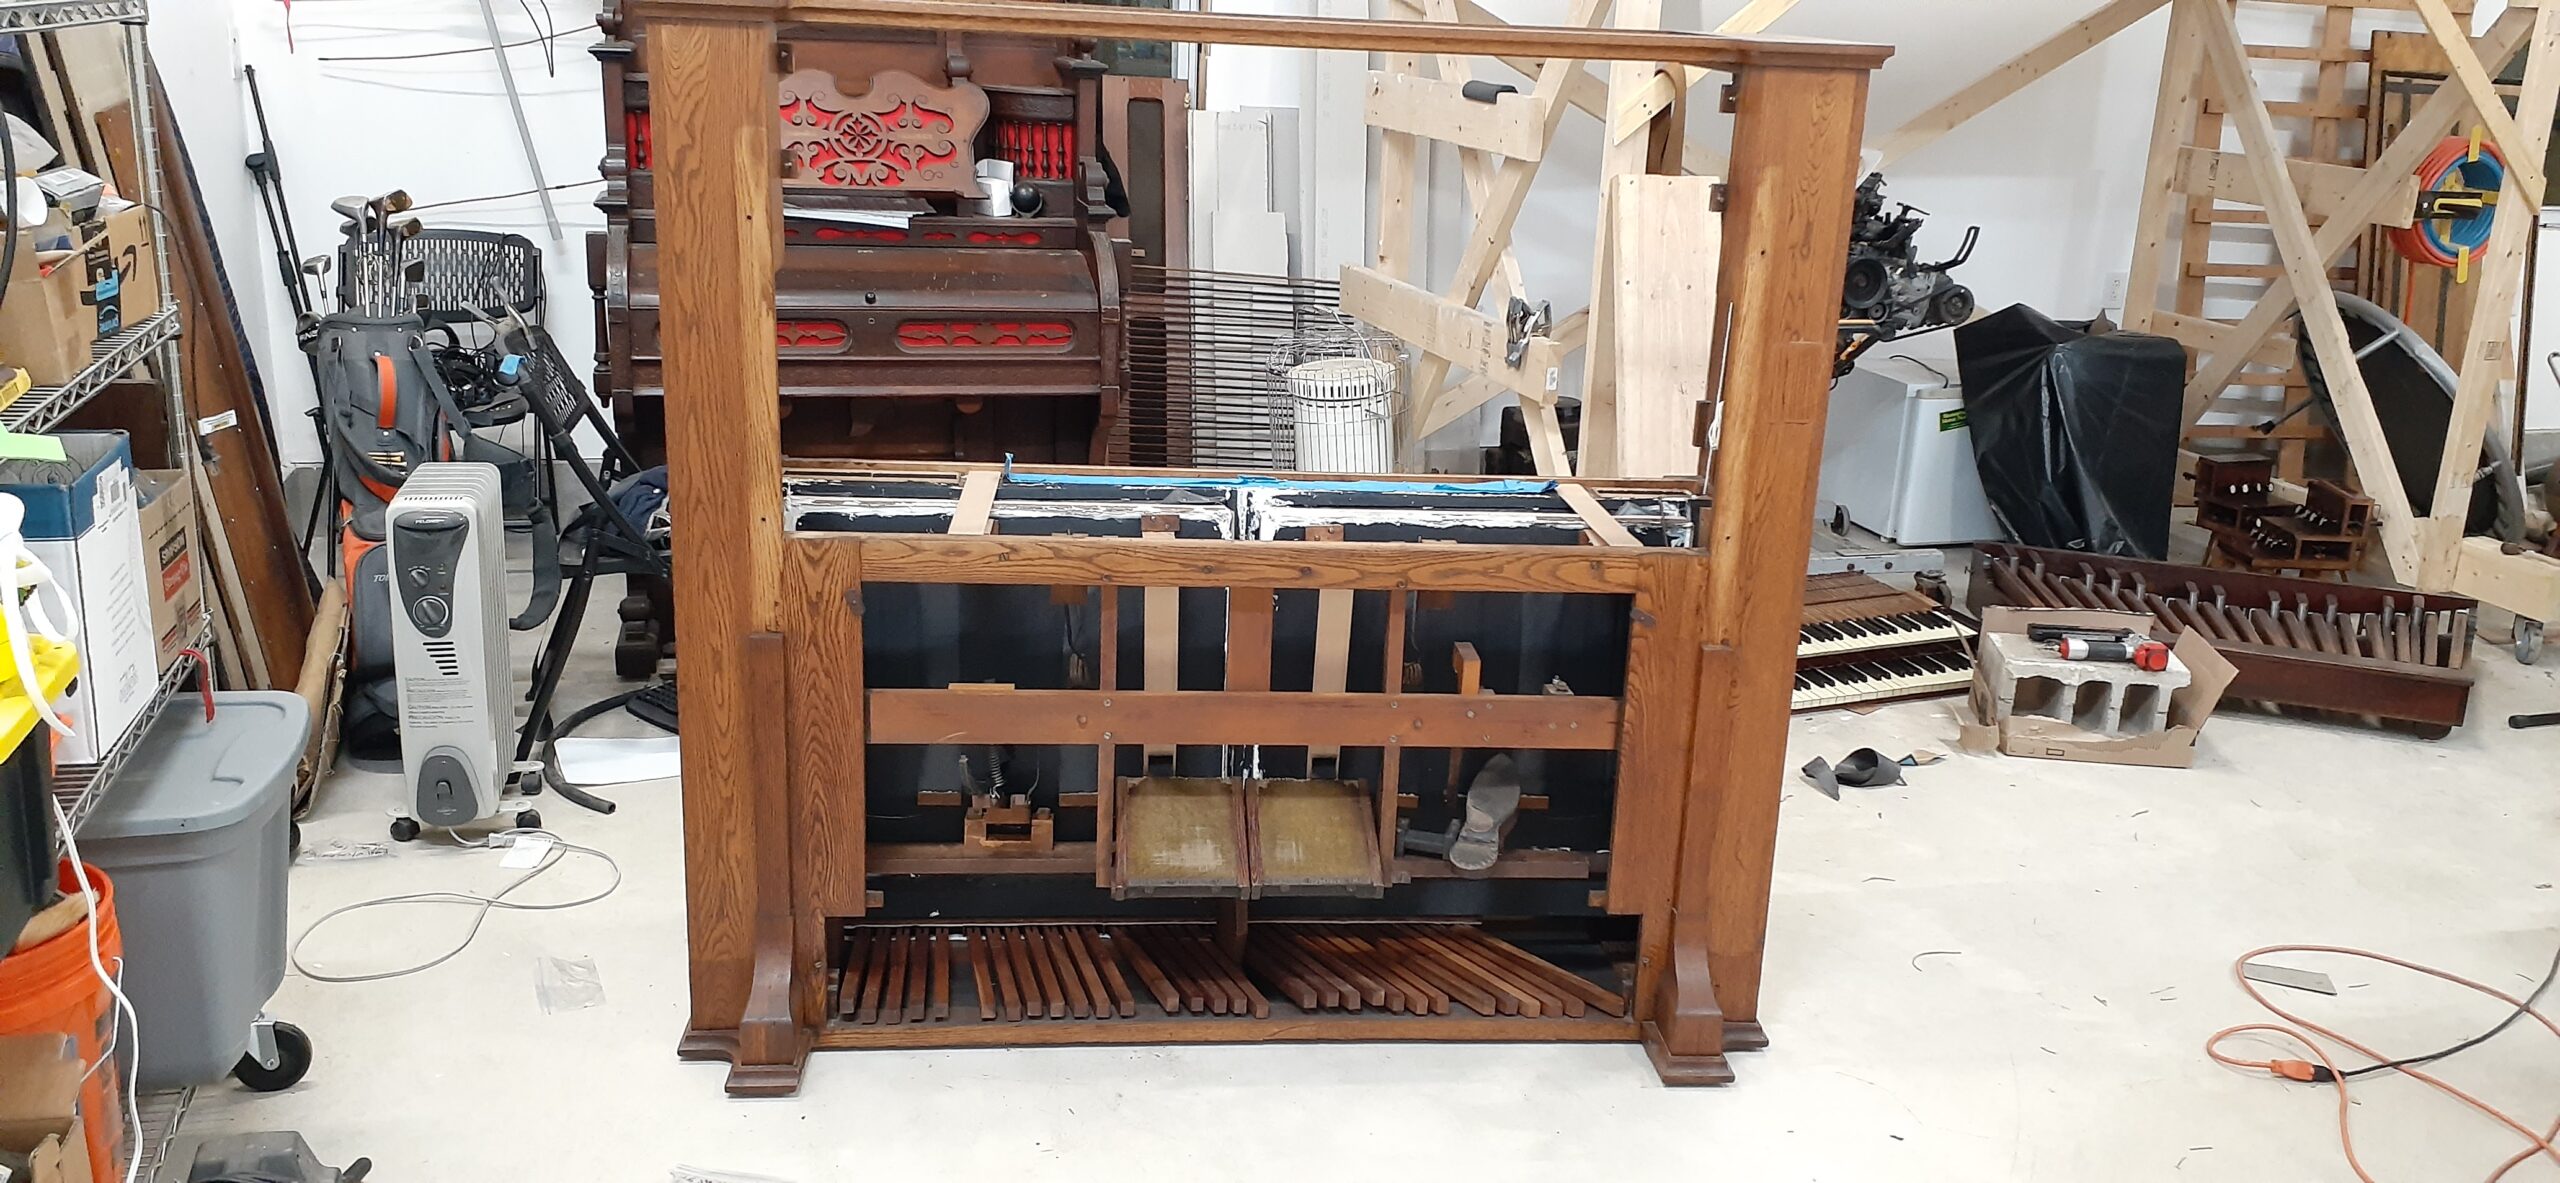
The front of the case/lower action
First Wave of Repairs – 2020
The first set of repairs in 2020 was focused solely on making the instrument playable. In the “second wave,” things were done far more thoroughly.
Organ parts sprawled about the garage
Screws and small parts kept in labeled bags
Lower action pt. 1
The lower action was first disassembled, going piece by piece and restoring each to reasonable condition.
Preparing to remove the bellows
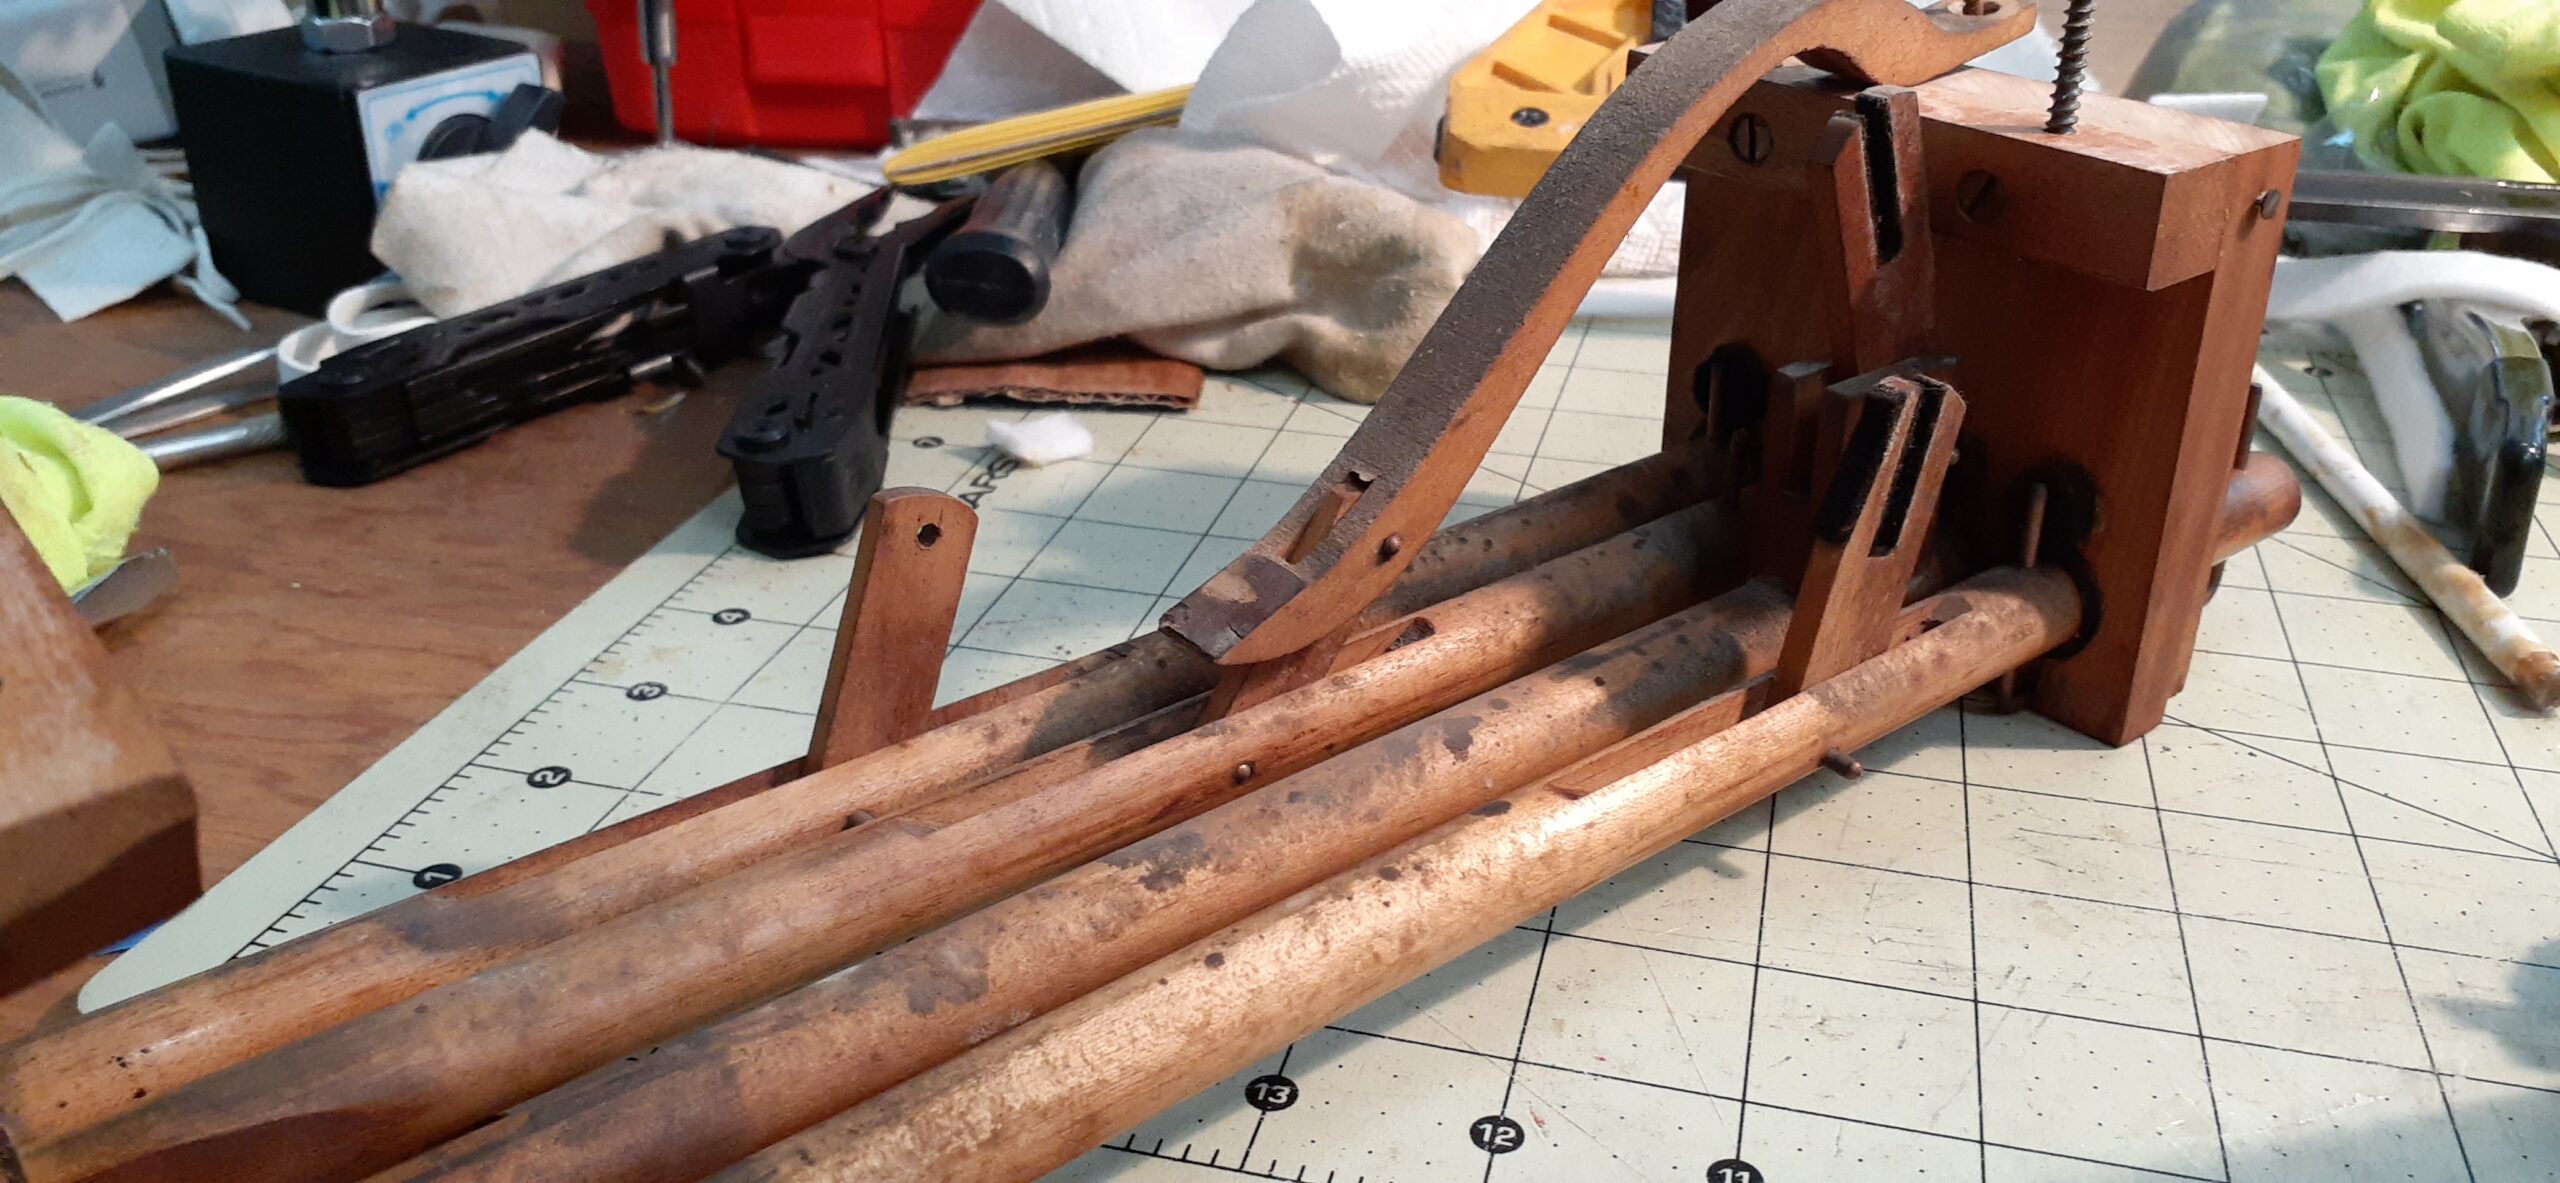
Grand organ pedal subassembly
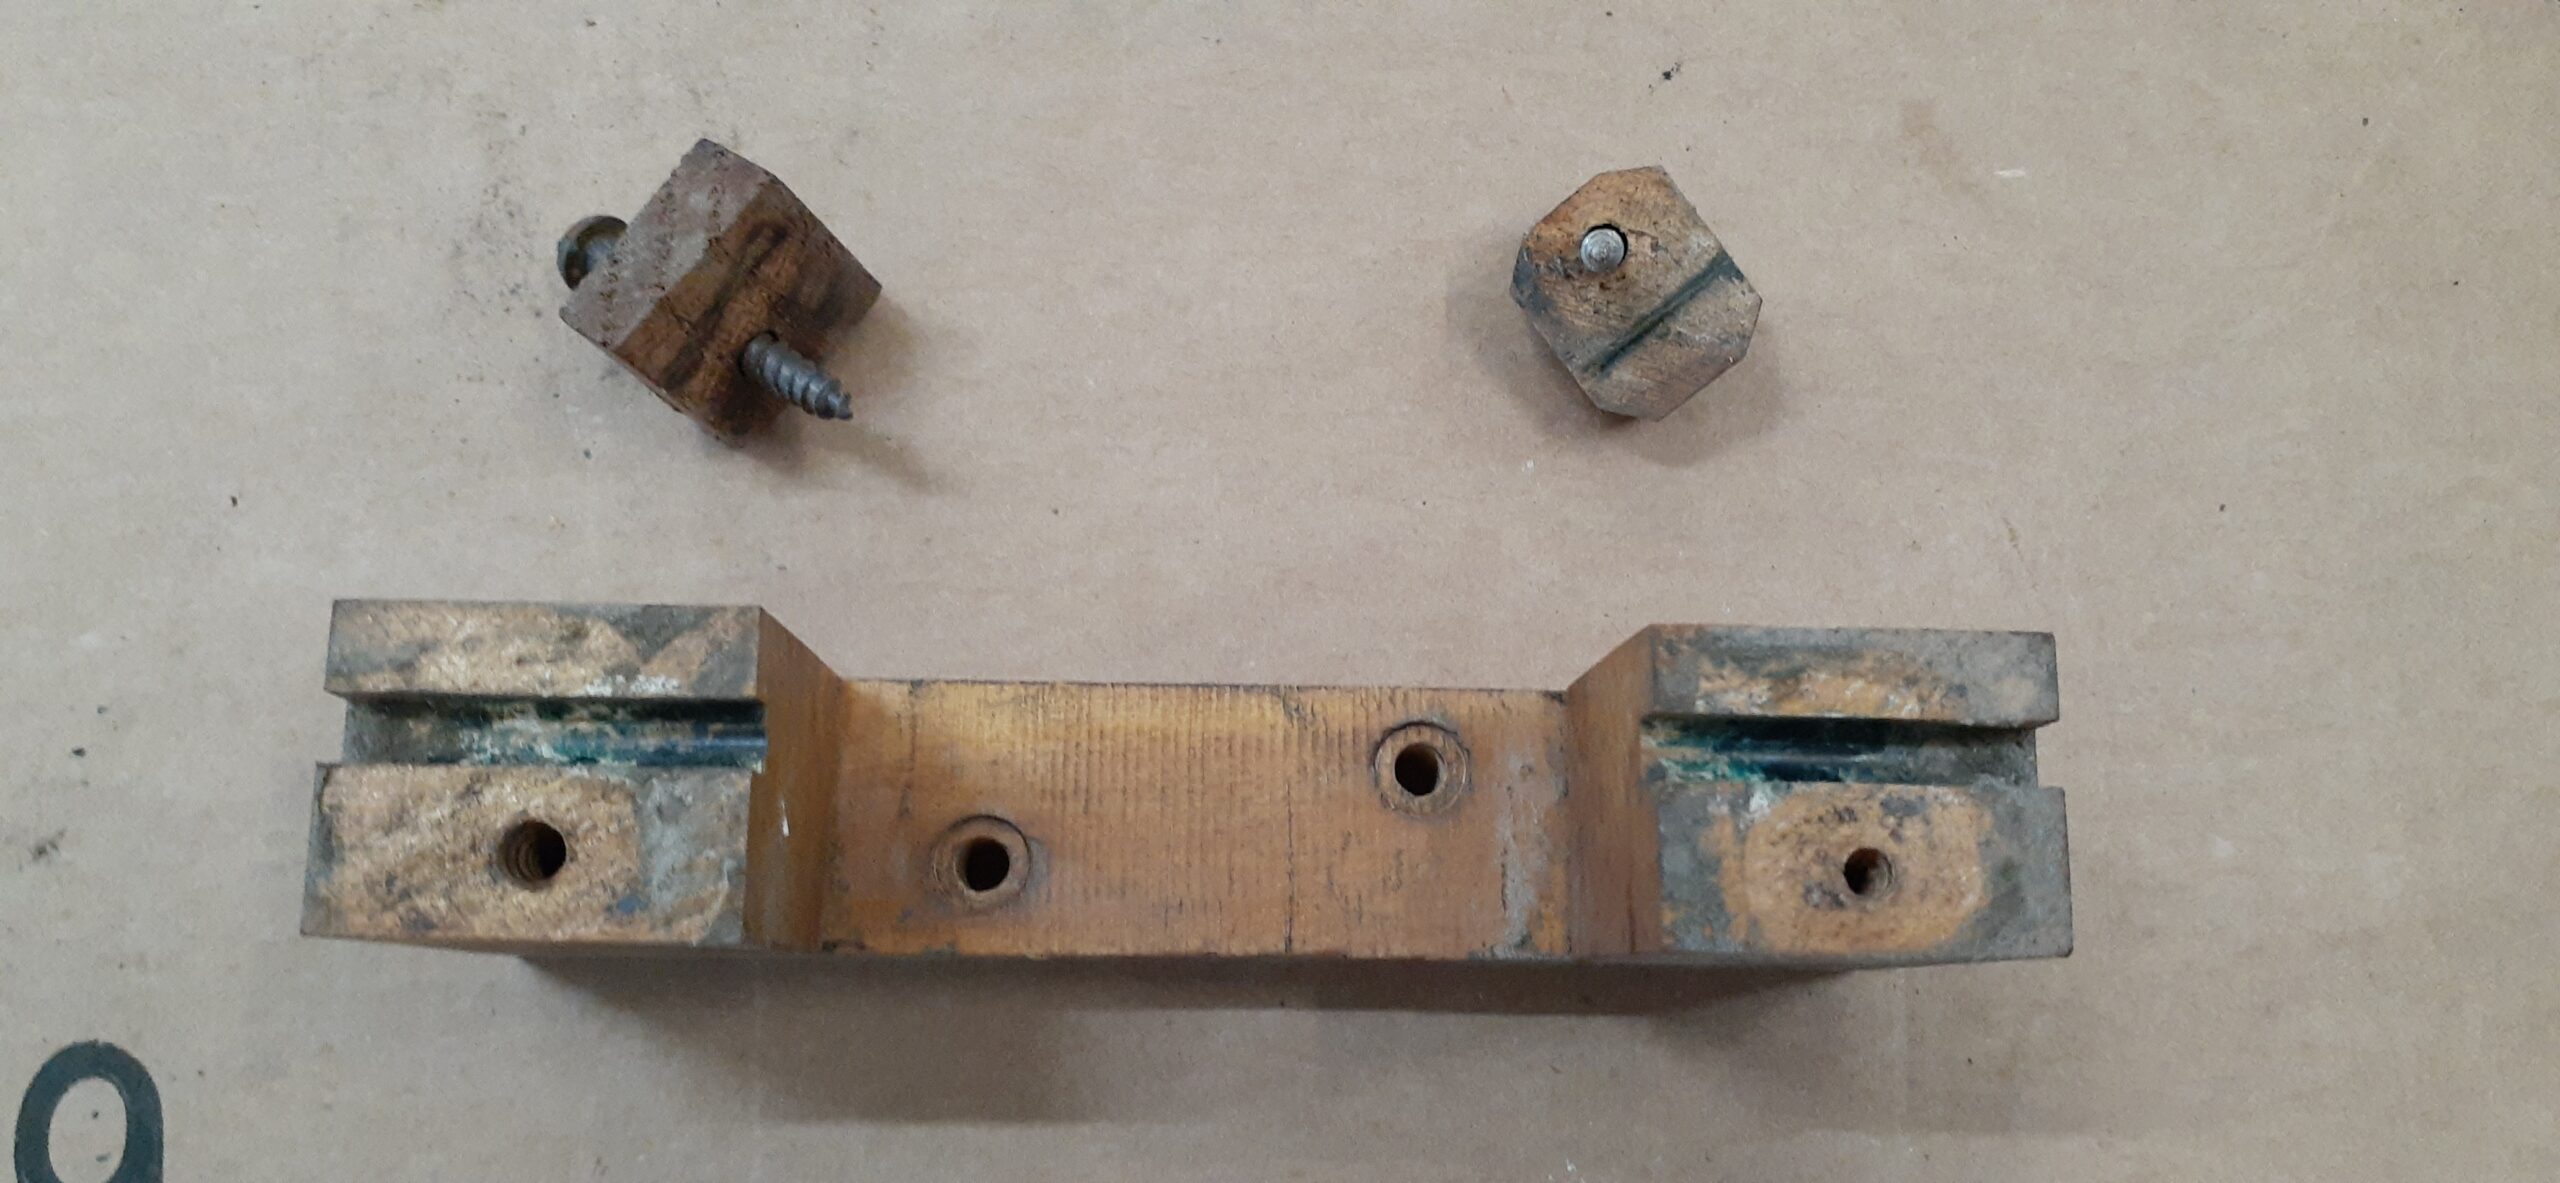
Two lower action pulleys
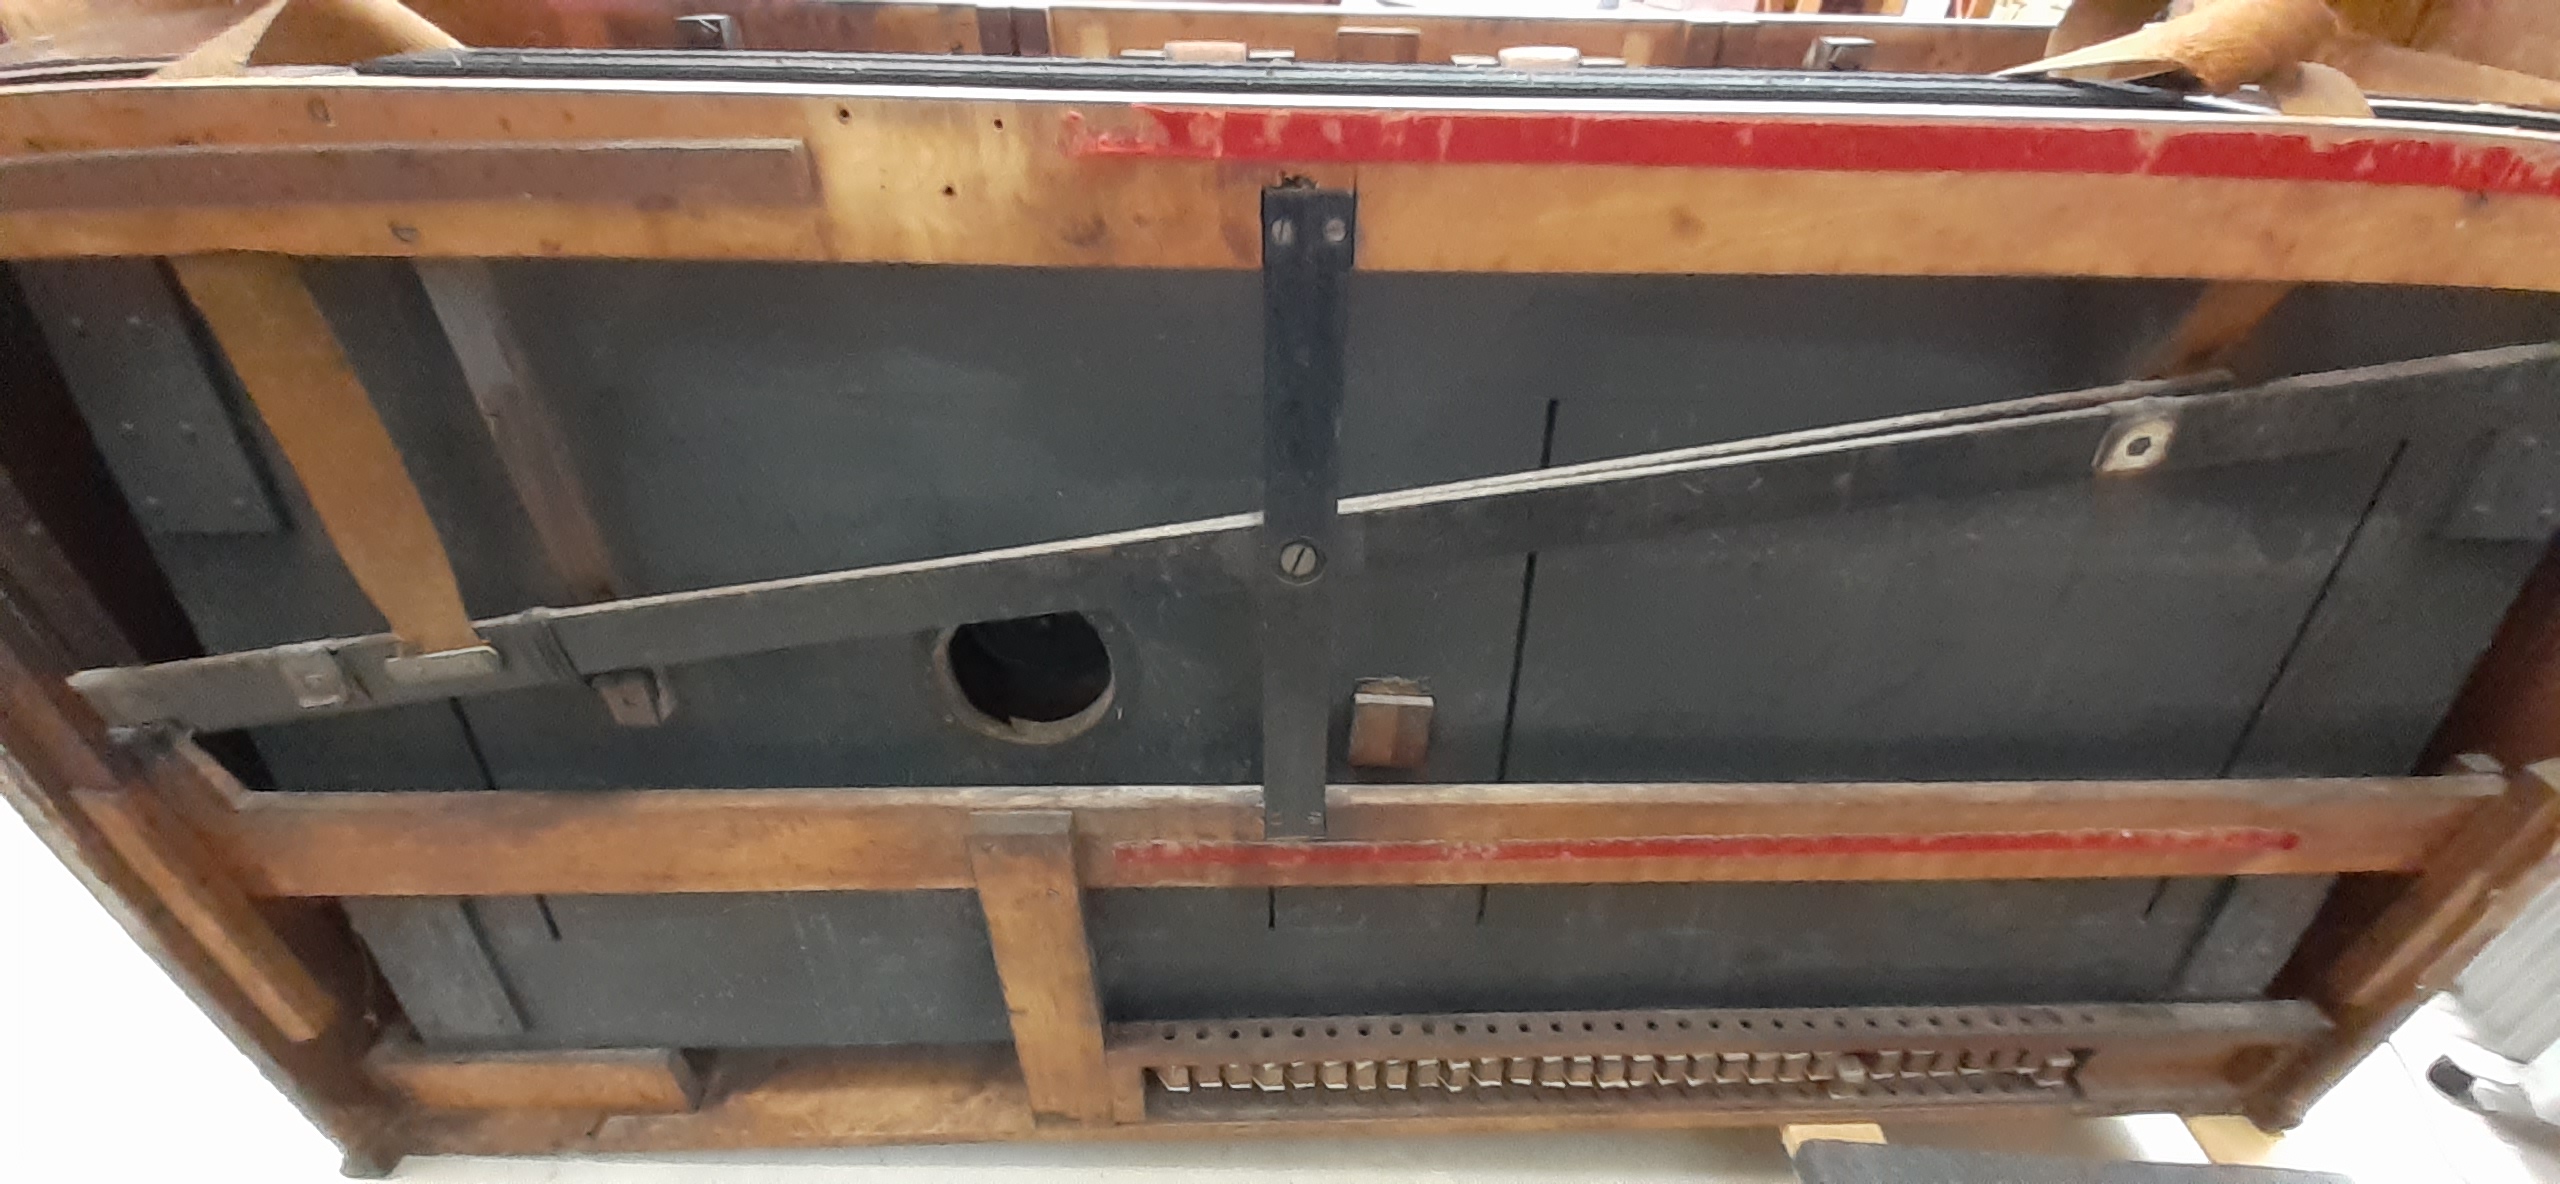
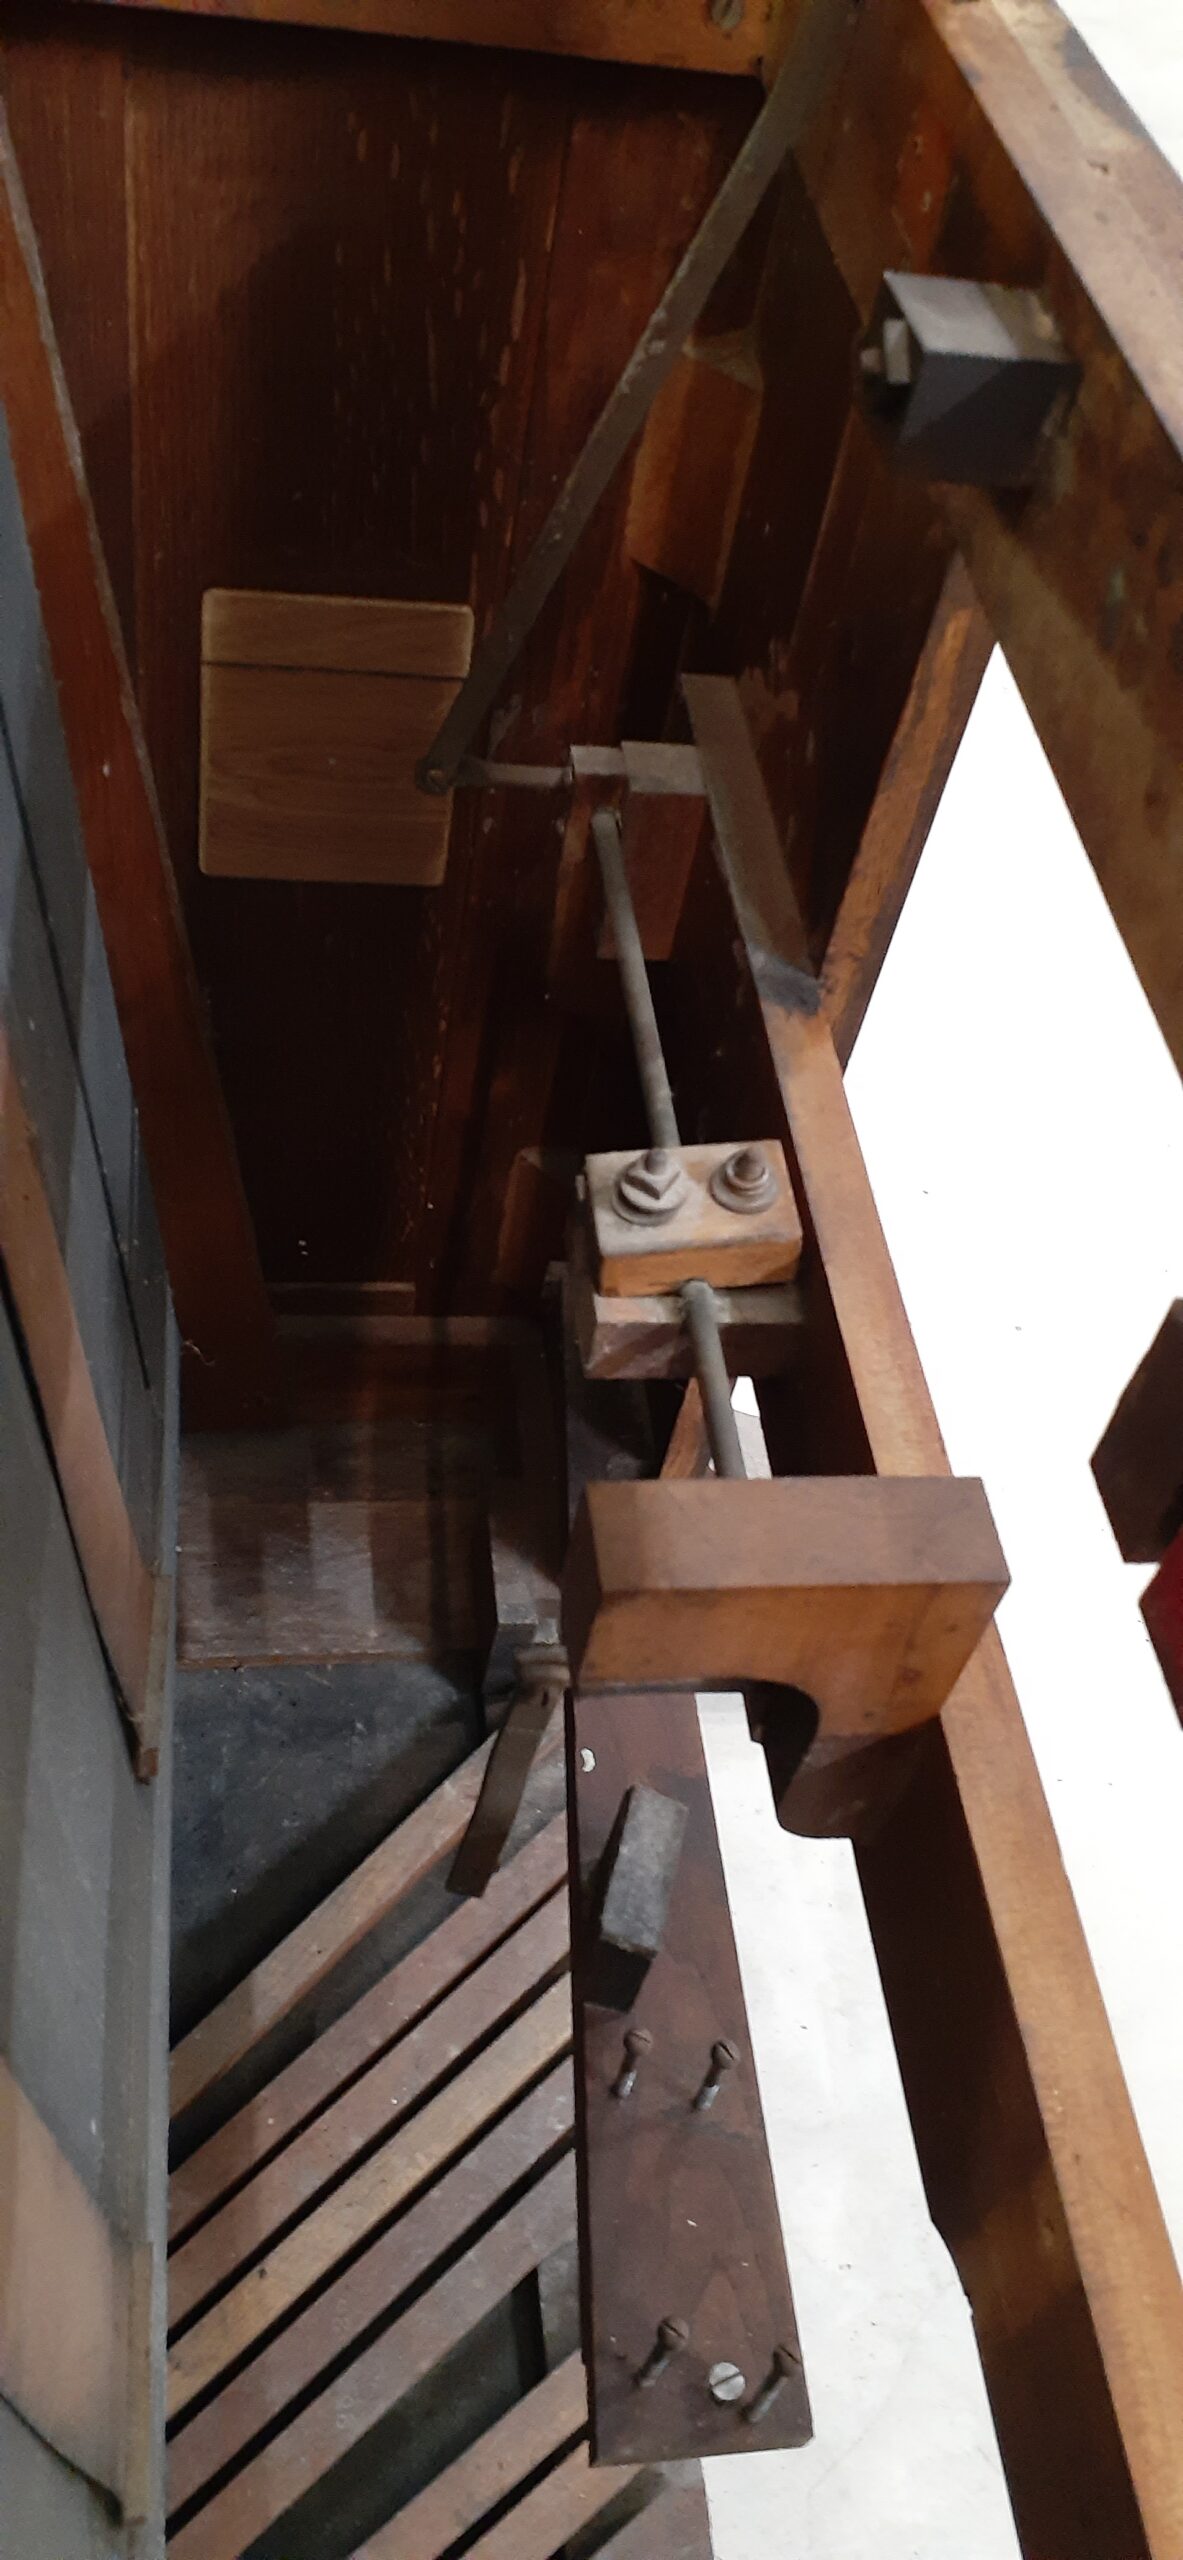
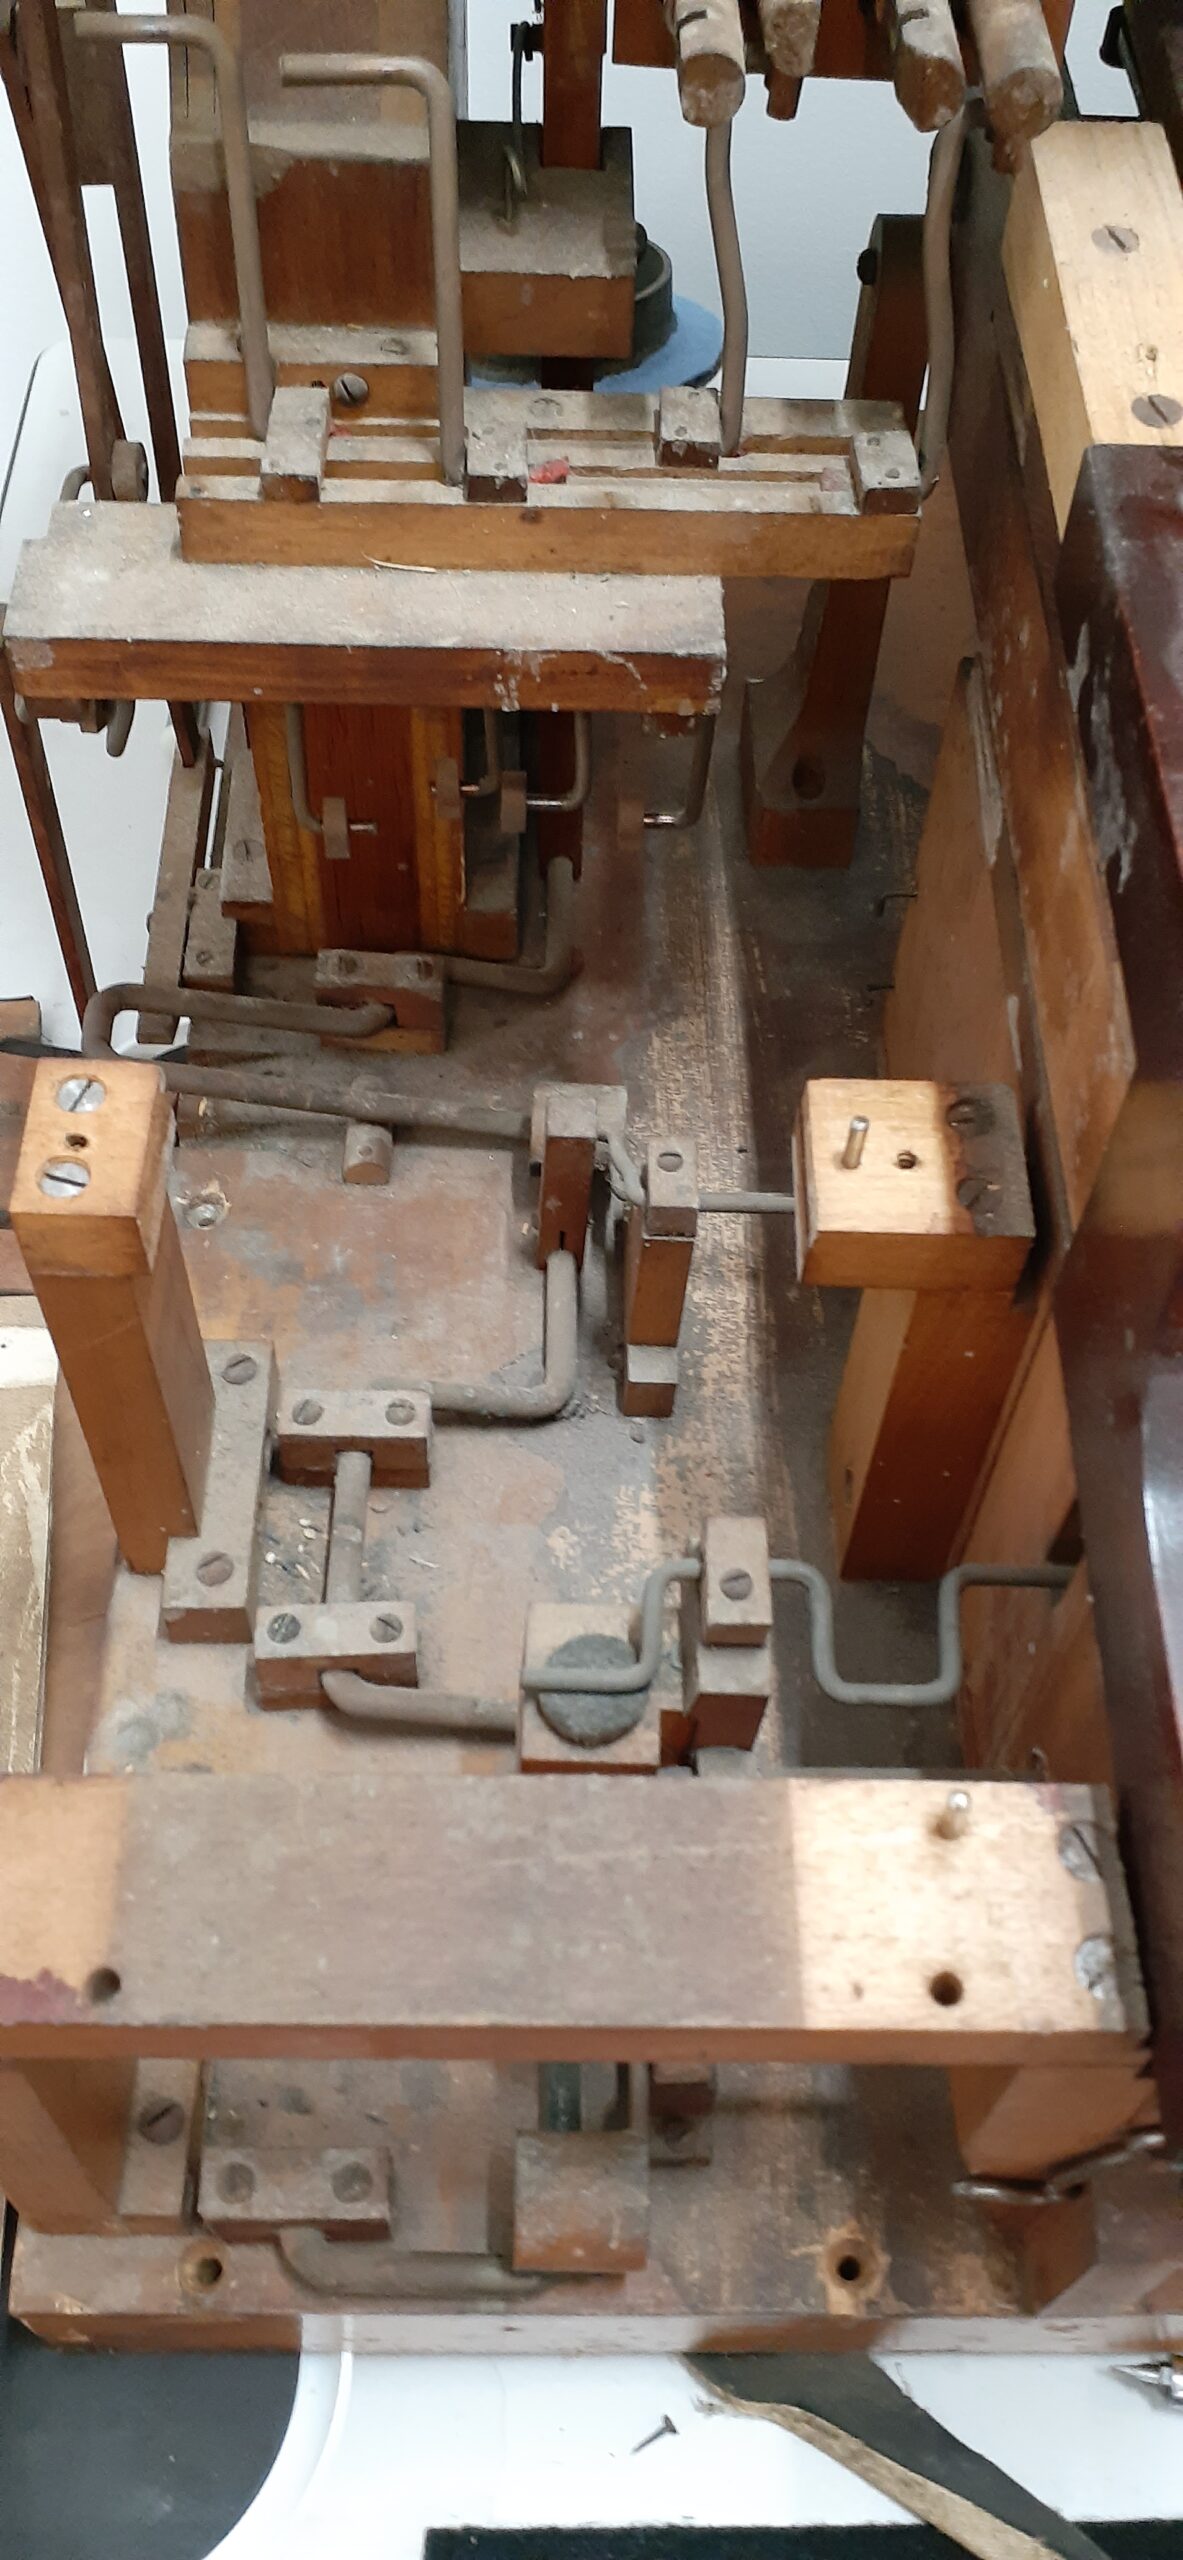
The subassembly with linkages and “weighting” for the expression pedal and grand organ pedal
Cleaning up metal pieces, ensuring corrosion won’t destroy new felts
An adjustable clamp used for the “weighted” expression pedal (to keep it in place when the foot is removed)
Expression pedal weighting system after cleaning and new grease
Disassembly of structures supporting the expression pedal
Pedal linkages before and after cleaning
The set of clean pedal linkages
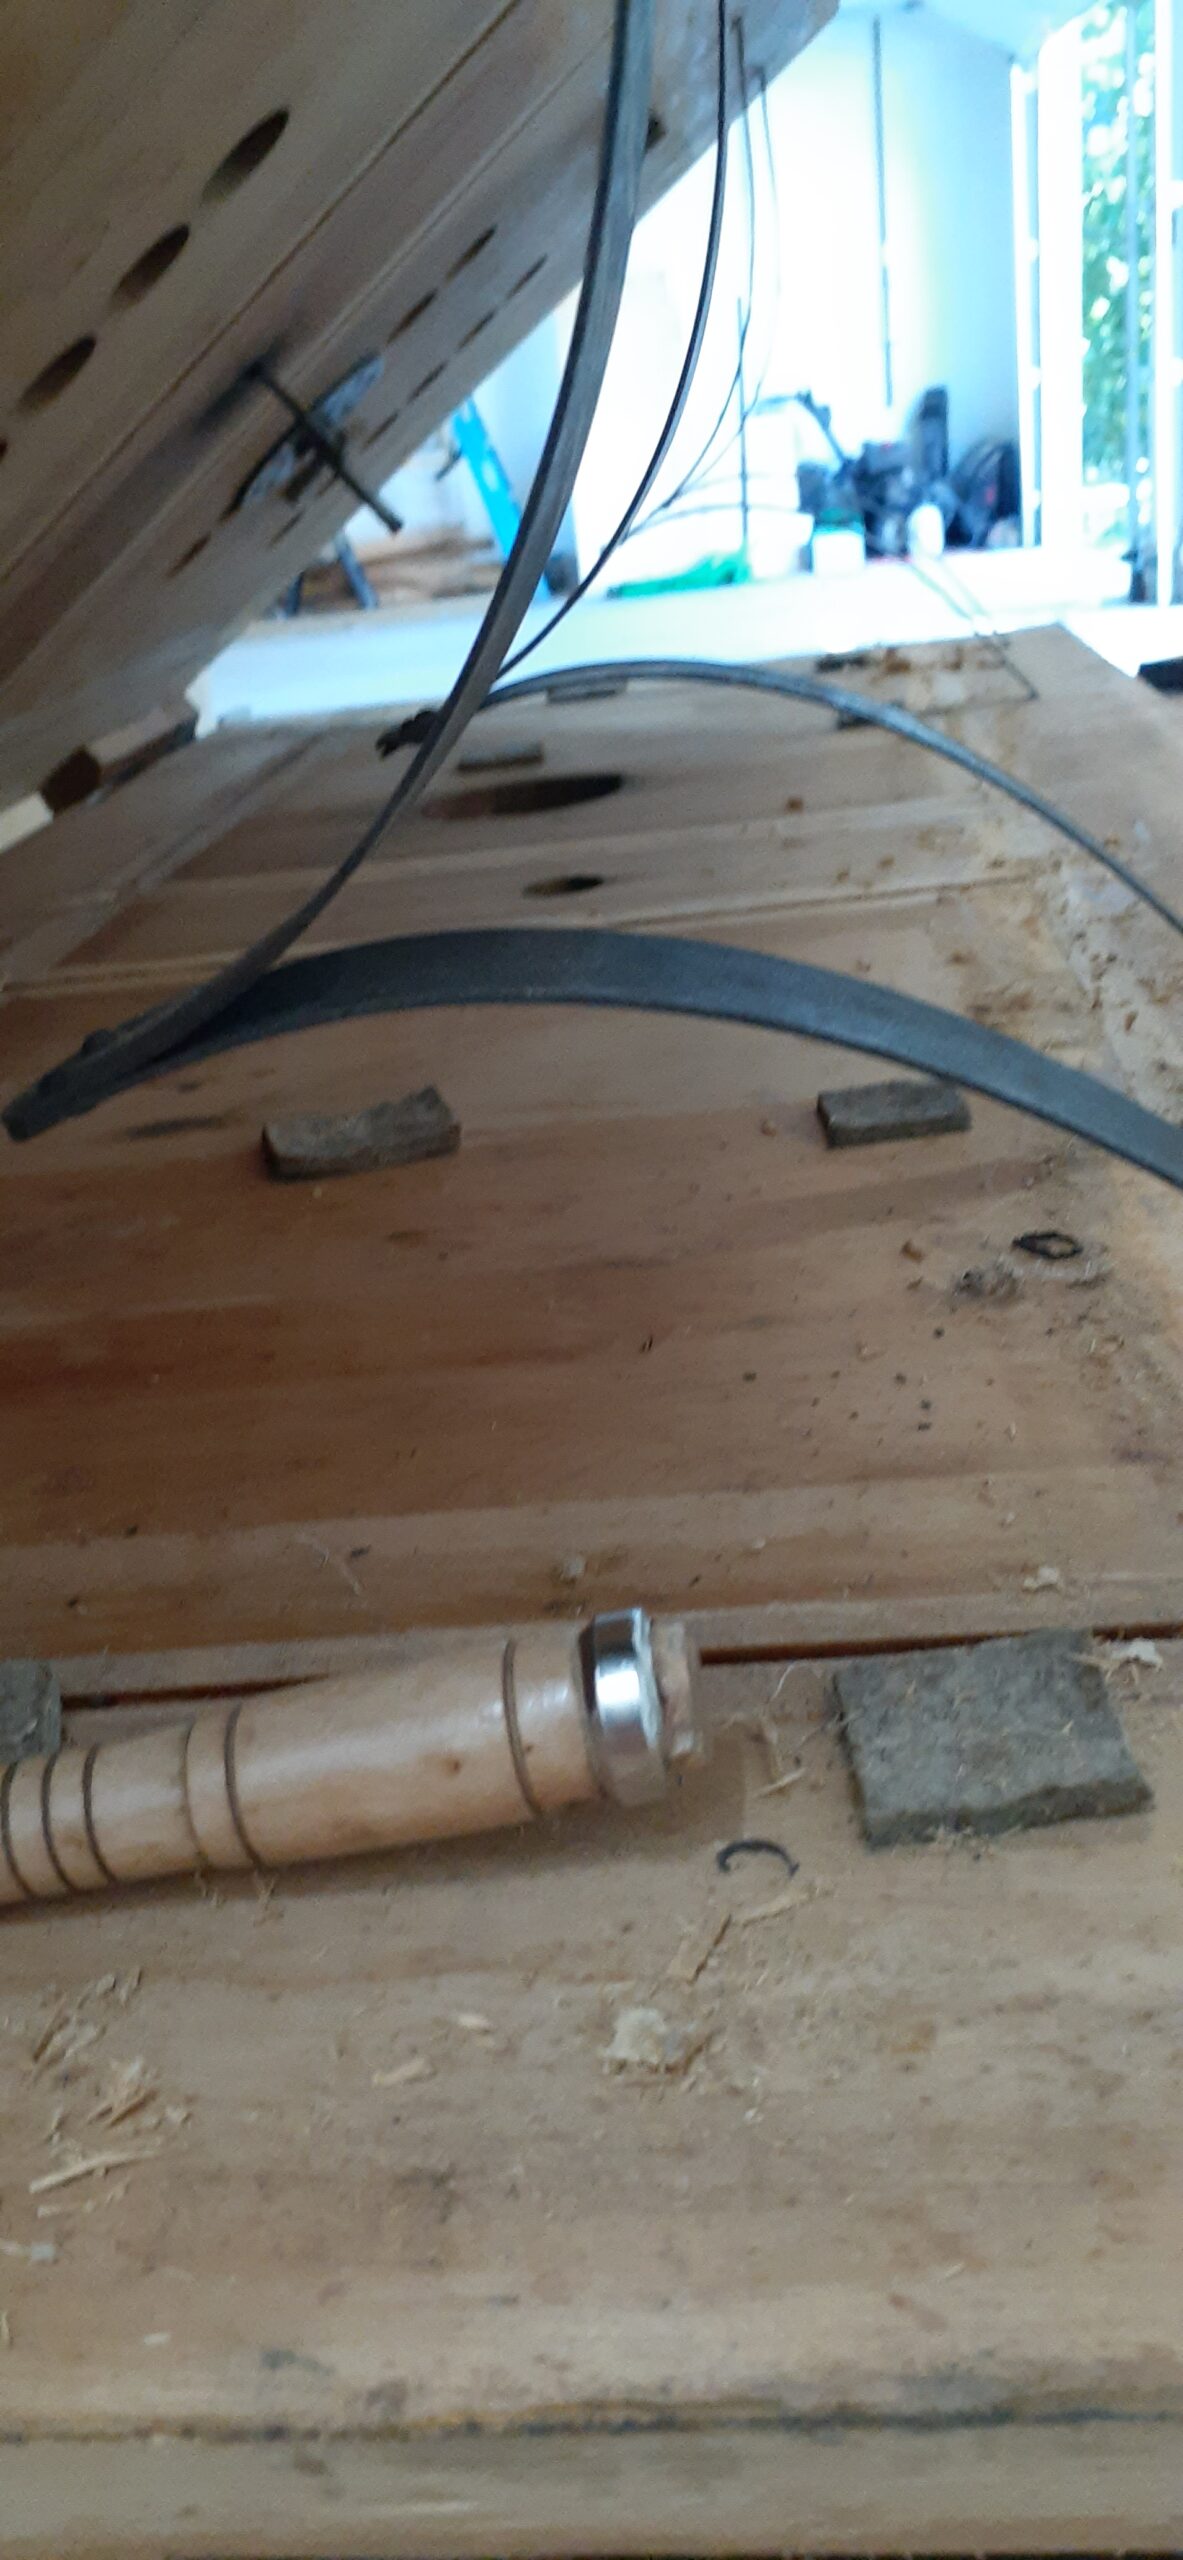
Mechanism for “hand side blower” cleaned and straps replaced
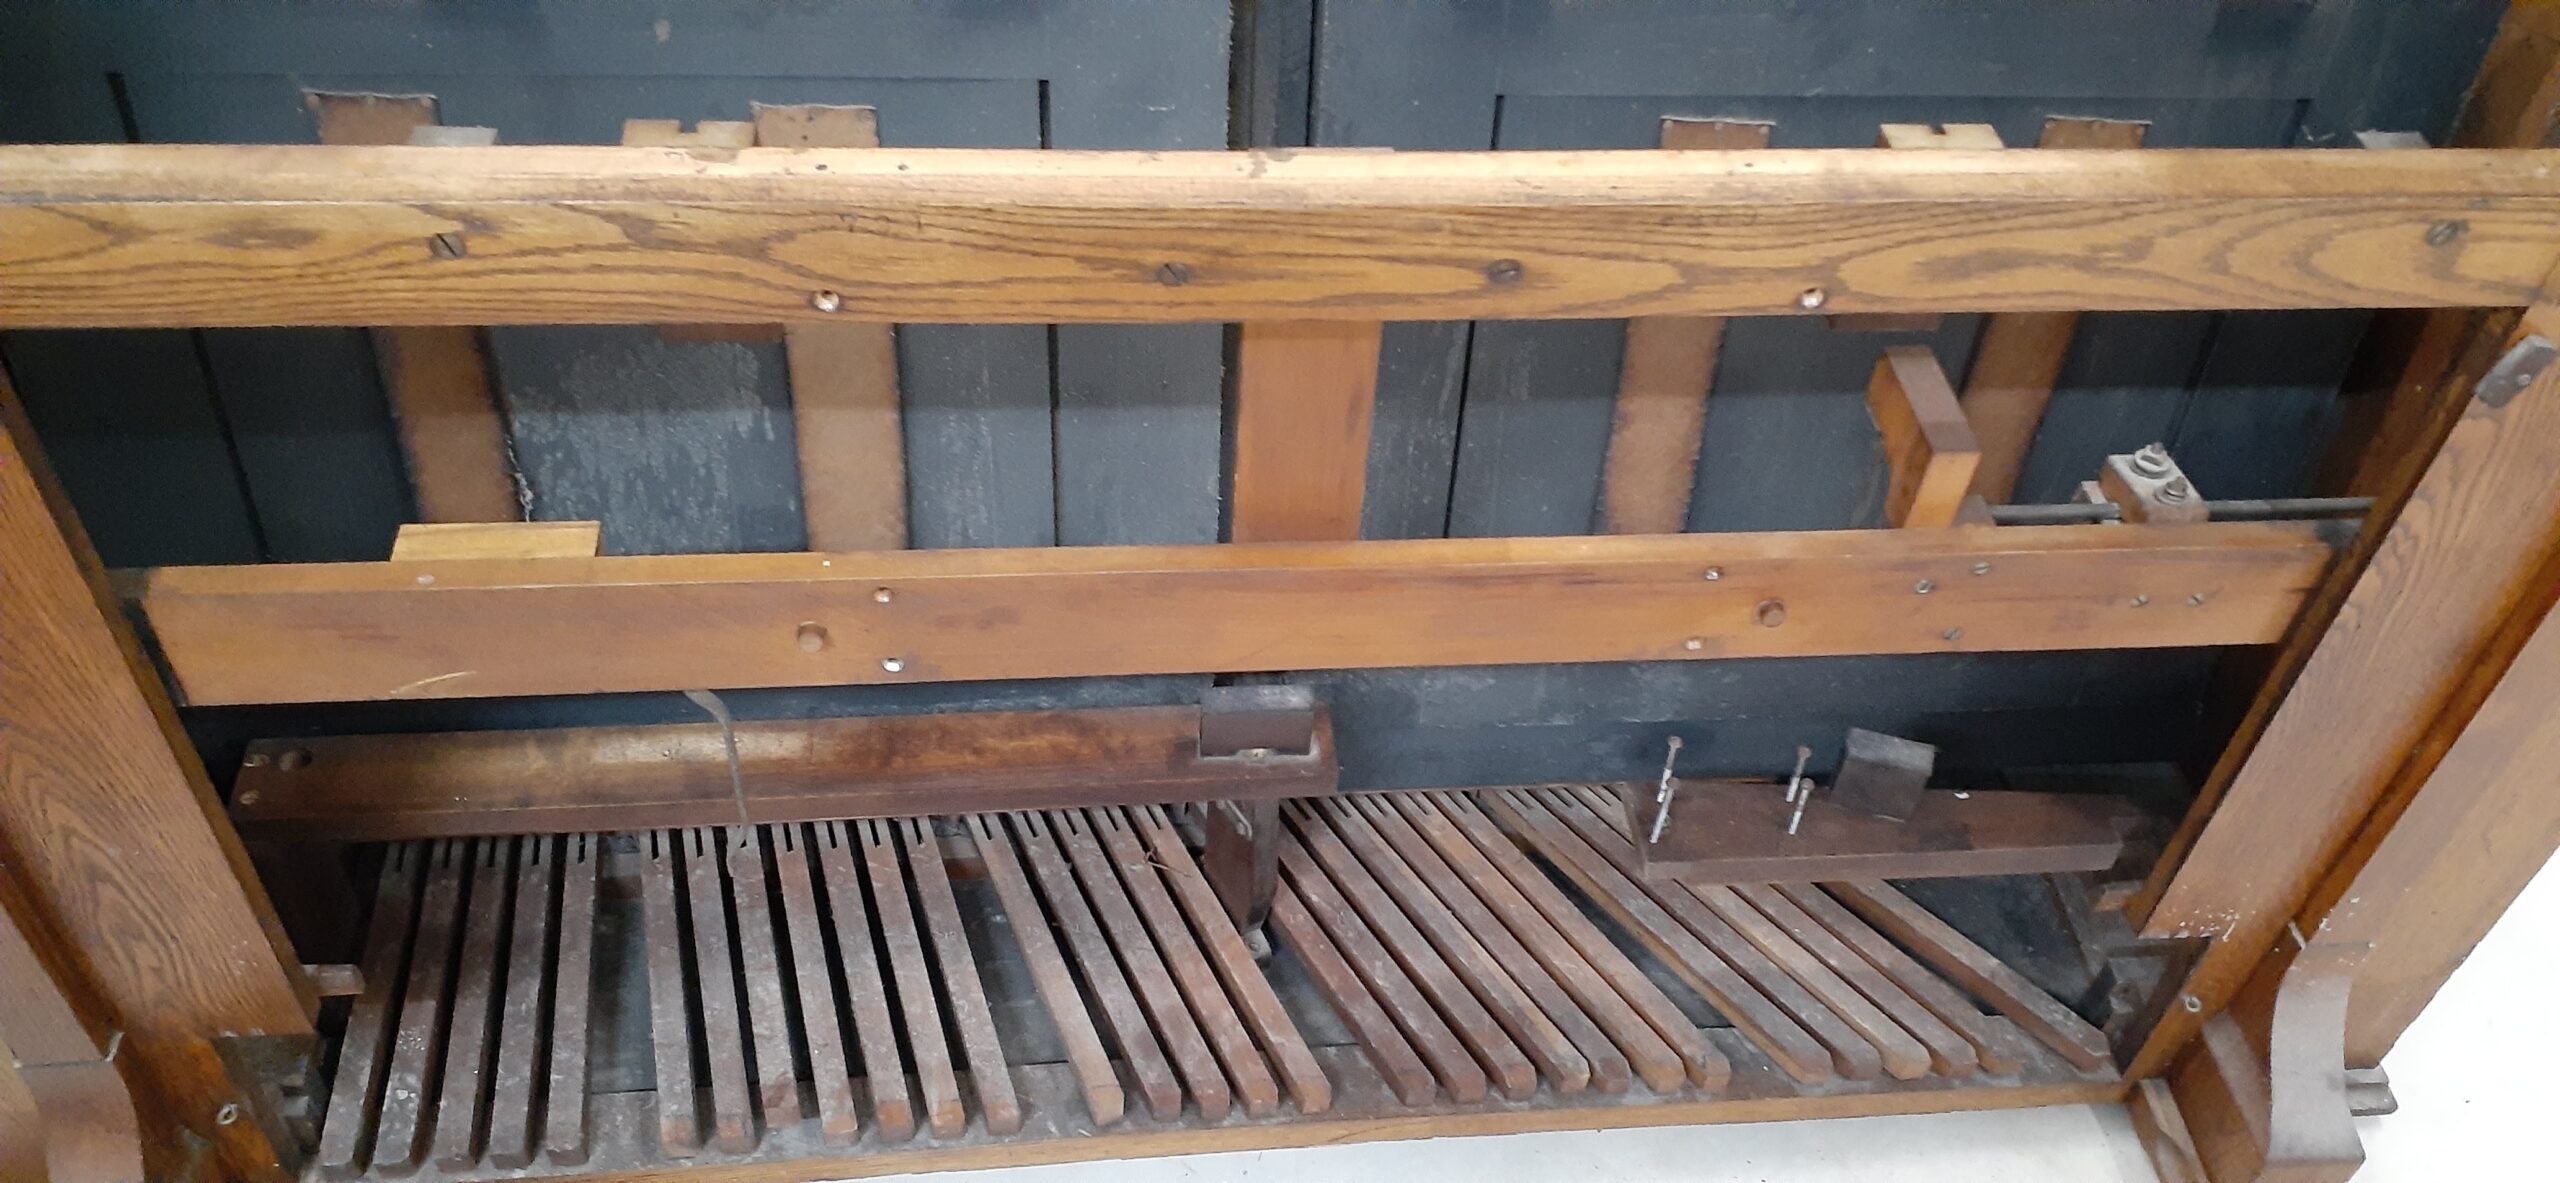
Lower action pt. 2: Pedal board
Initial state of the pedal board
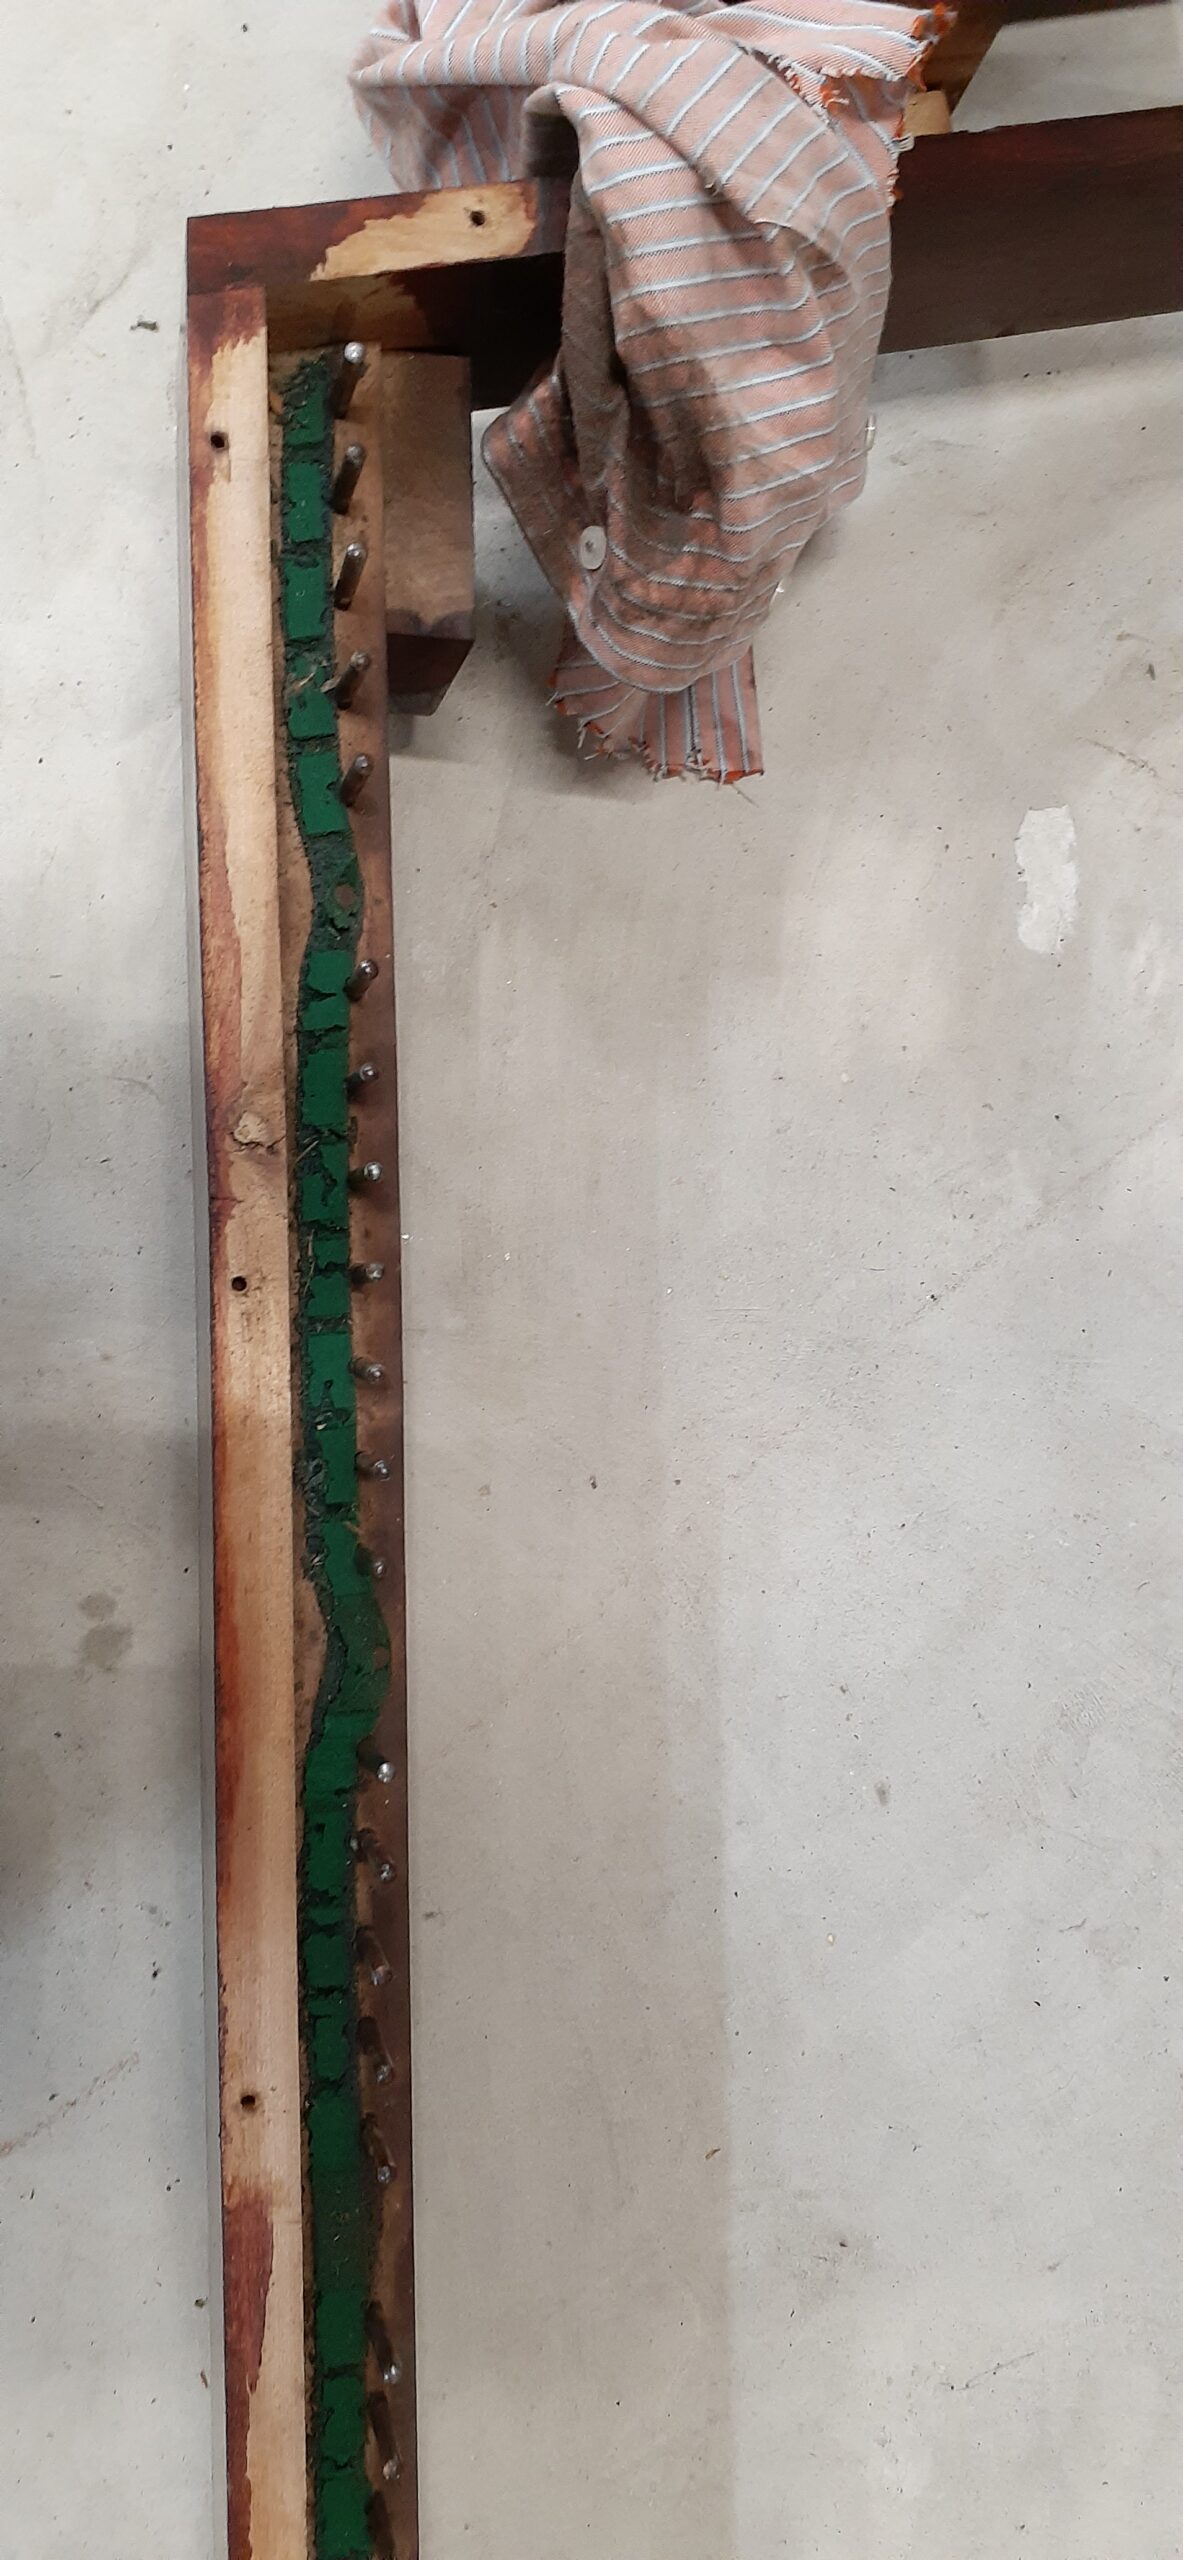
Frame with the pedals removed
Old felt being removed
Cleaned bare frame
Polishing the springs
Springs prior to polishing
Springs after polishing them
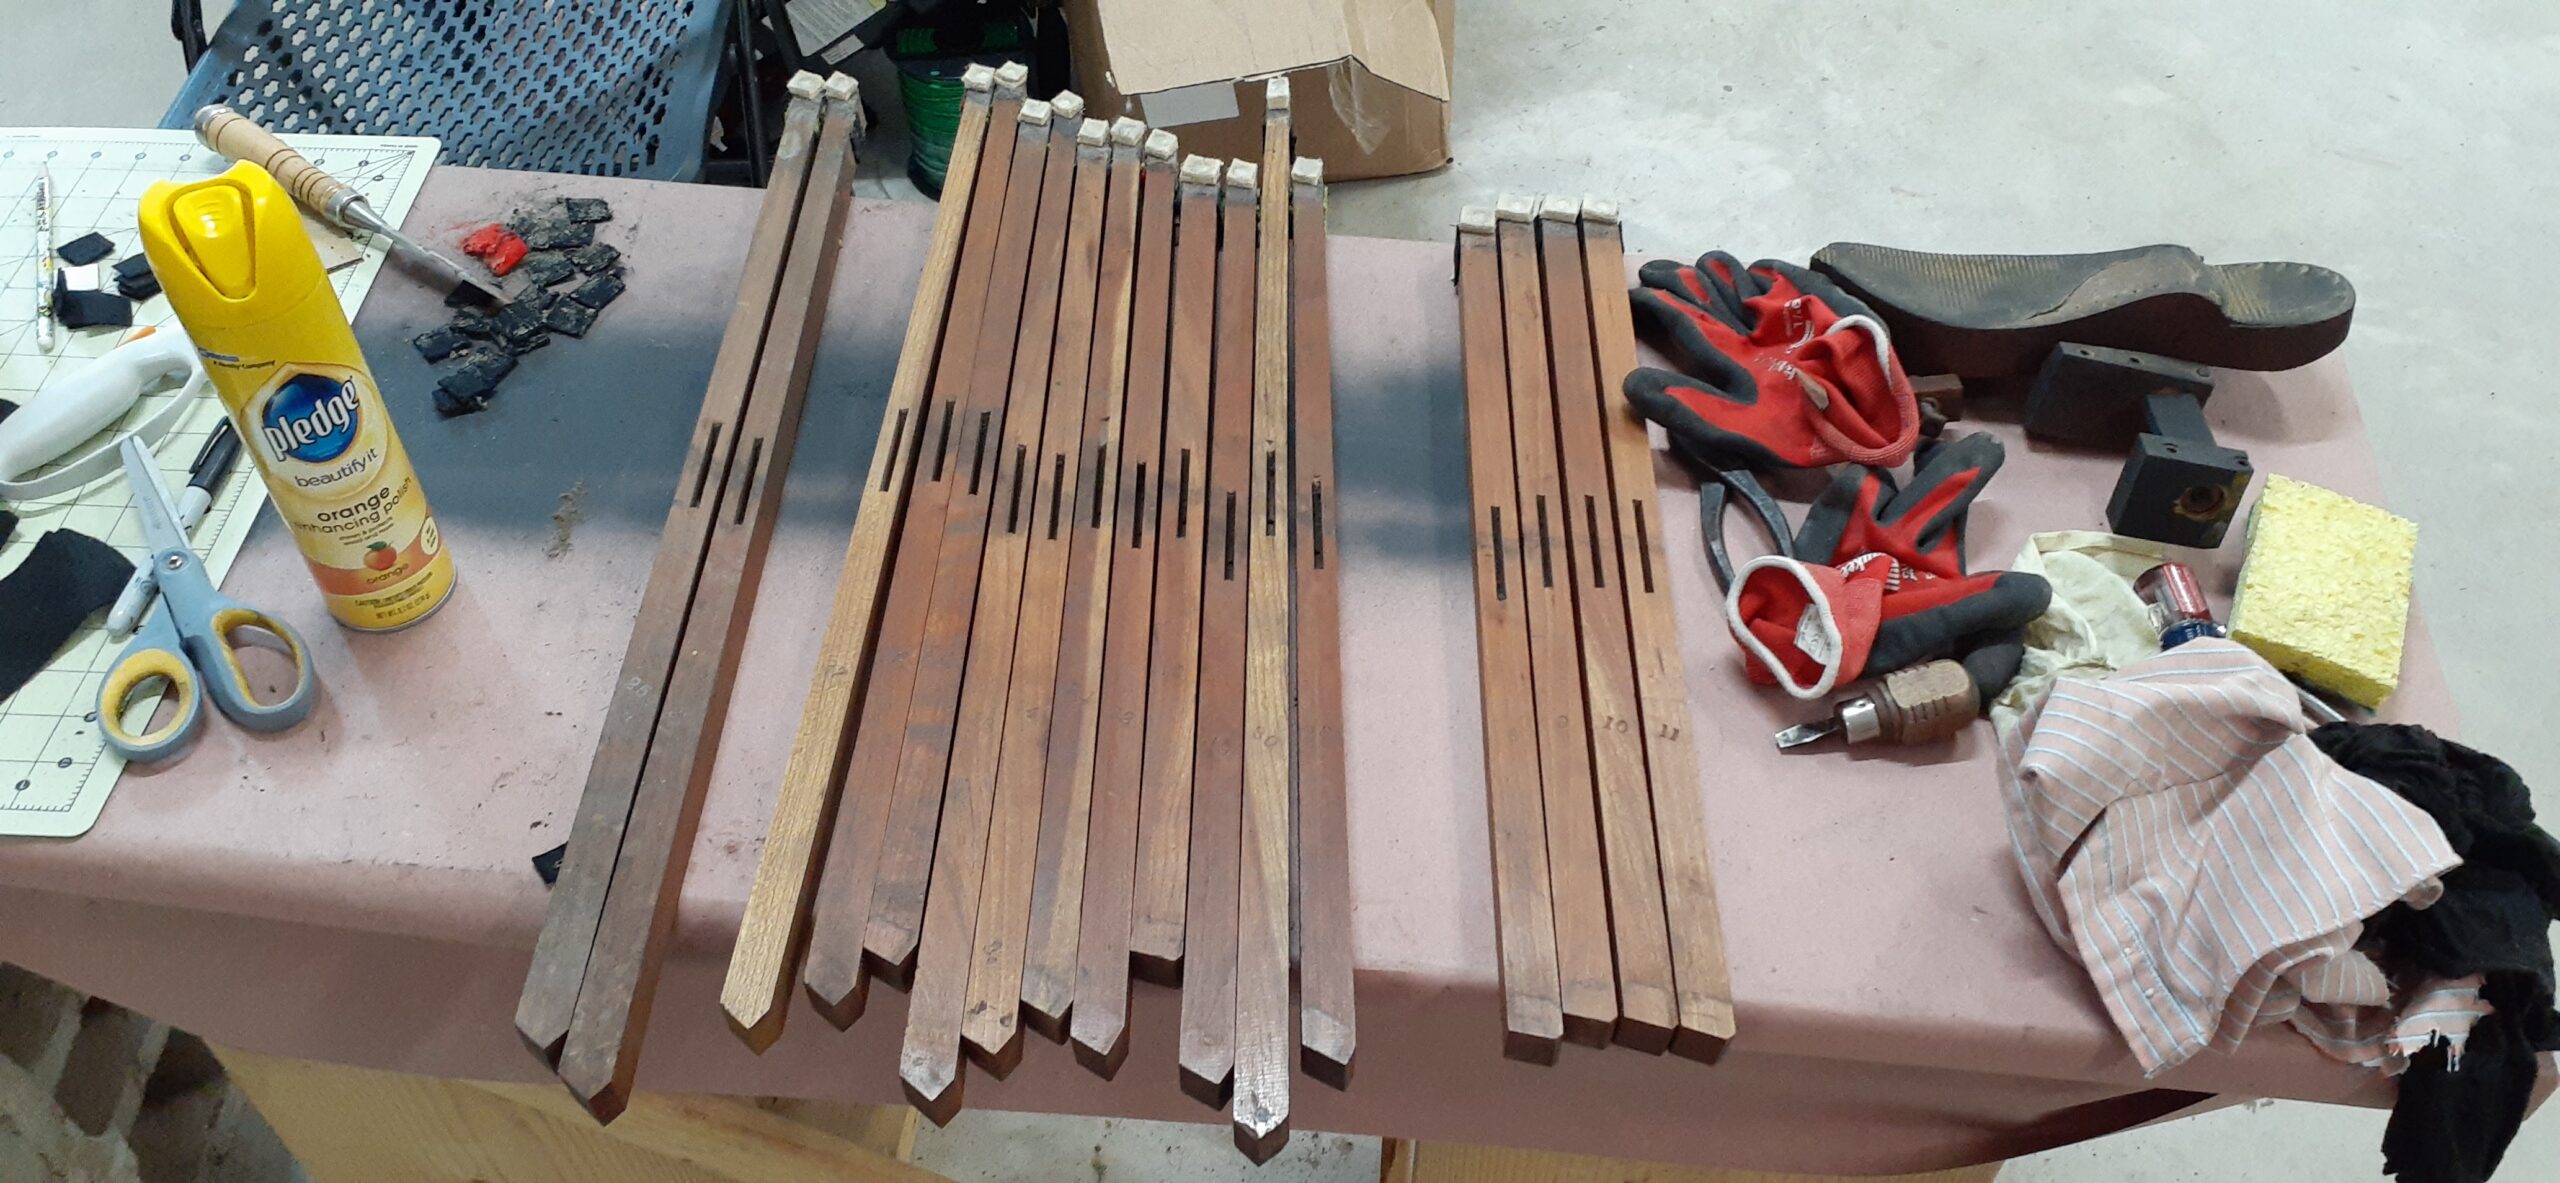
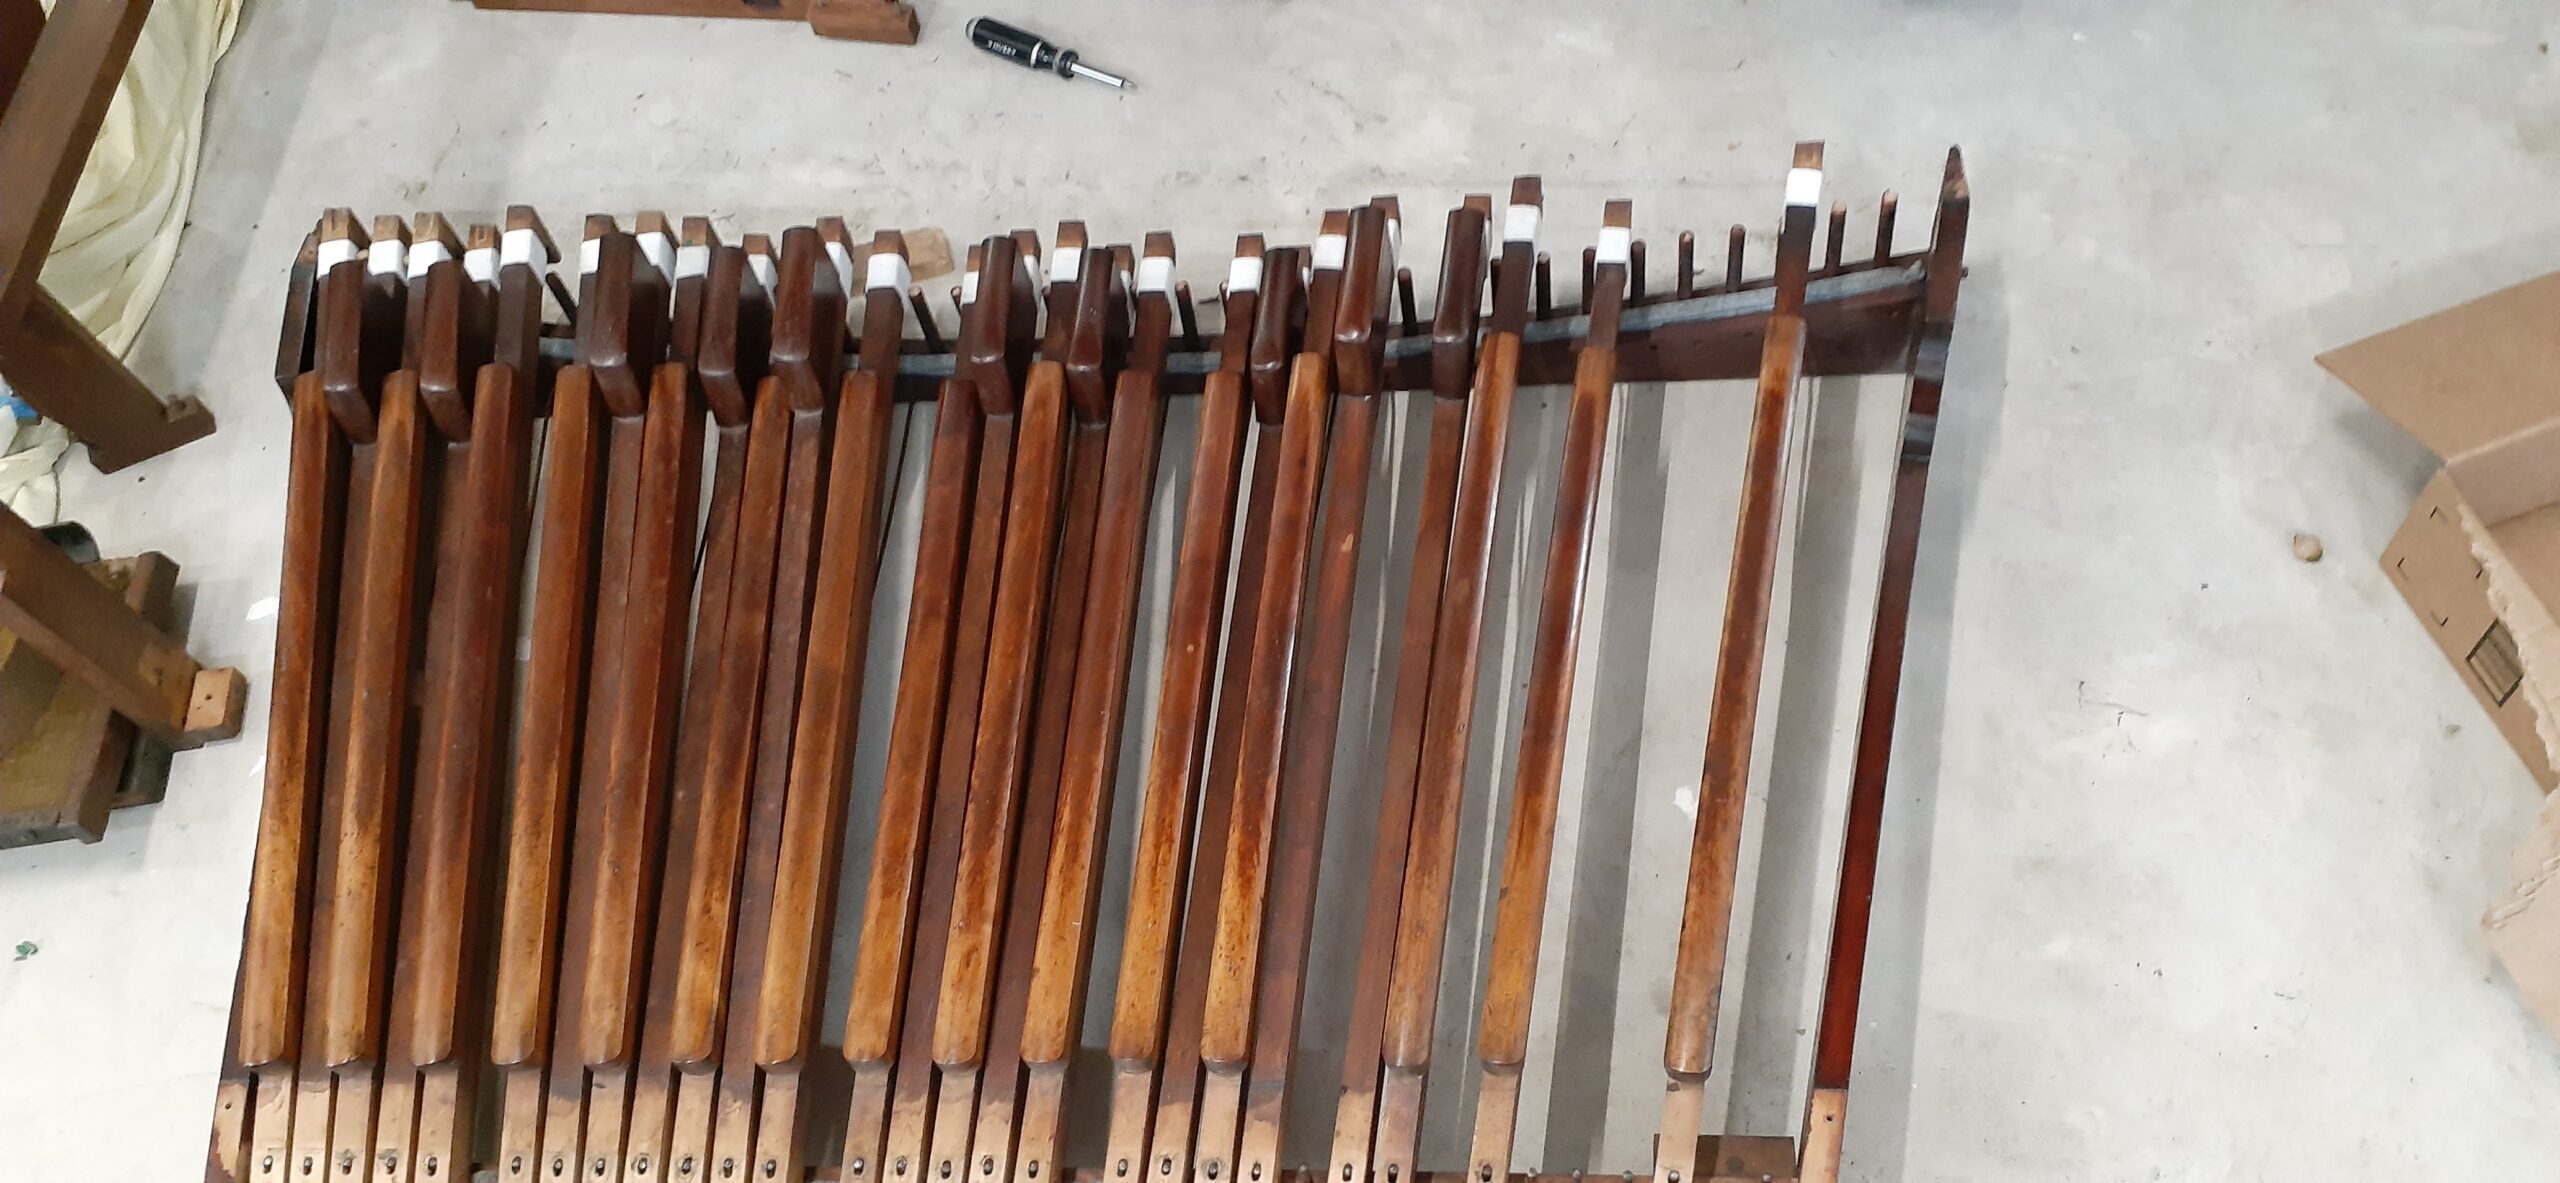
The pedals removed (kept in order!)
New felts on each pedal
Reinstalling pedals, after replacing felts and cleaning/waxing/polishing them
The finished pedal board!
Lower action pt. 3: Bellows
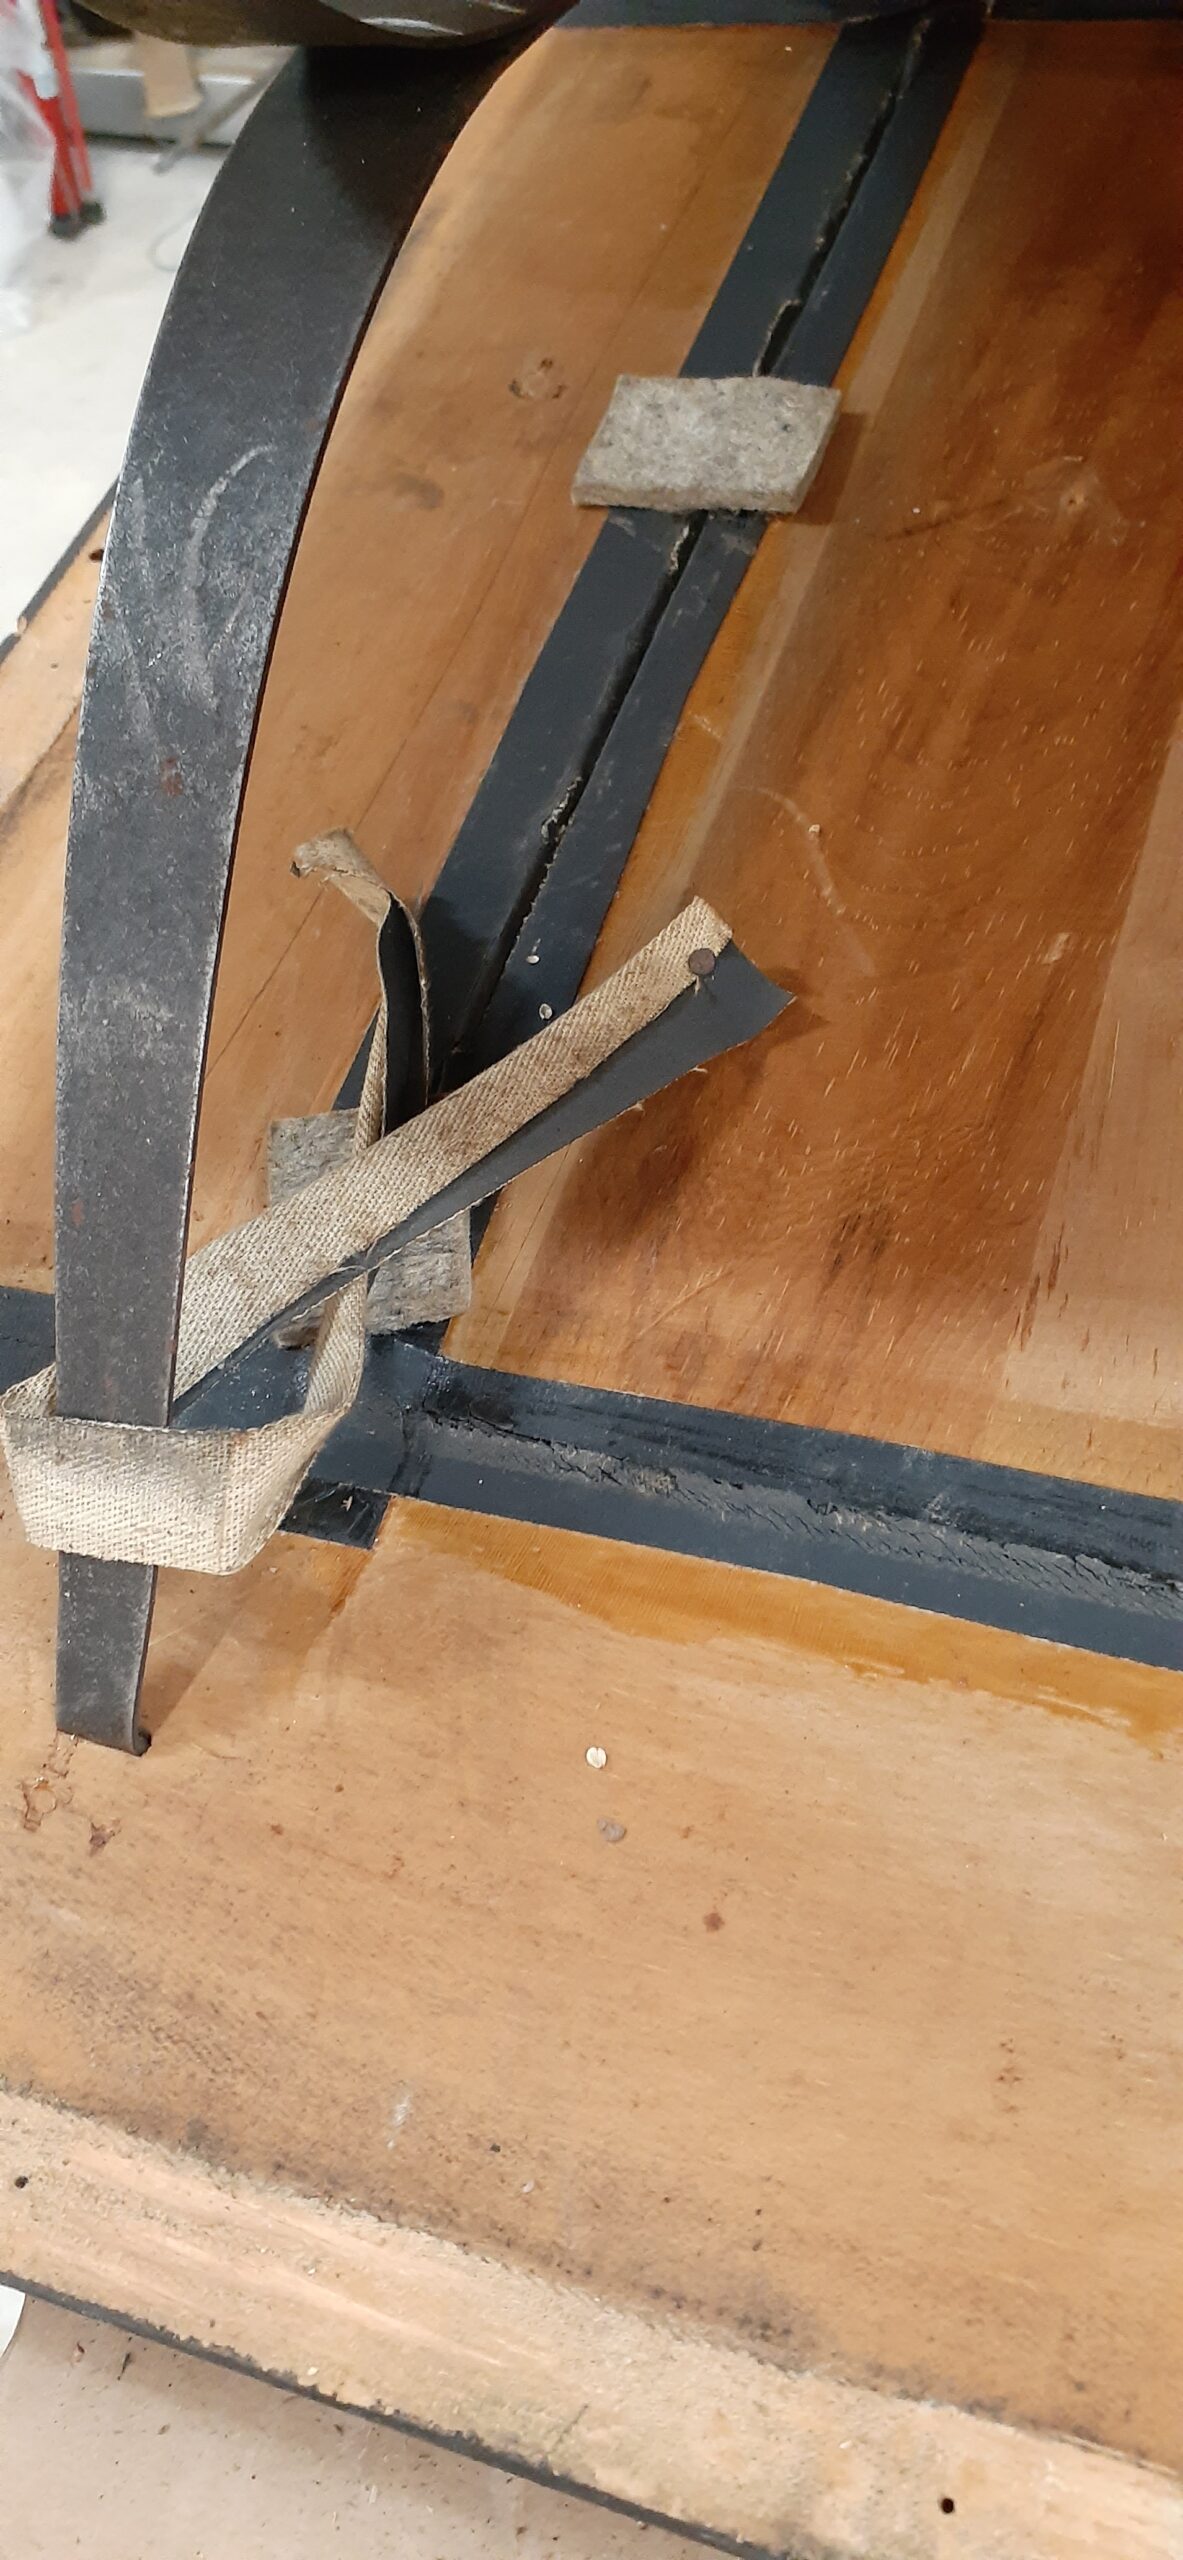
Close-up of the clever exhauster valve tensioning system
Bellows reservoir just after removing the bellows cloth
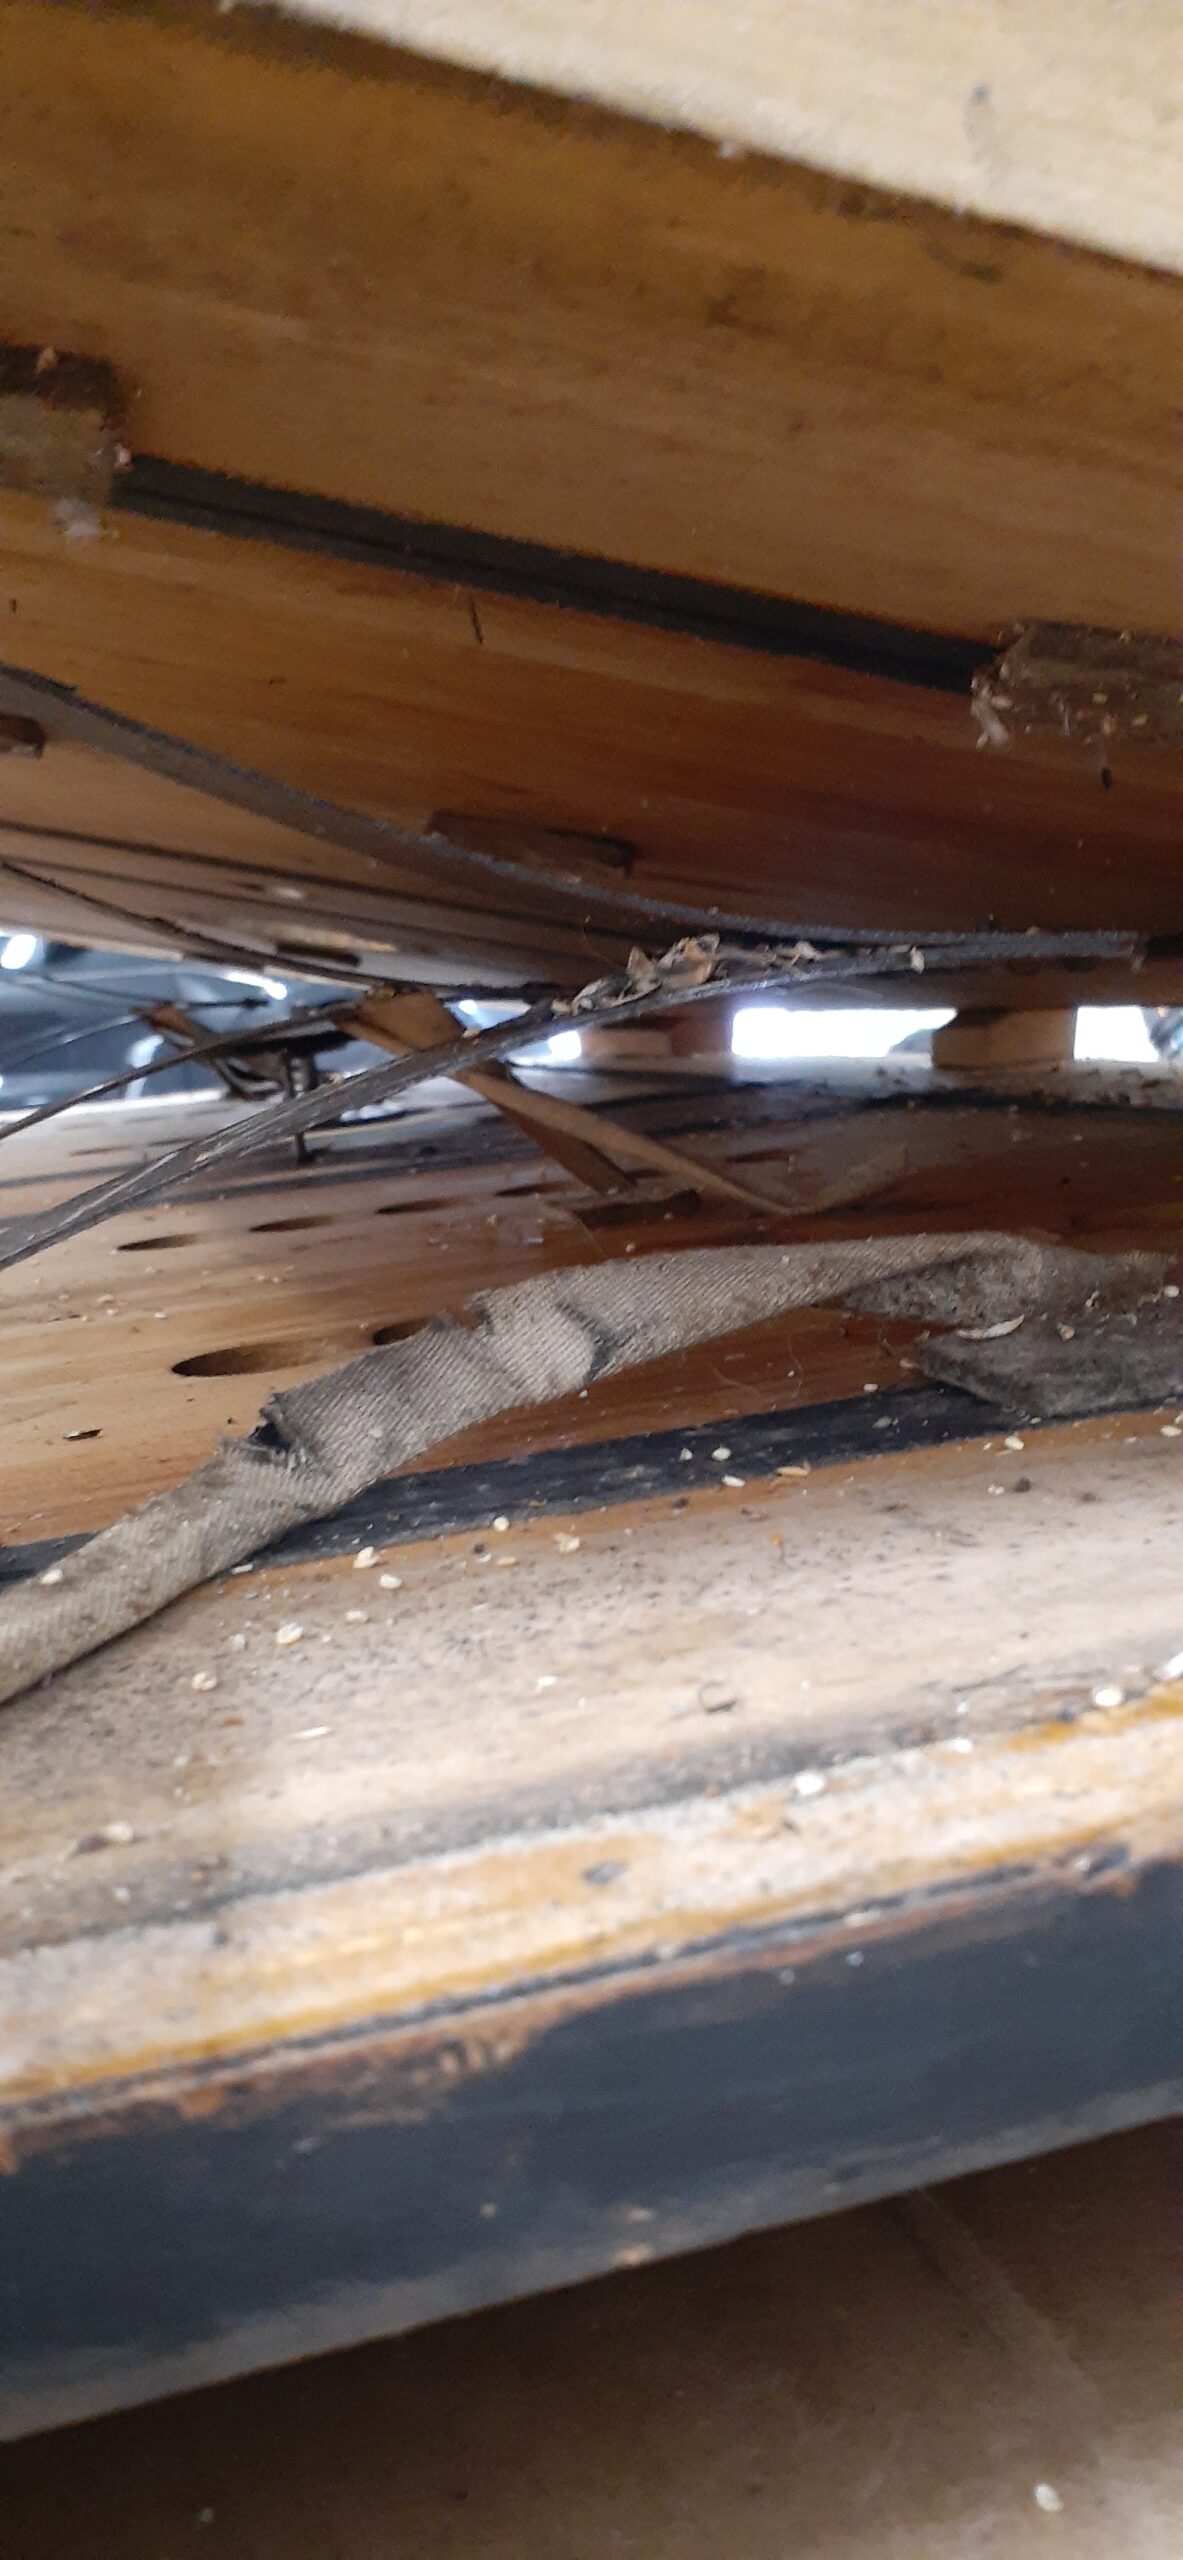
Original pieces of bellows cloth — with cracks and mouse holes
The mice stored birdseed in here…
Pieces forming a pressure regulator, installed with the fitting of the electric blower
Inside of reservoir after cleaning and caulking between the sections of the panel to reduce leakage
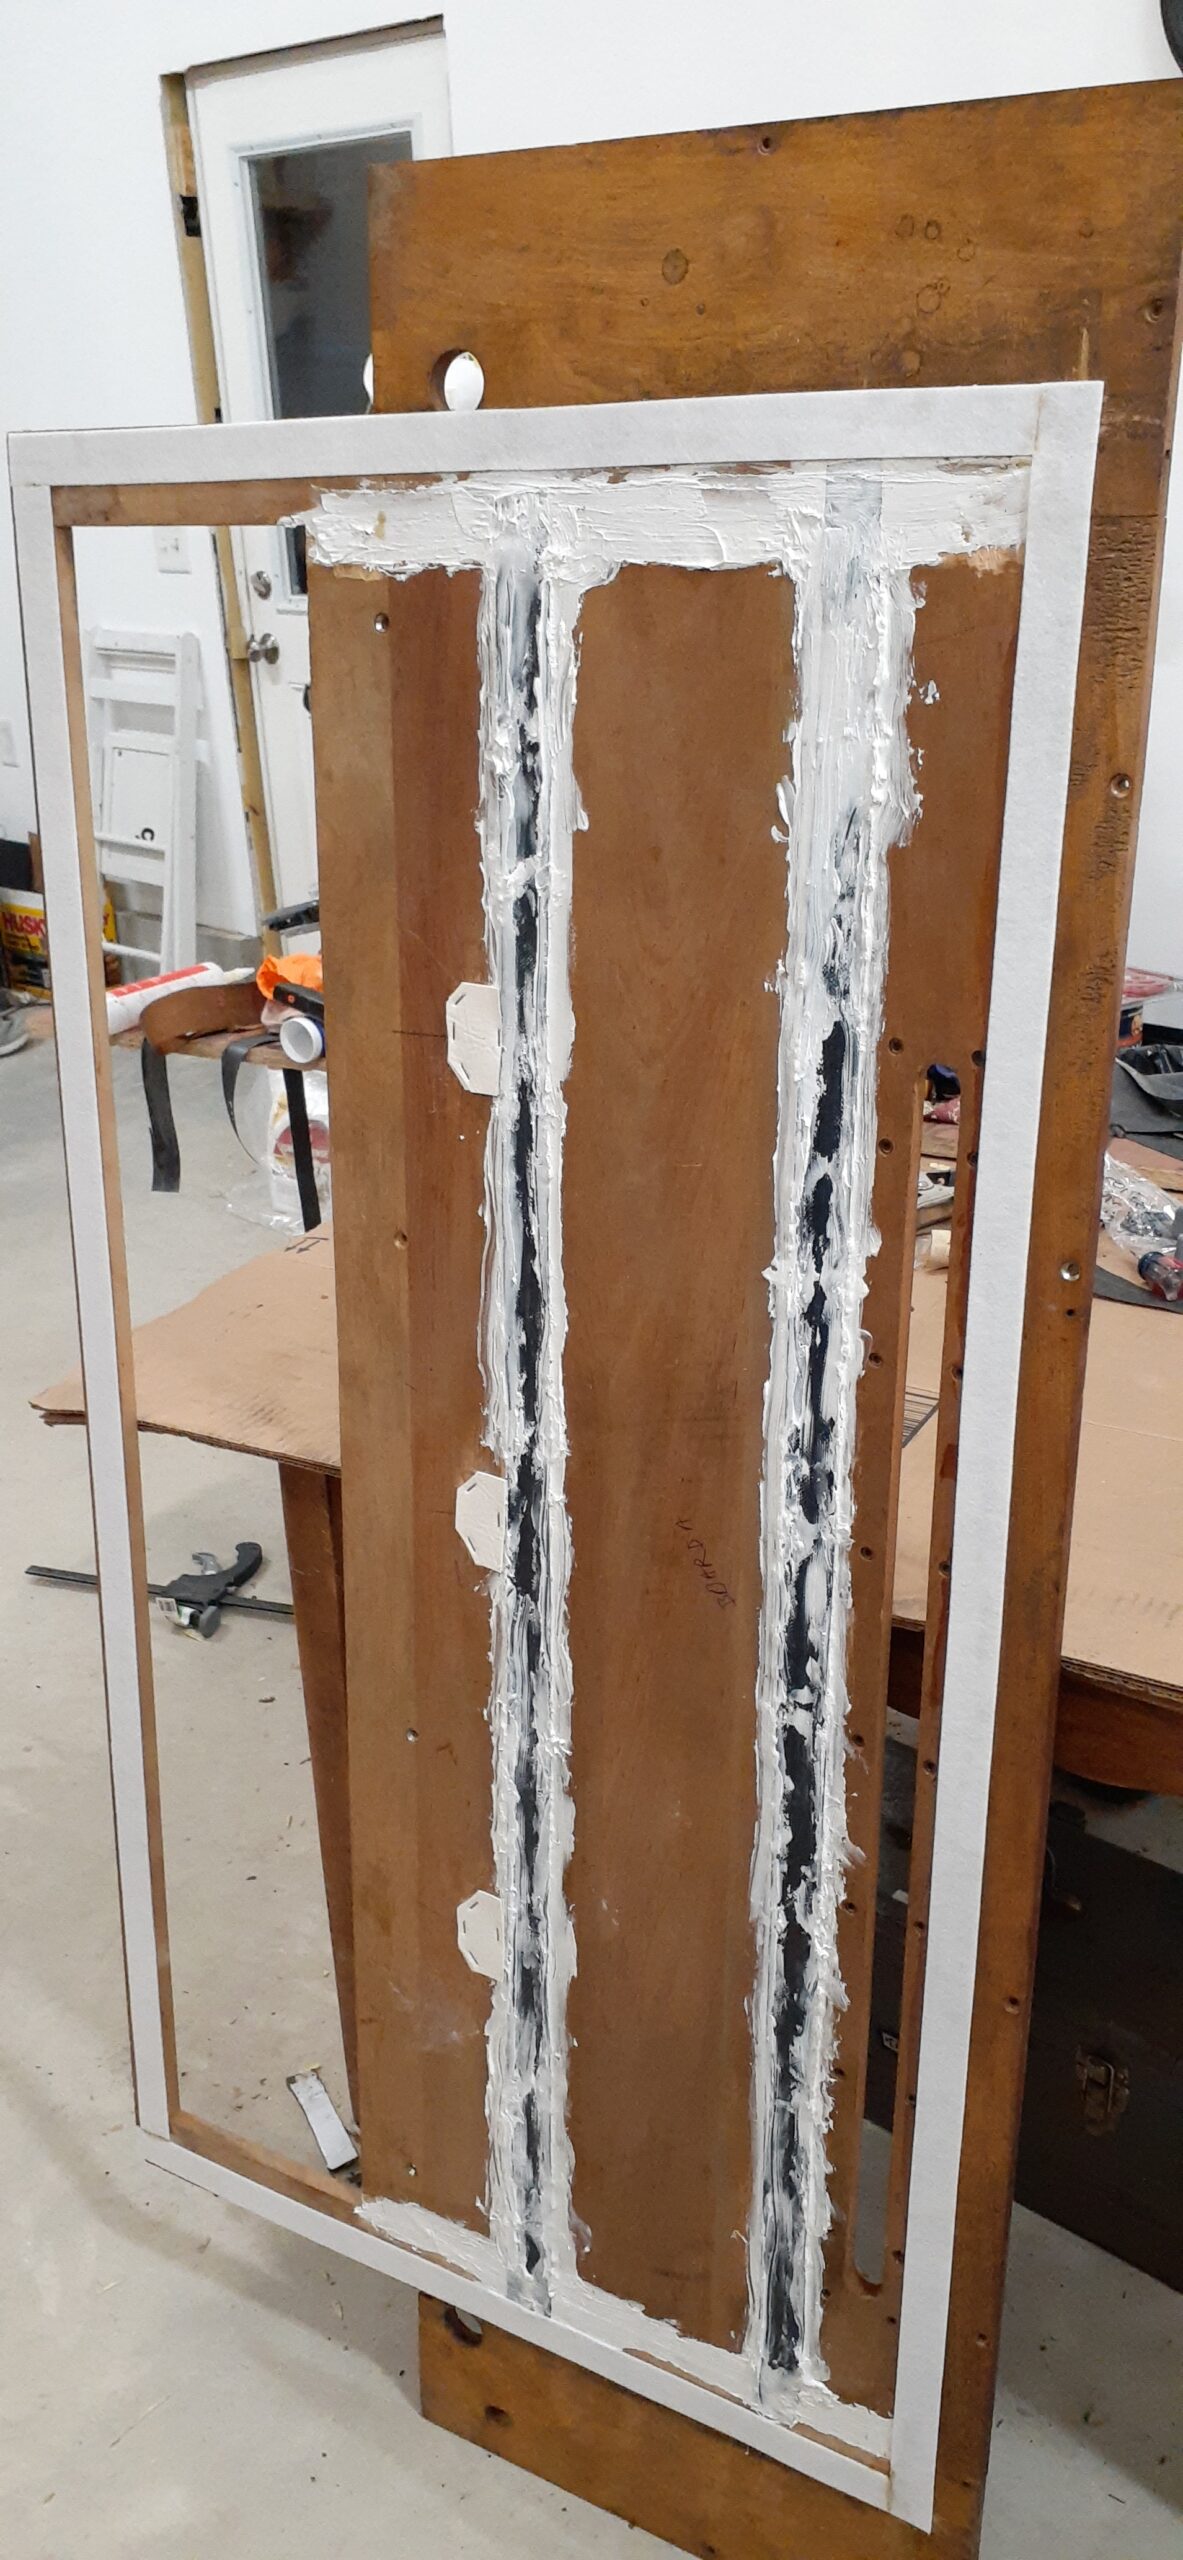
Preparing the neoprene replacement for the reservoir bellows-cloth
Close-up of the reservoir solution: Gorilla glue and silicone caulk
The reservoir set to cure
One of the exhauster hinges
Replacing exhauster hinges and cutting new pieces
Exhauster hinge being glued
A new exhauster hinge in place — Using a synthetic nylon woven strap and gorilla glue
Exhauster after cleaning
Exhausters set
Completed bellows
Lower action pt. 4: Some reassembly
Bellows in place
Connecting bellows straps
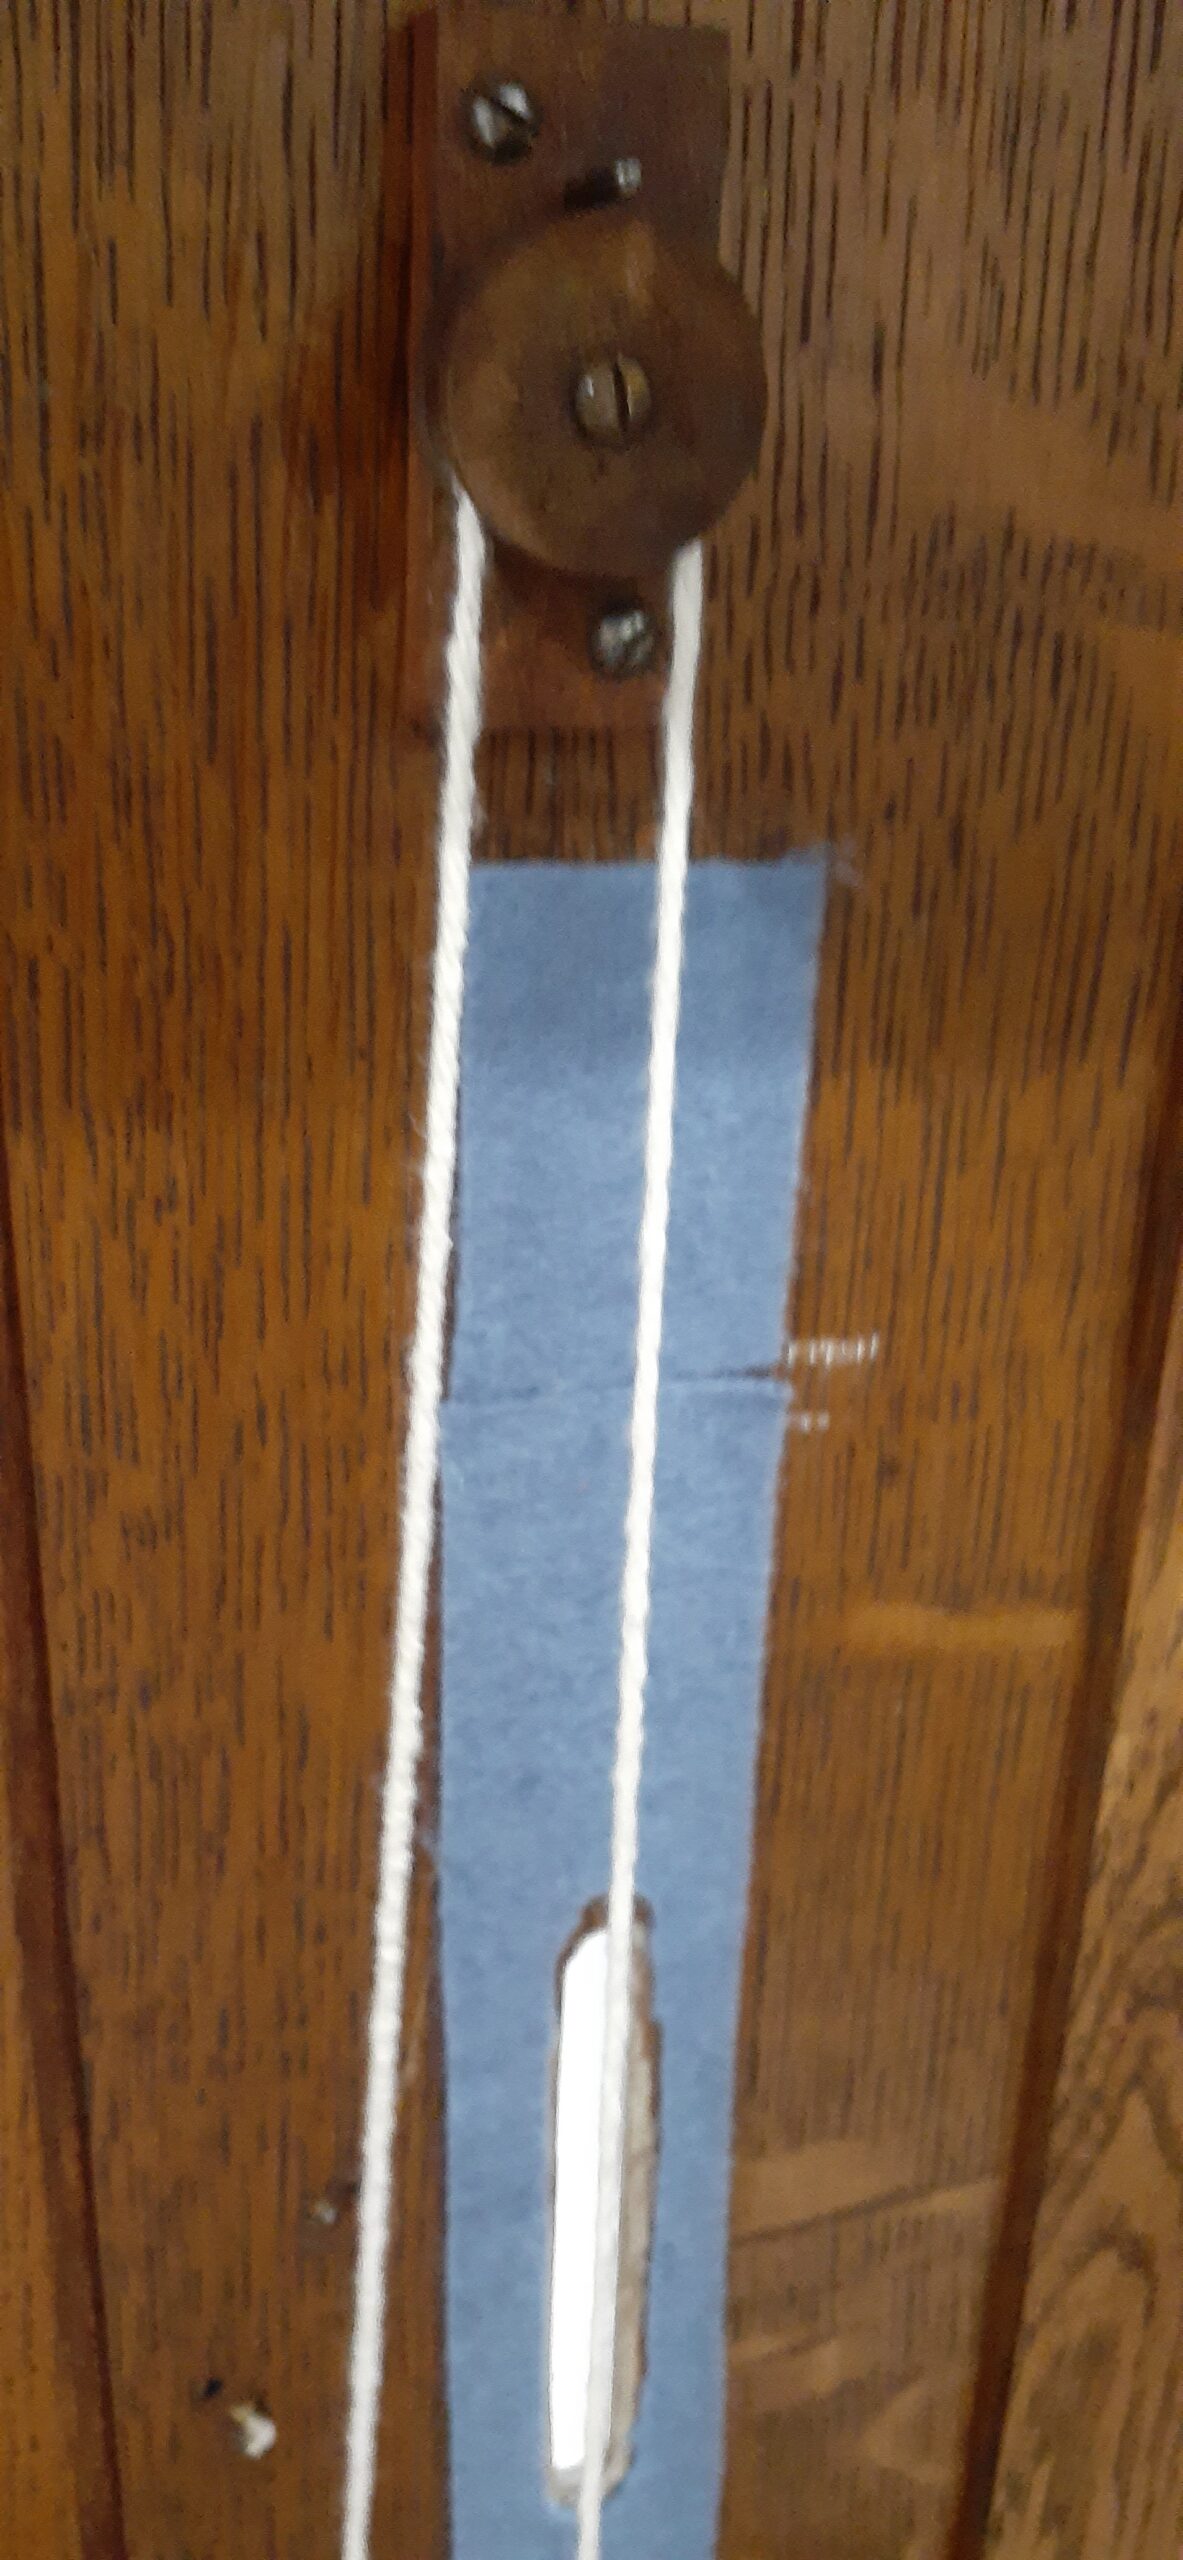
Routing the string for the “wind indicator”
Reassembling the expression pedal, treadles, etc.
Caulking the interface of the flange for the electric blower to ensure a good seal
Flange installed
Case further assembled
Cleaned and sealed bottom panel of great windchest, upon which the upper action sits
Replacing the felt gasket
Panel installed
Organ blower
Motor label on the organ blower
Pest-resistant check valve after cleaning
Inspecting the wiring before testing the blower
The blower is connected to the organ with dryer vent hose
Upper action pt. 1: Pedal couplers
Disassembly of the couplers
Cleaning the metal linkages
Clean coupler subassembly
Upper action pt. 2: Stop action, some disassembly
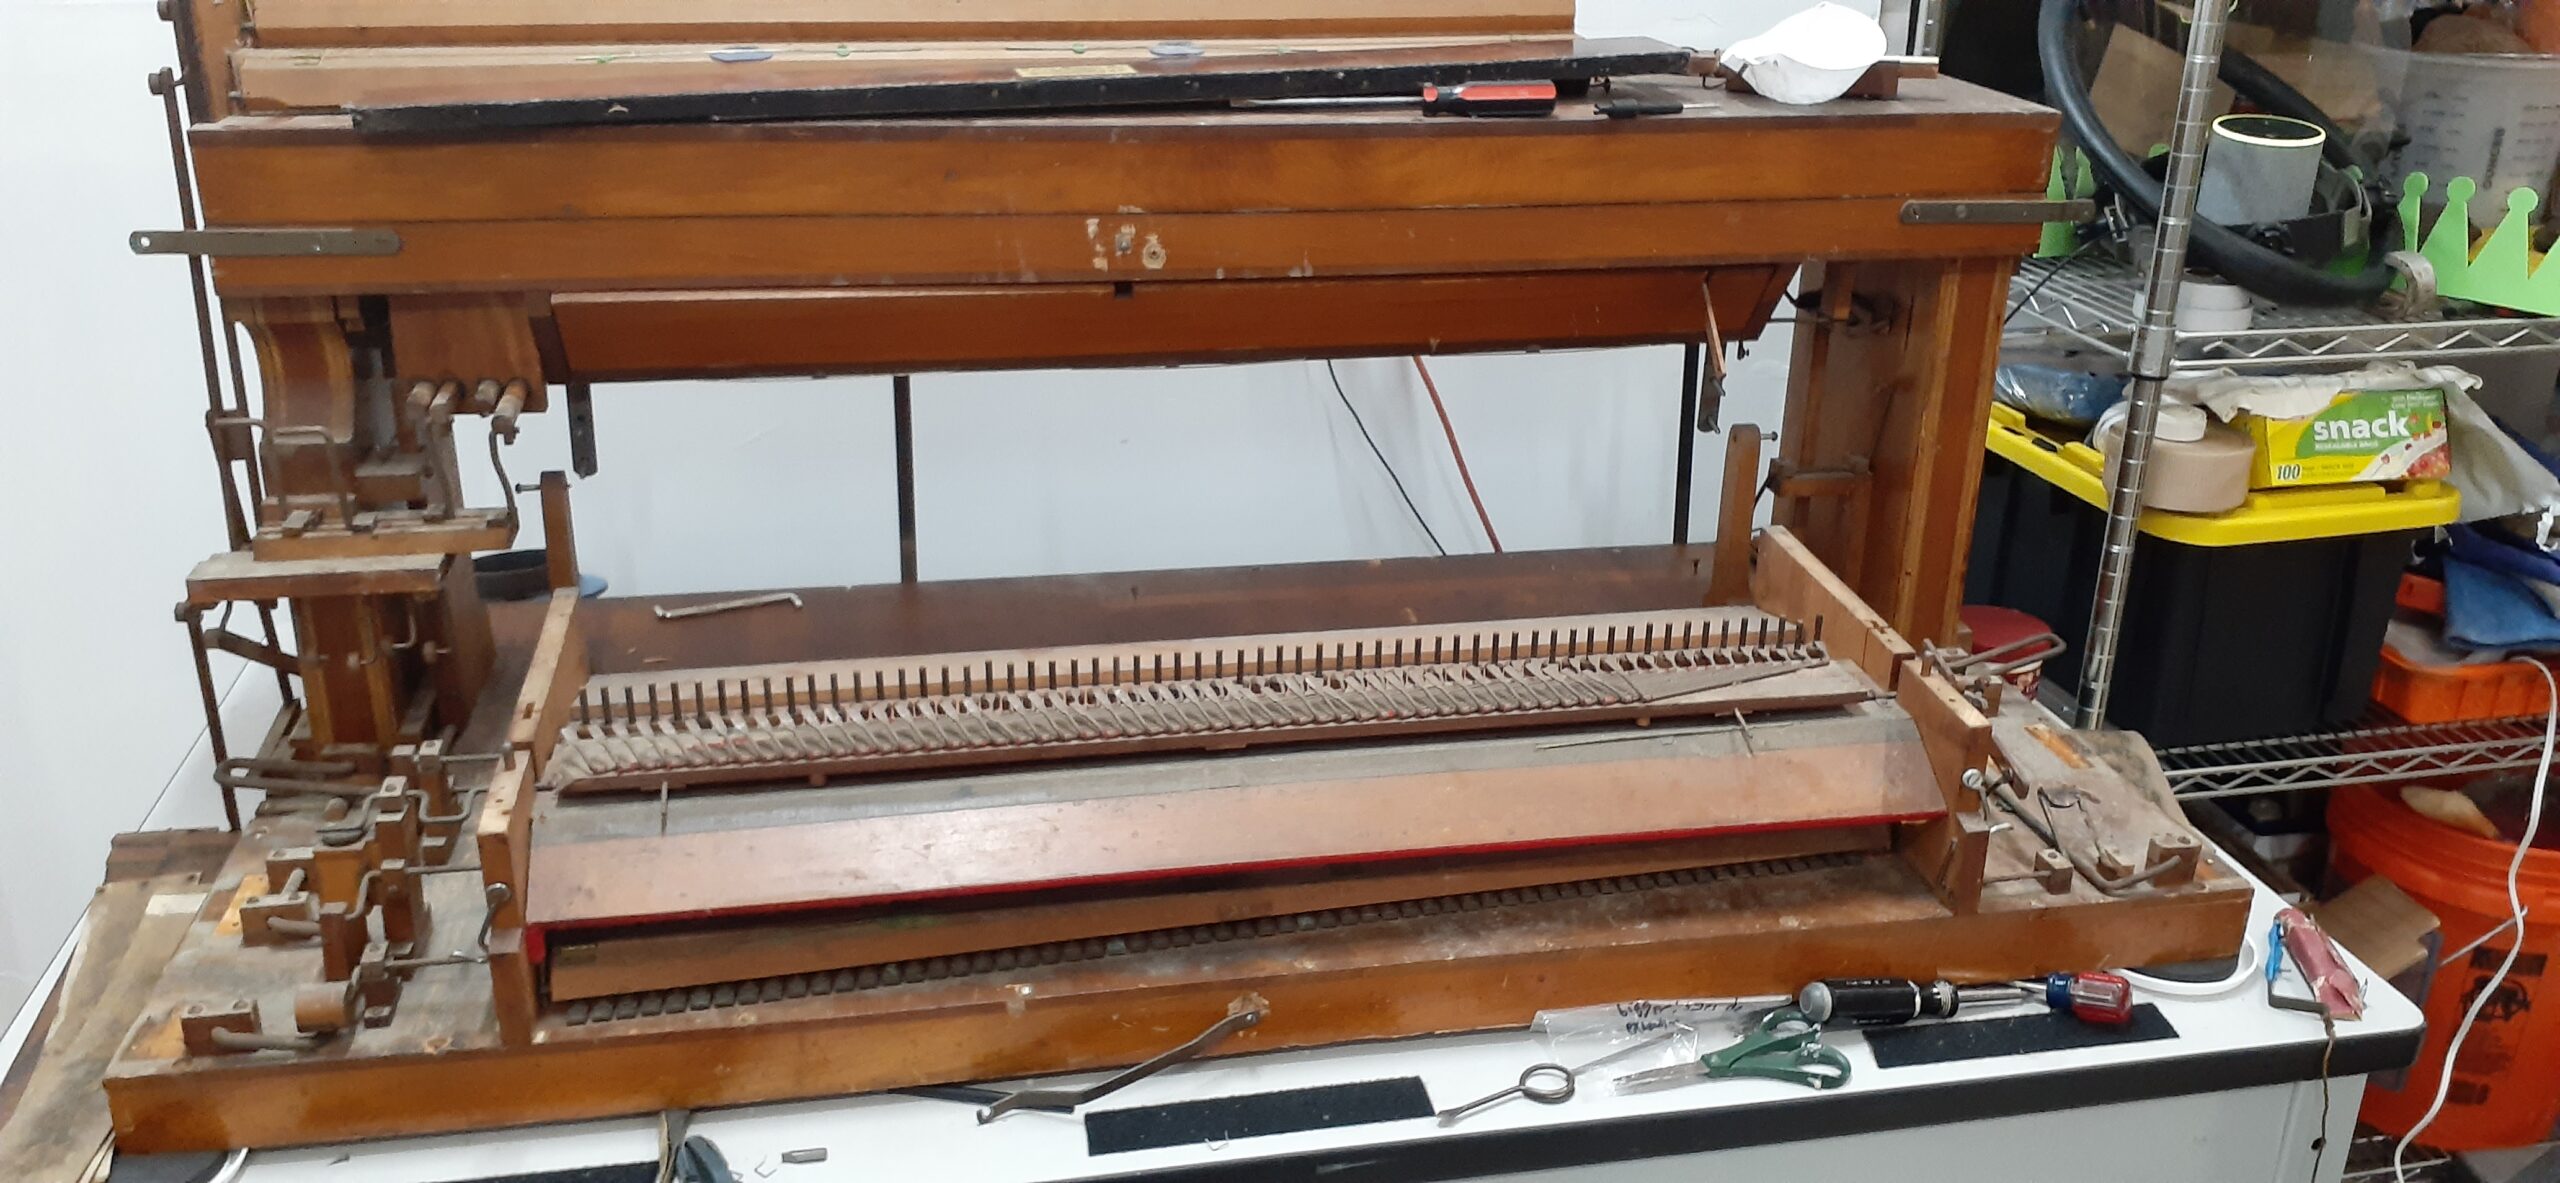
Upper action, sans keyboard
Upper action pt. 3: Keyboard
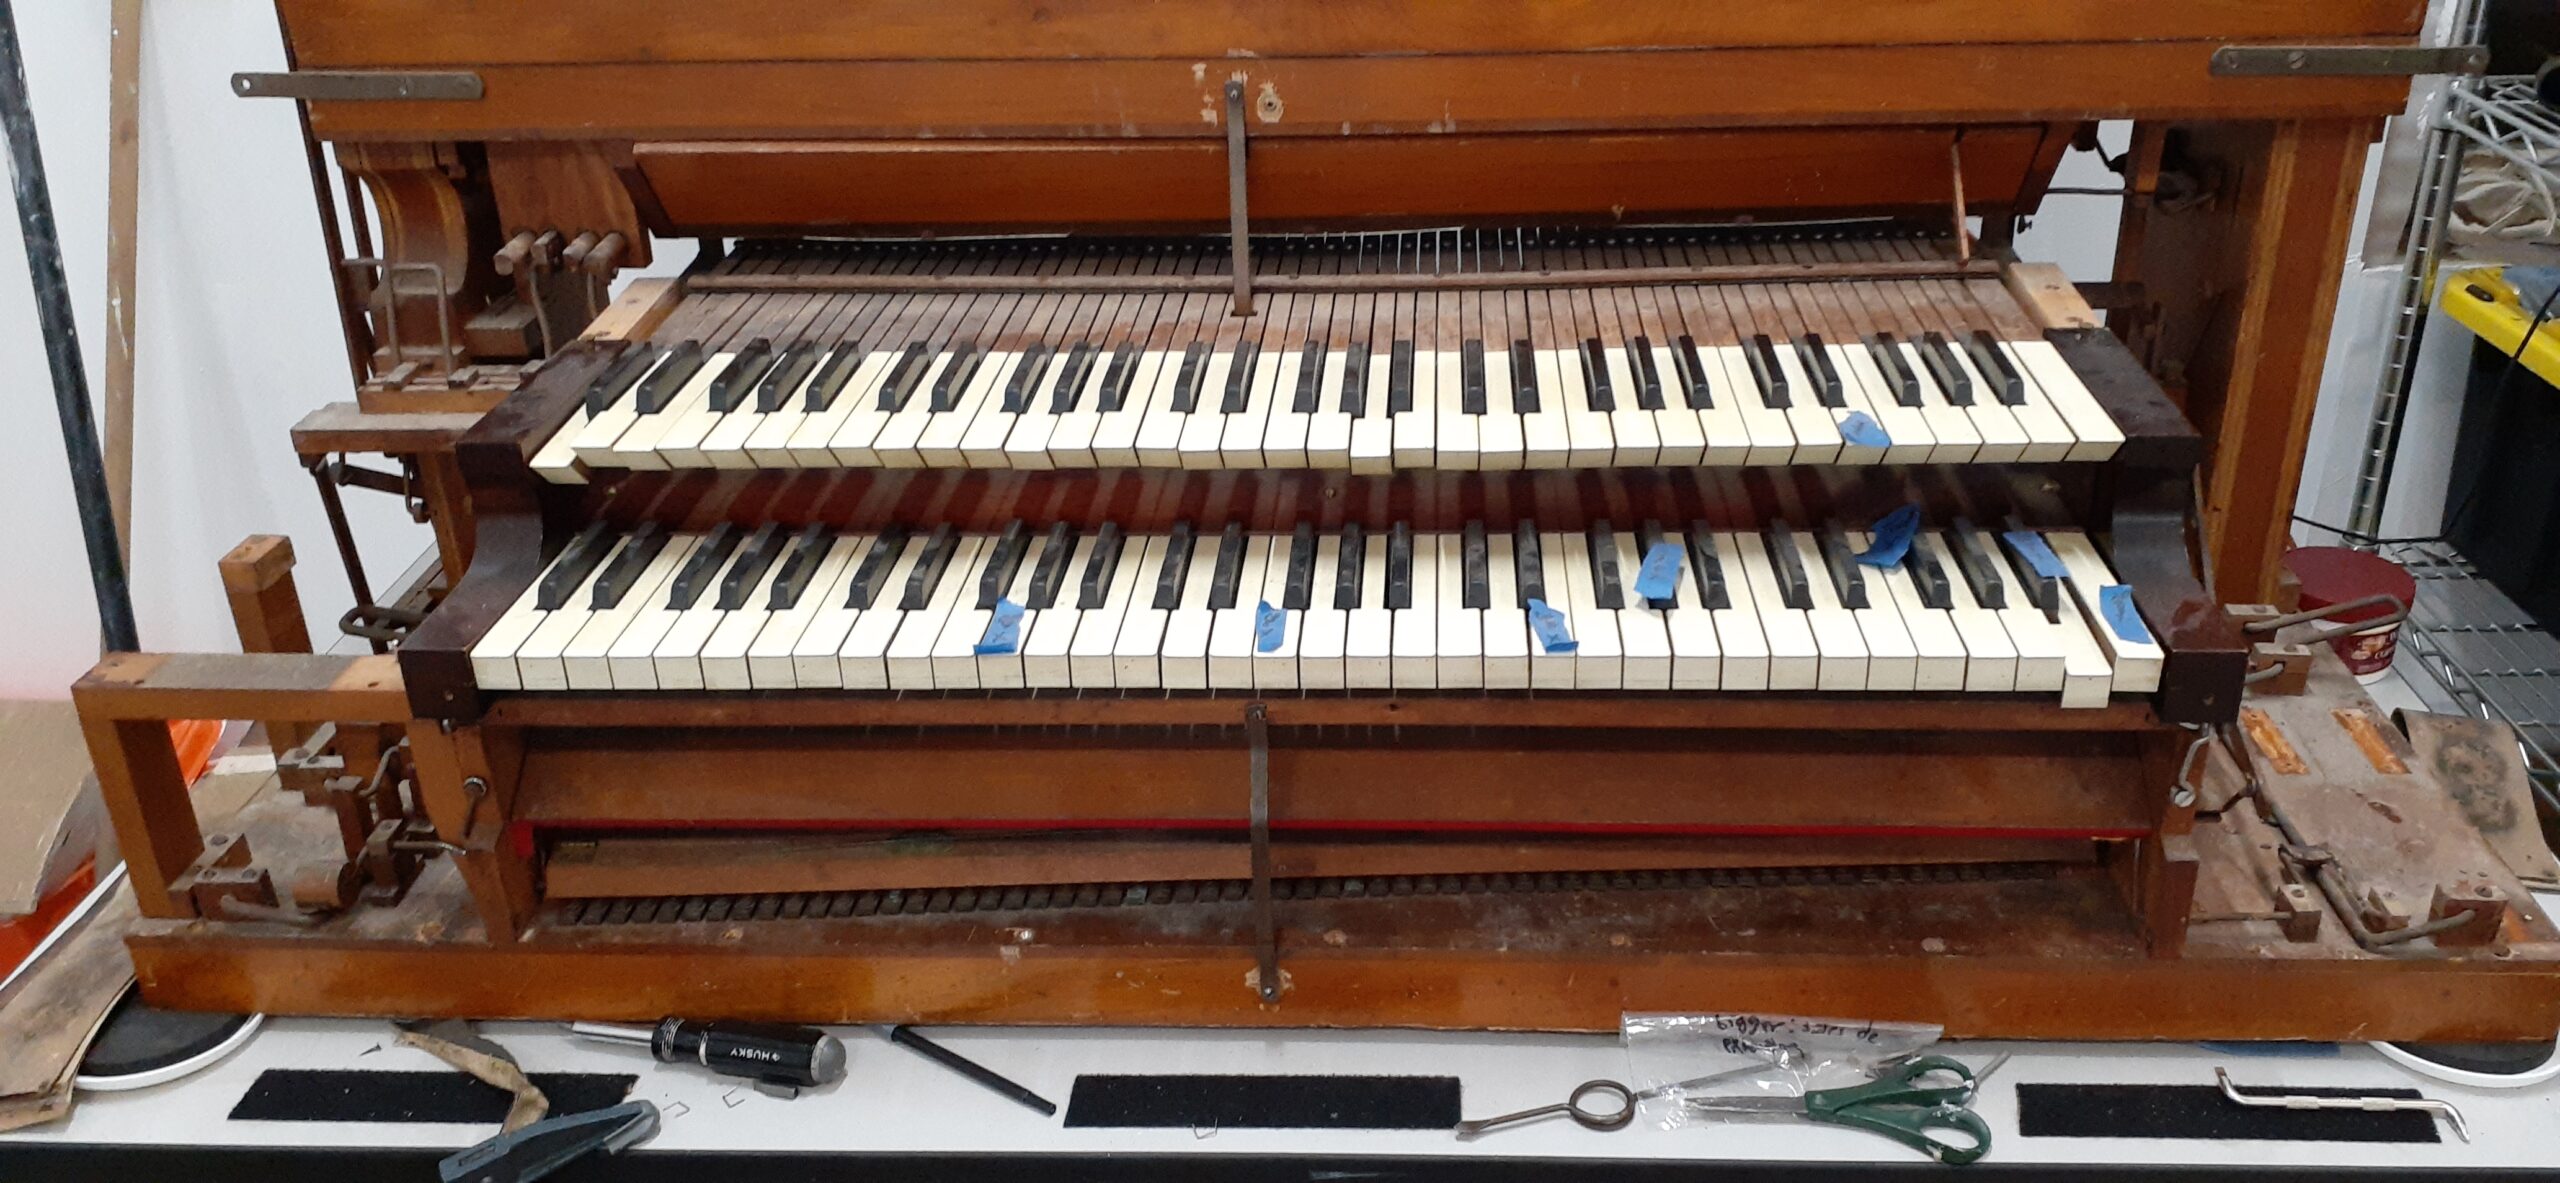
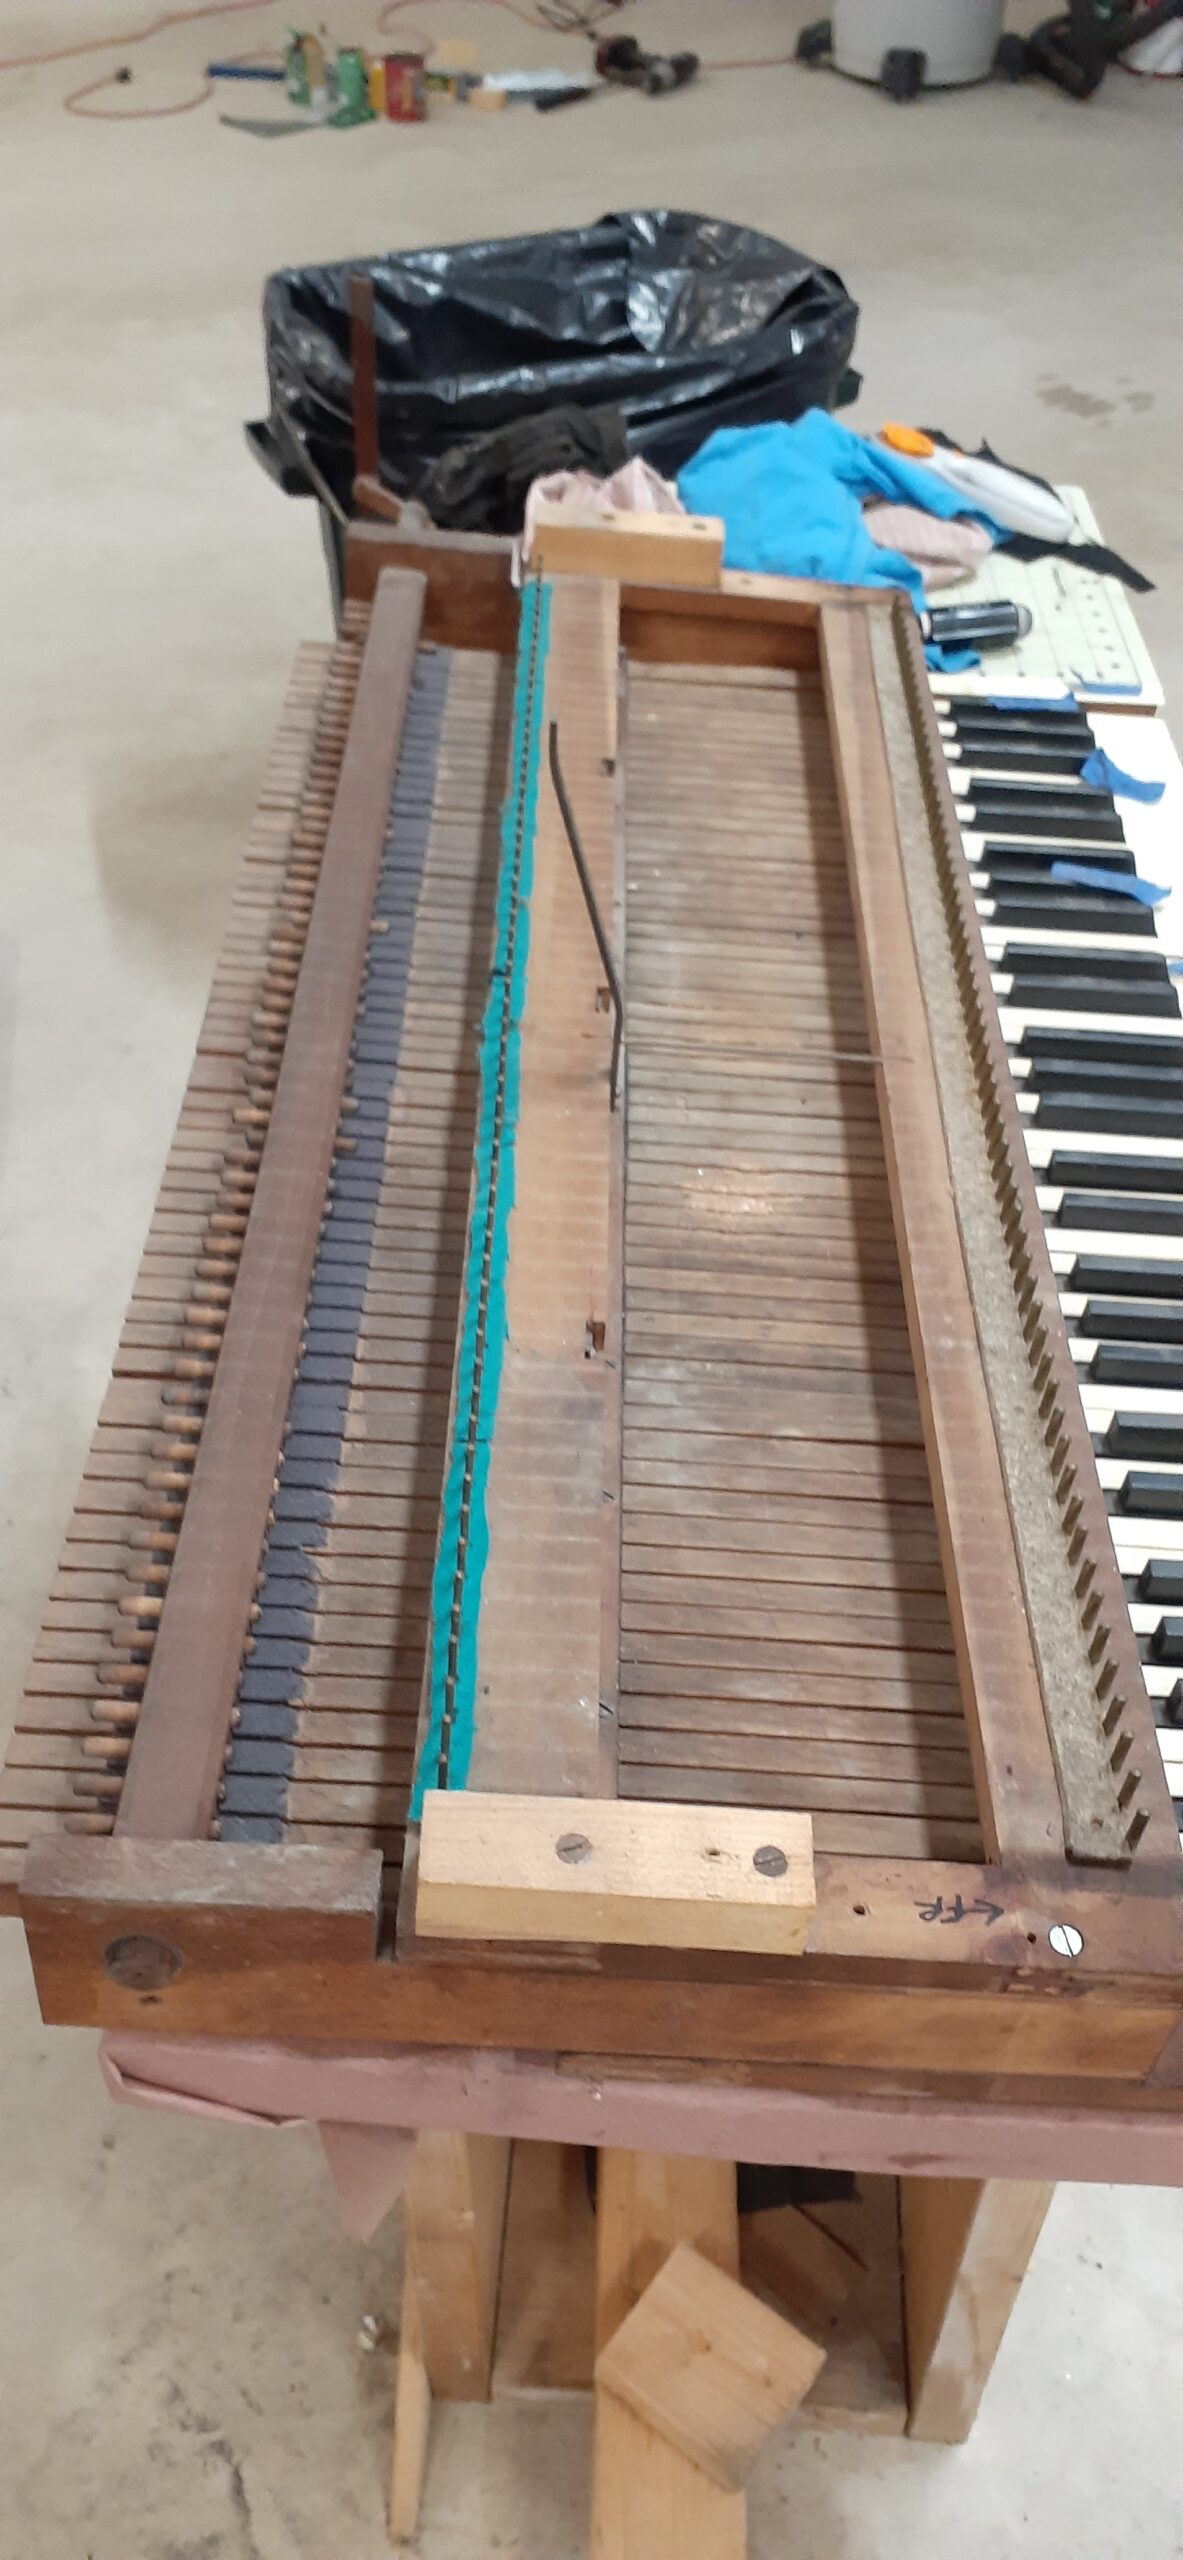
Initial condition of keyboard
Some mold
Less mold
Swell manual keys removed
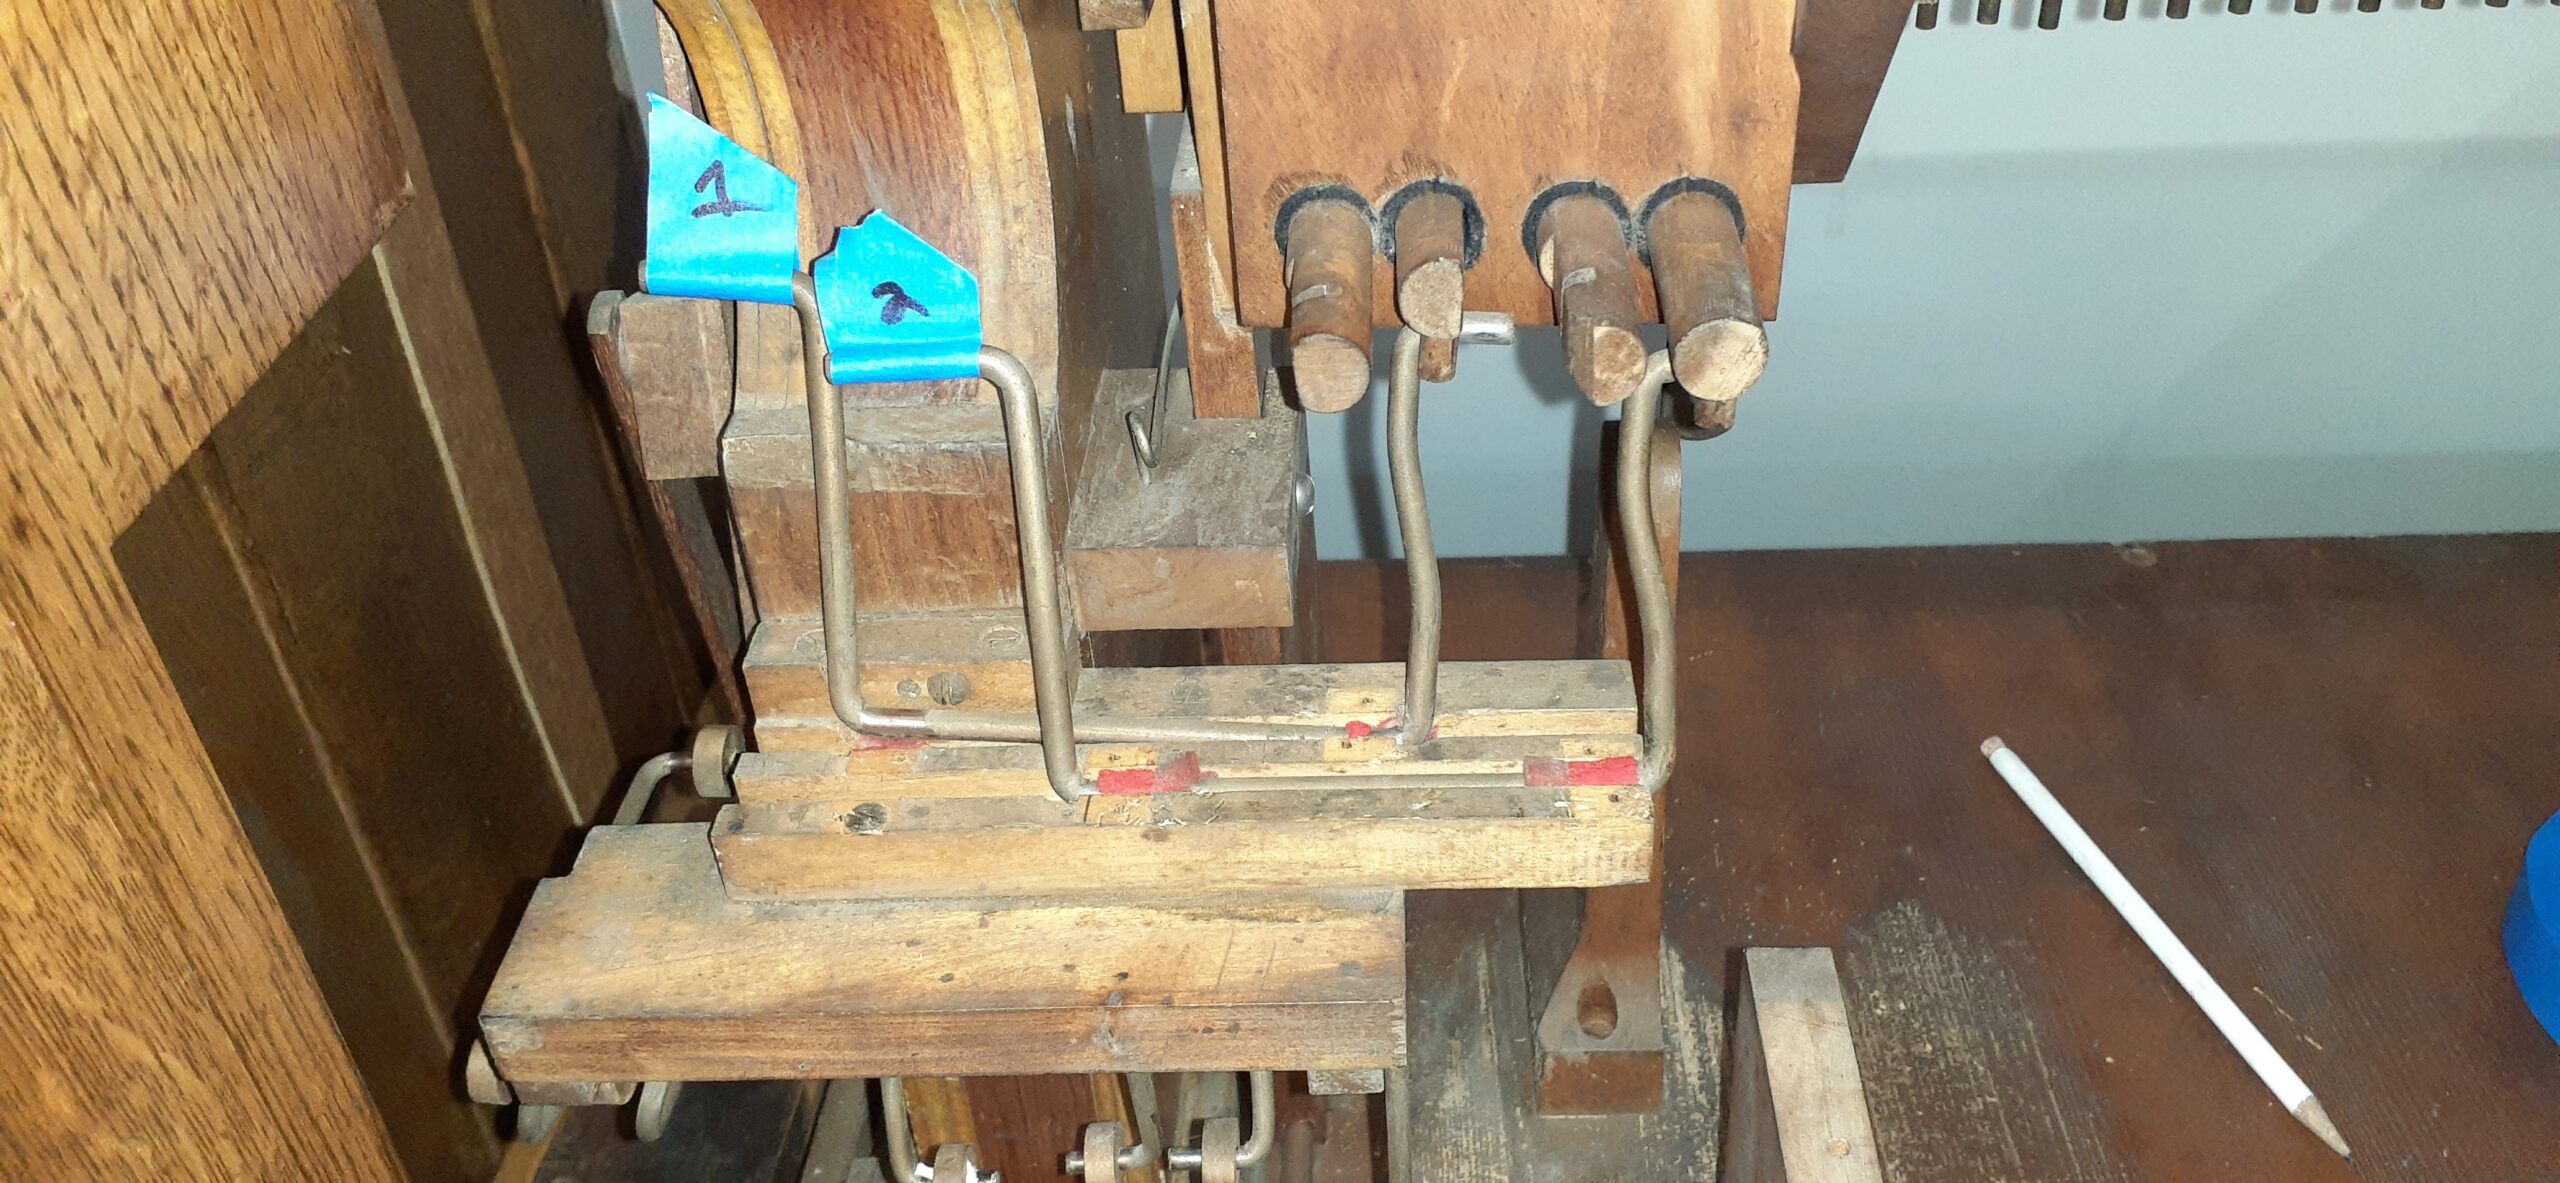
Great manual. Tape labels are from a previous owner’s work
Great manual keys set aside
Beginning to clean bare keyboard frame
Cleaning each key & reinstalling on clean frame
Great manual all set
Waxing & buffing
Cleaning & reinstalling the swell manual keys
The cleaned-up keyboard assembly
Upper action pt. 4: Upper windchest
The upper action contains two windchests, the upper one serving the swell and pedal divisions of reeds.
Mouse nest… and a complimentary pocket knife!
Somewhat less mouse nest
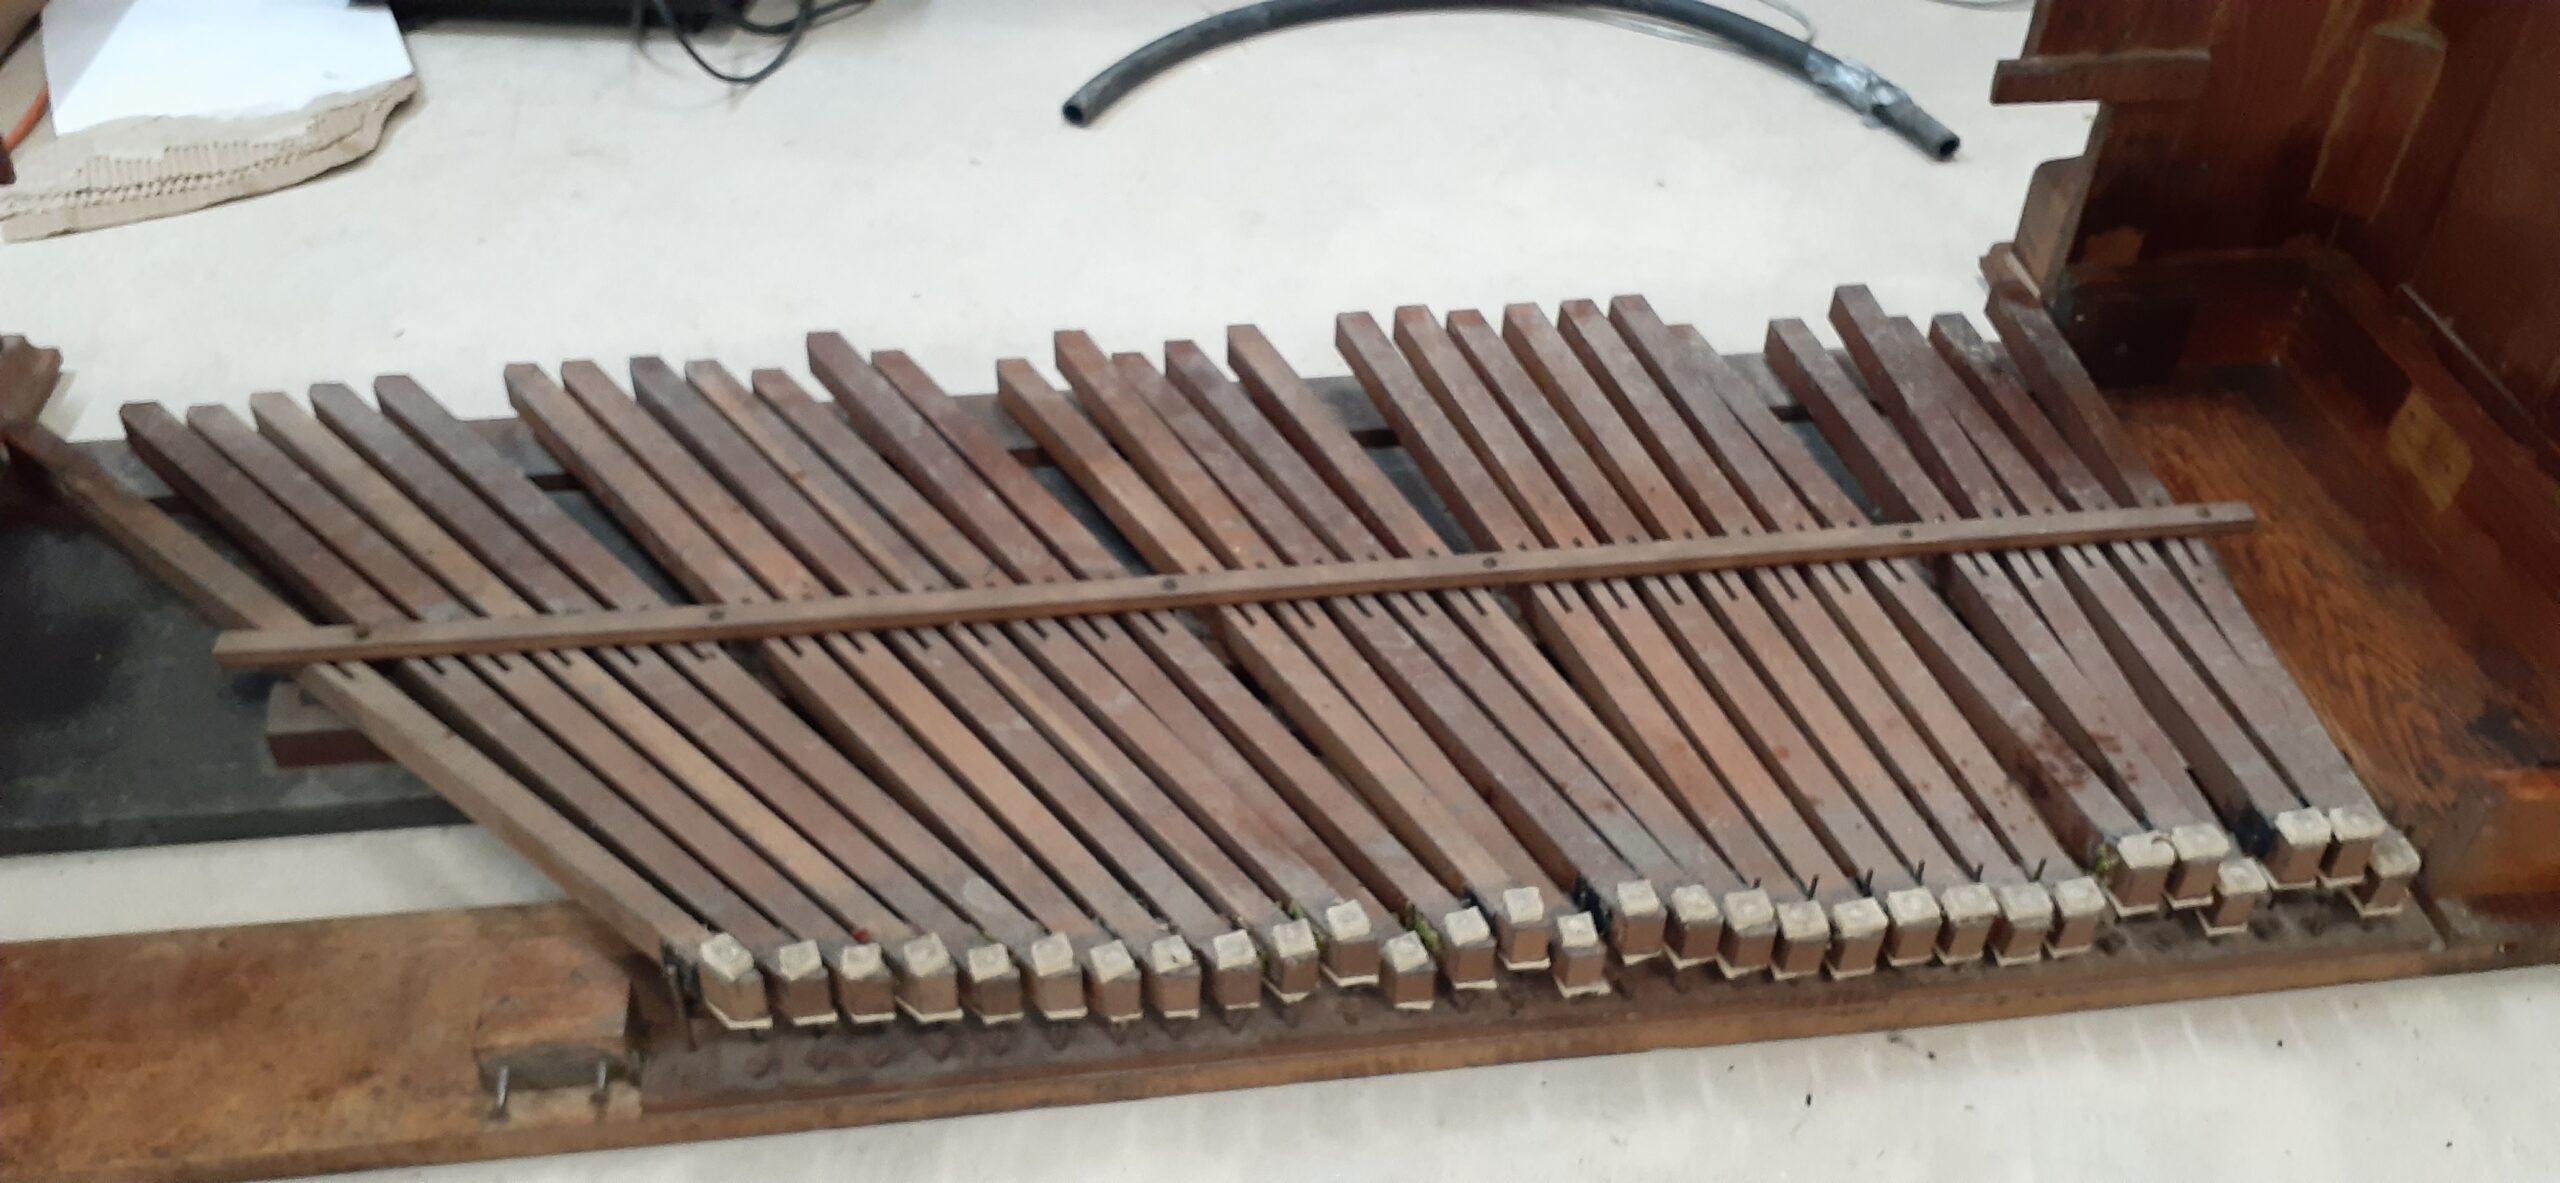
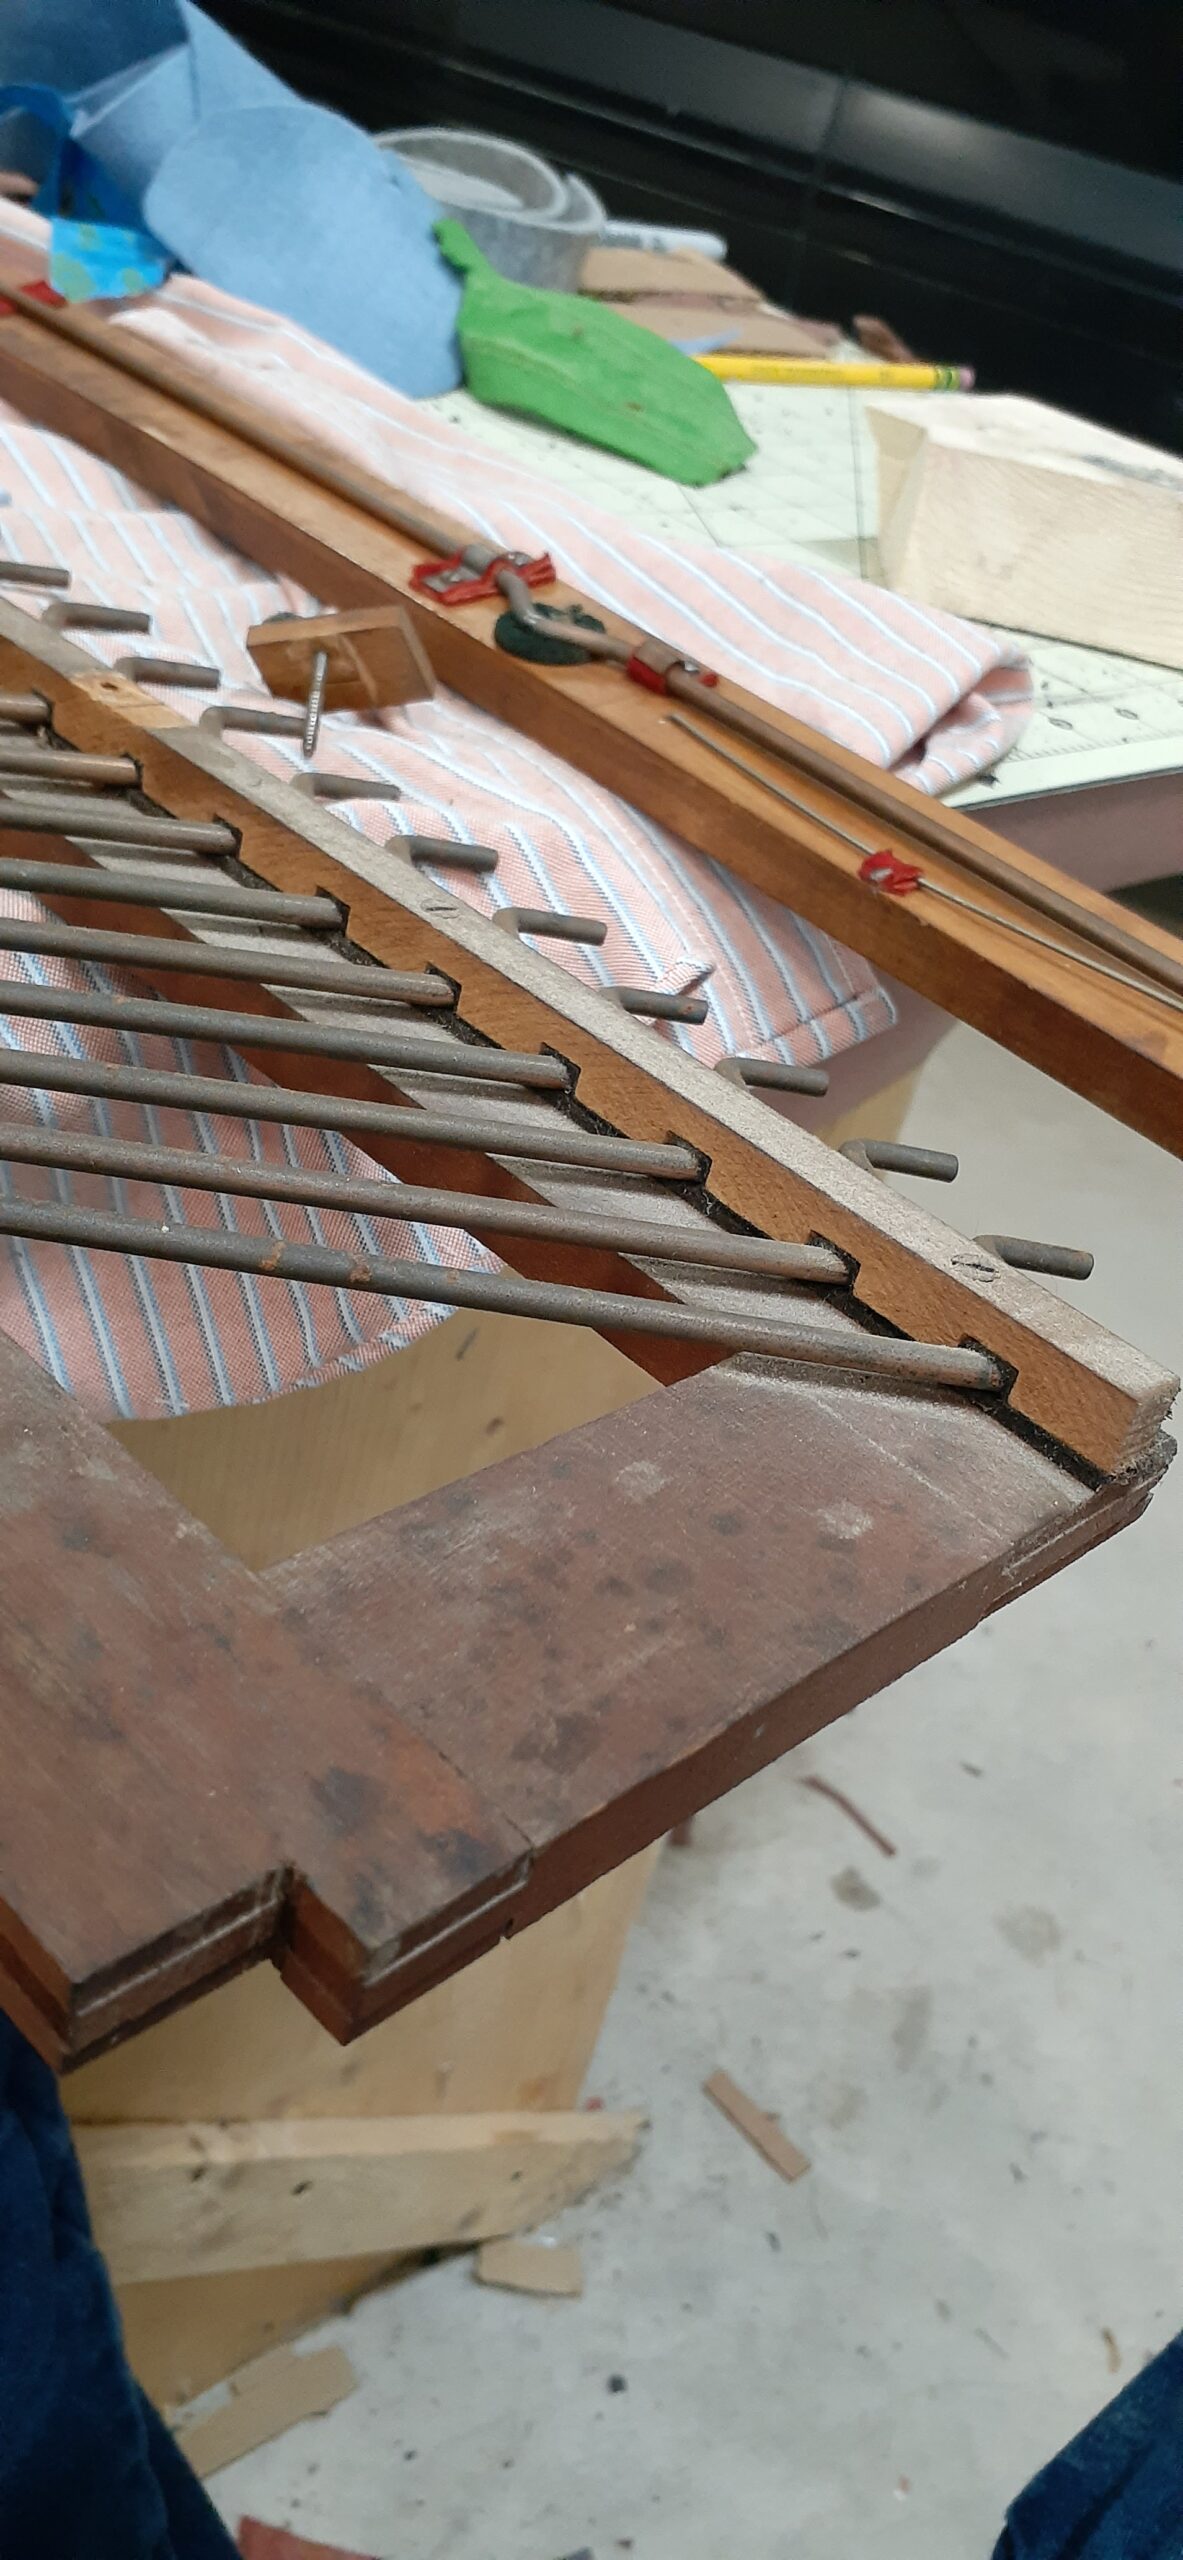
View of the massive pedal pallet valves
Swell division pallet valves
Removing more mouse nest remnants
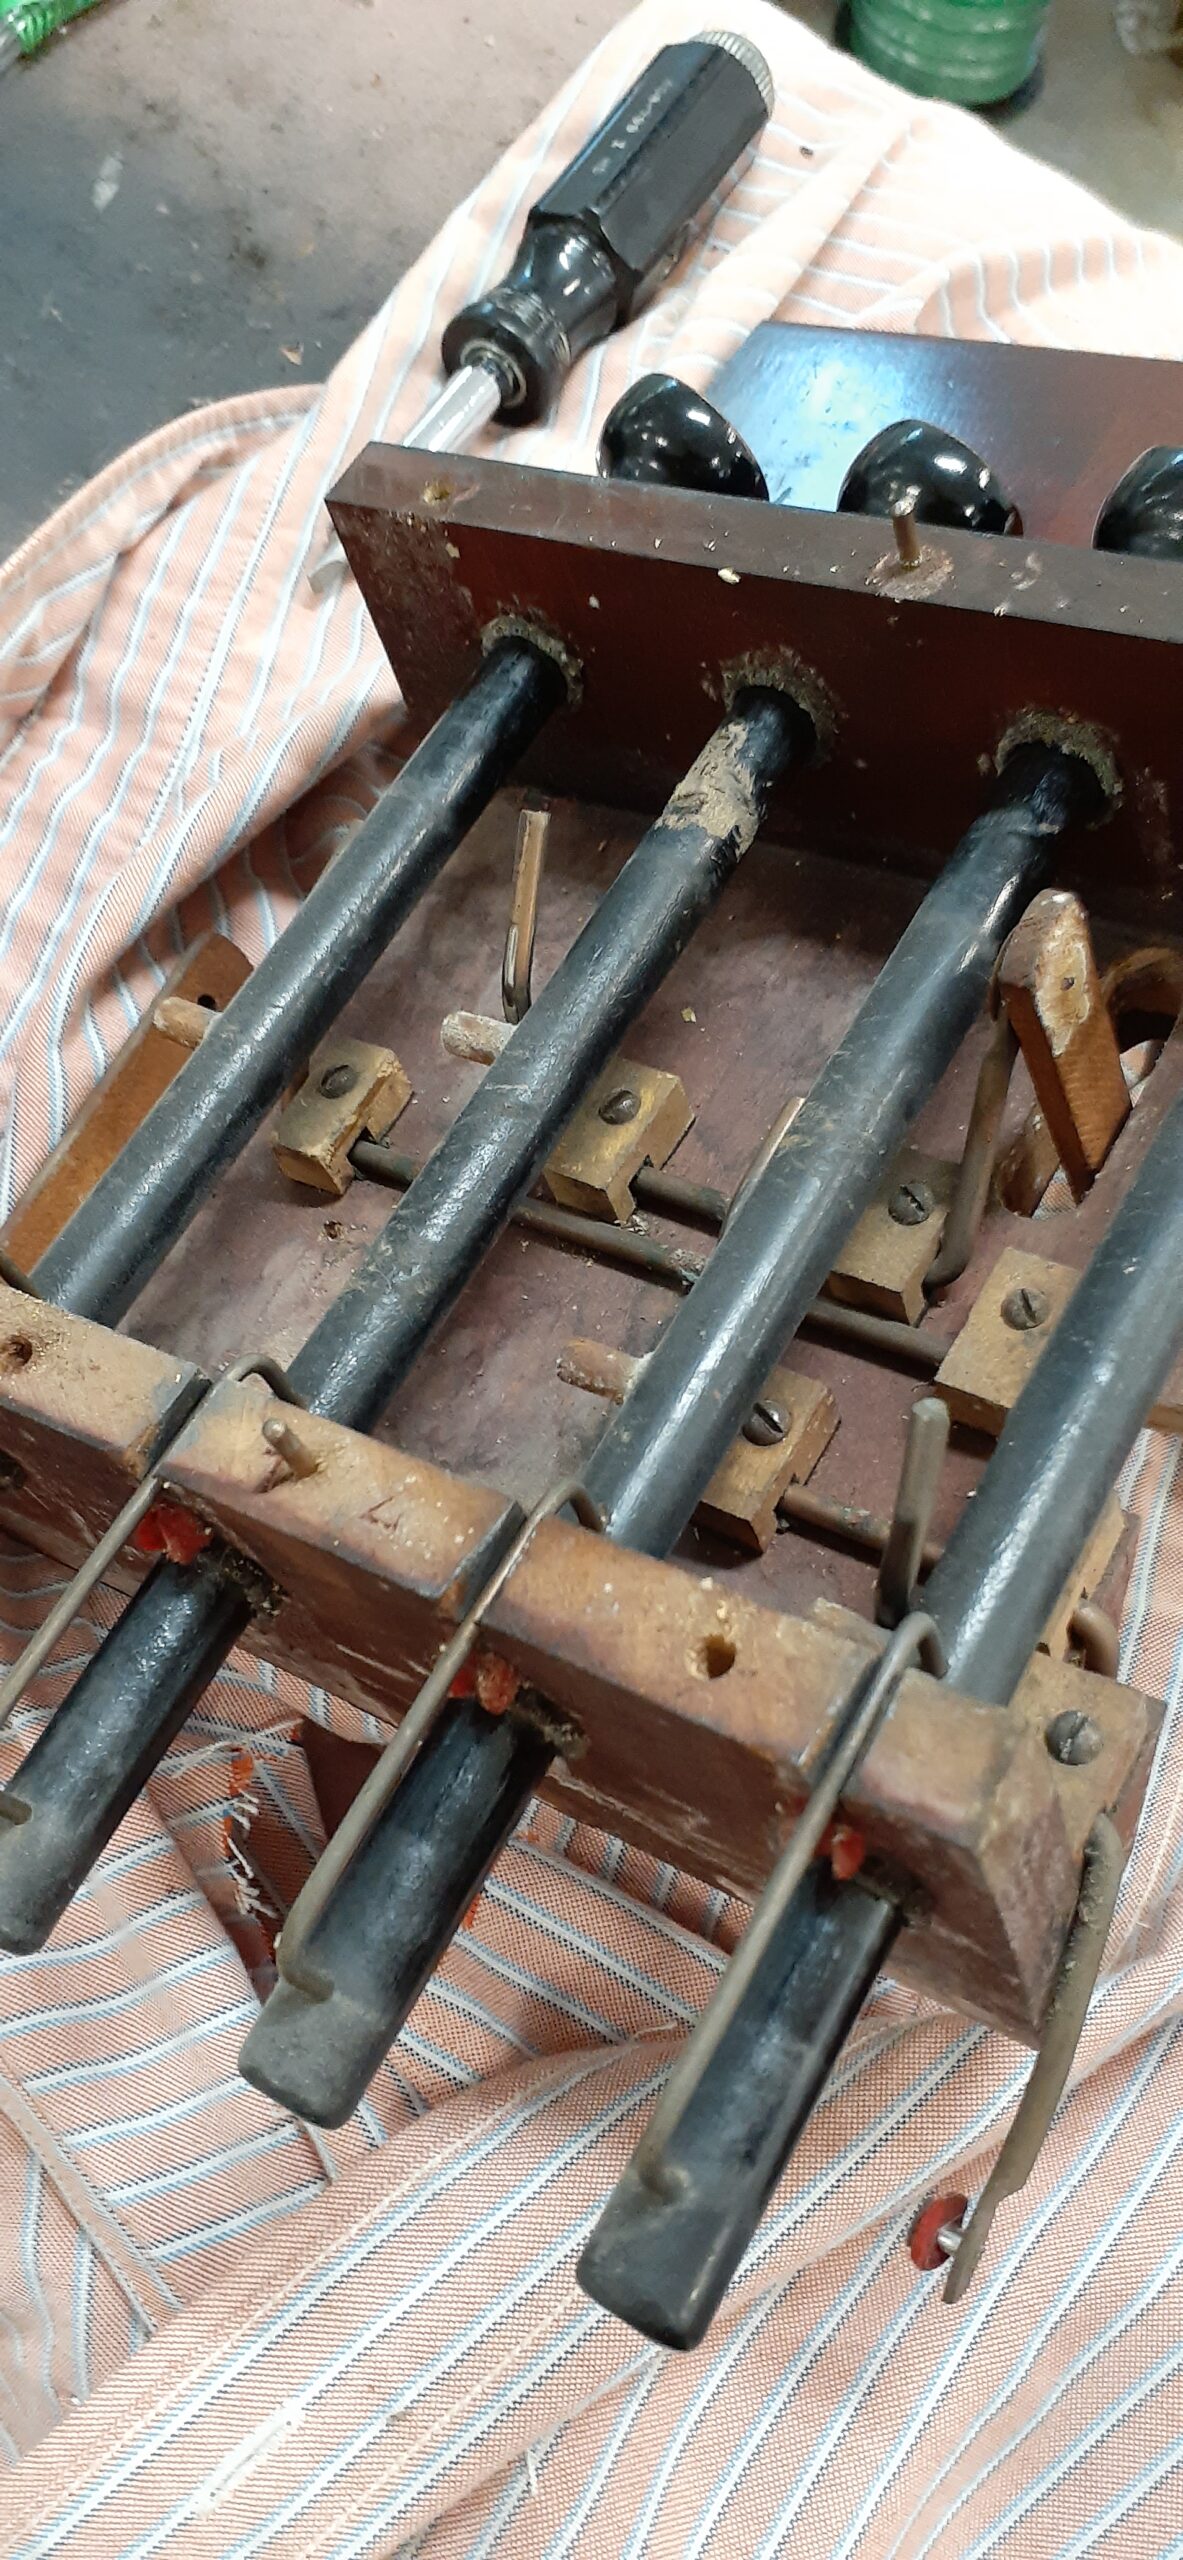
Removing pedal pallet valves
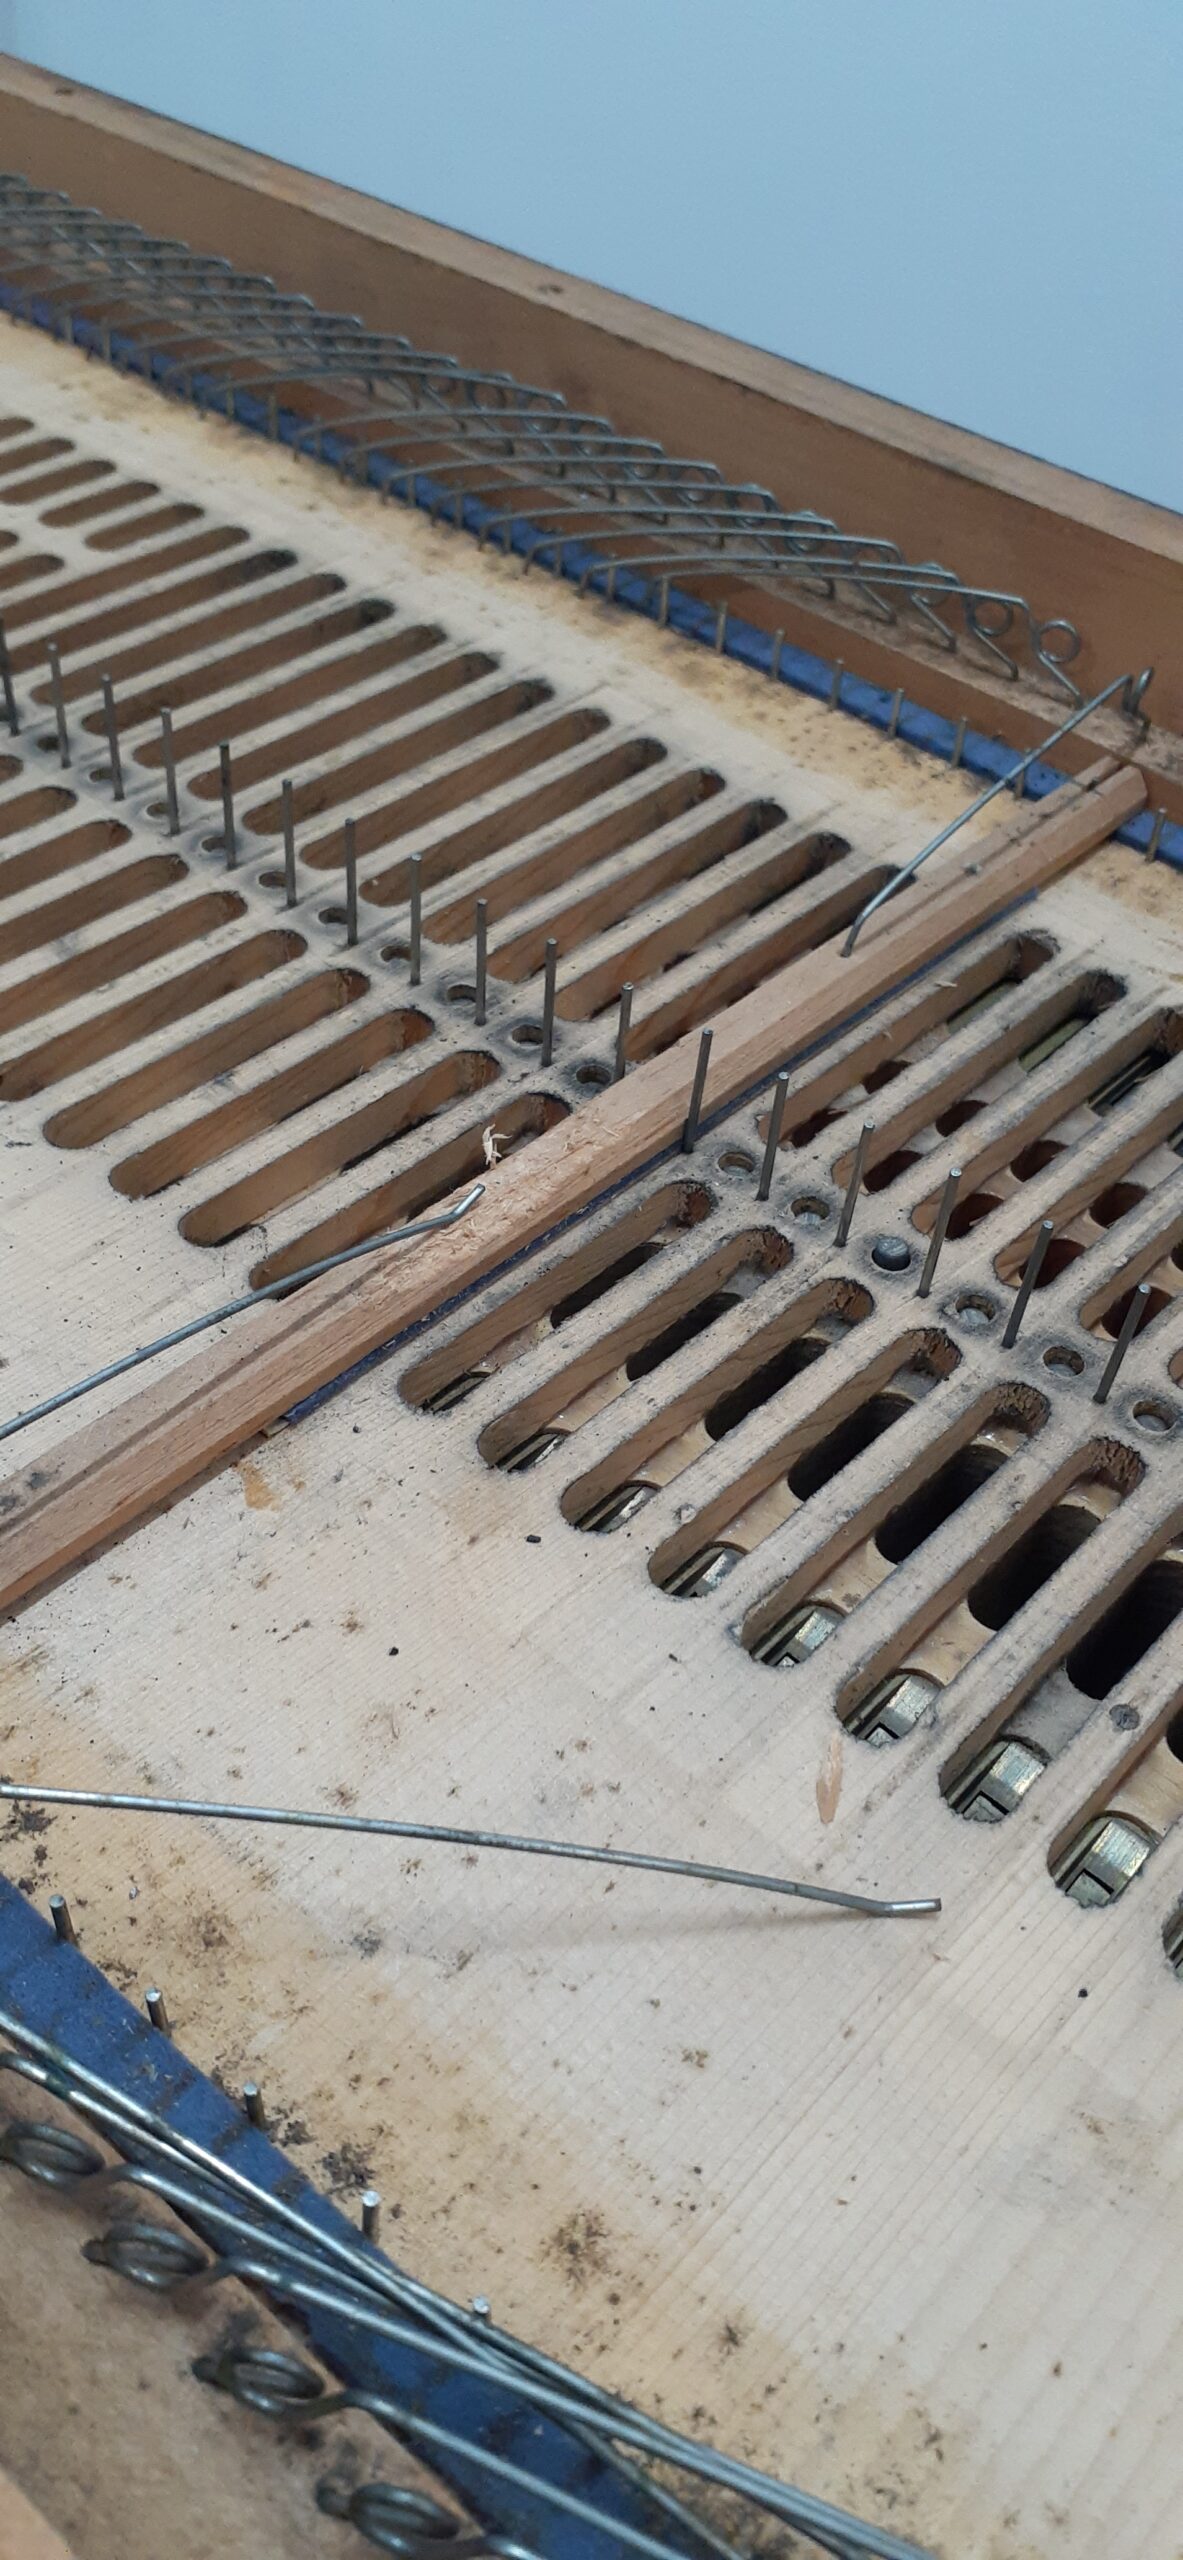
Pedal reeds can be seen beneath where the pallet valves were
Clean windchest
Using epoxy to fill in areas chewed away by mice
Area of windchest filled in with epoxy
Fixing mouse-chewed pallet valves with epoxy
Replacing pallet valves
About to seal the windchest back up…
Upper action pt. 5
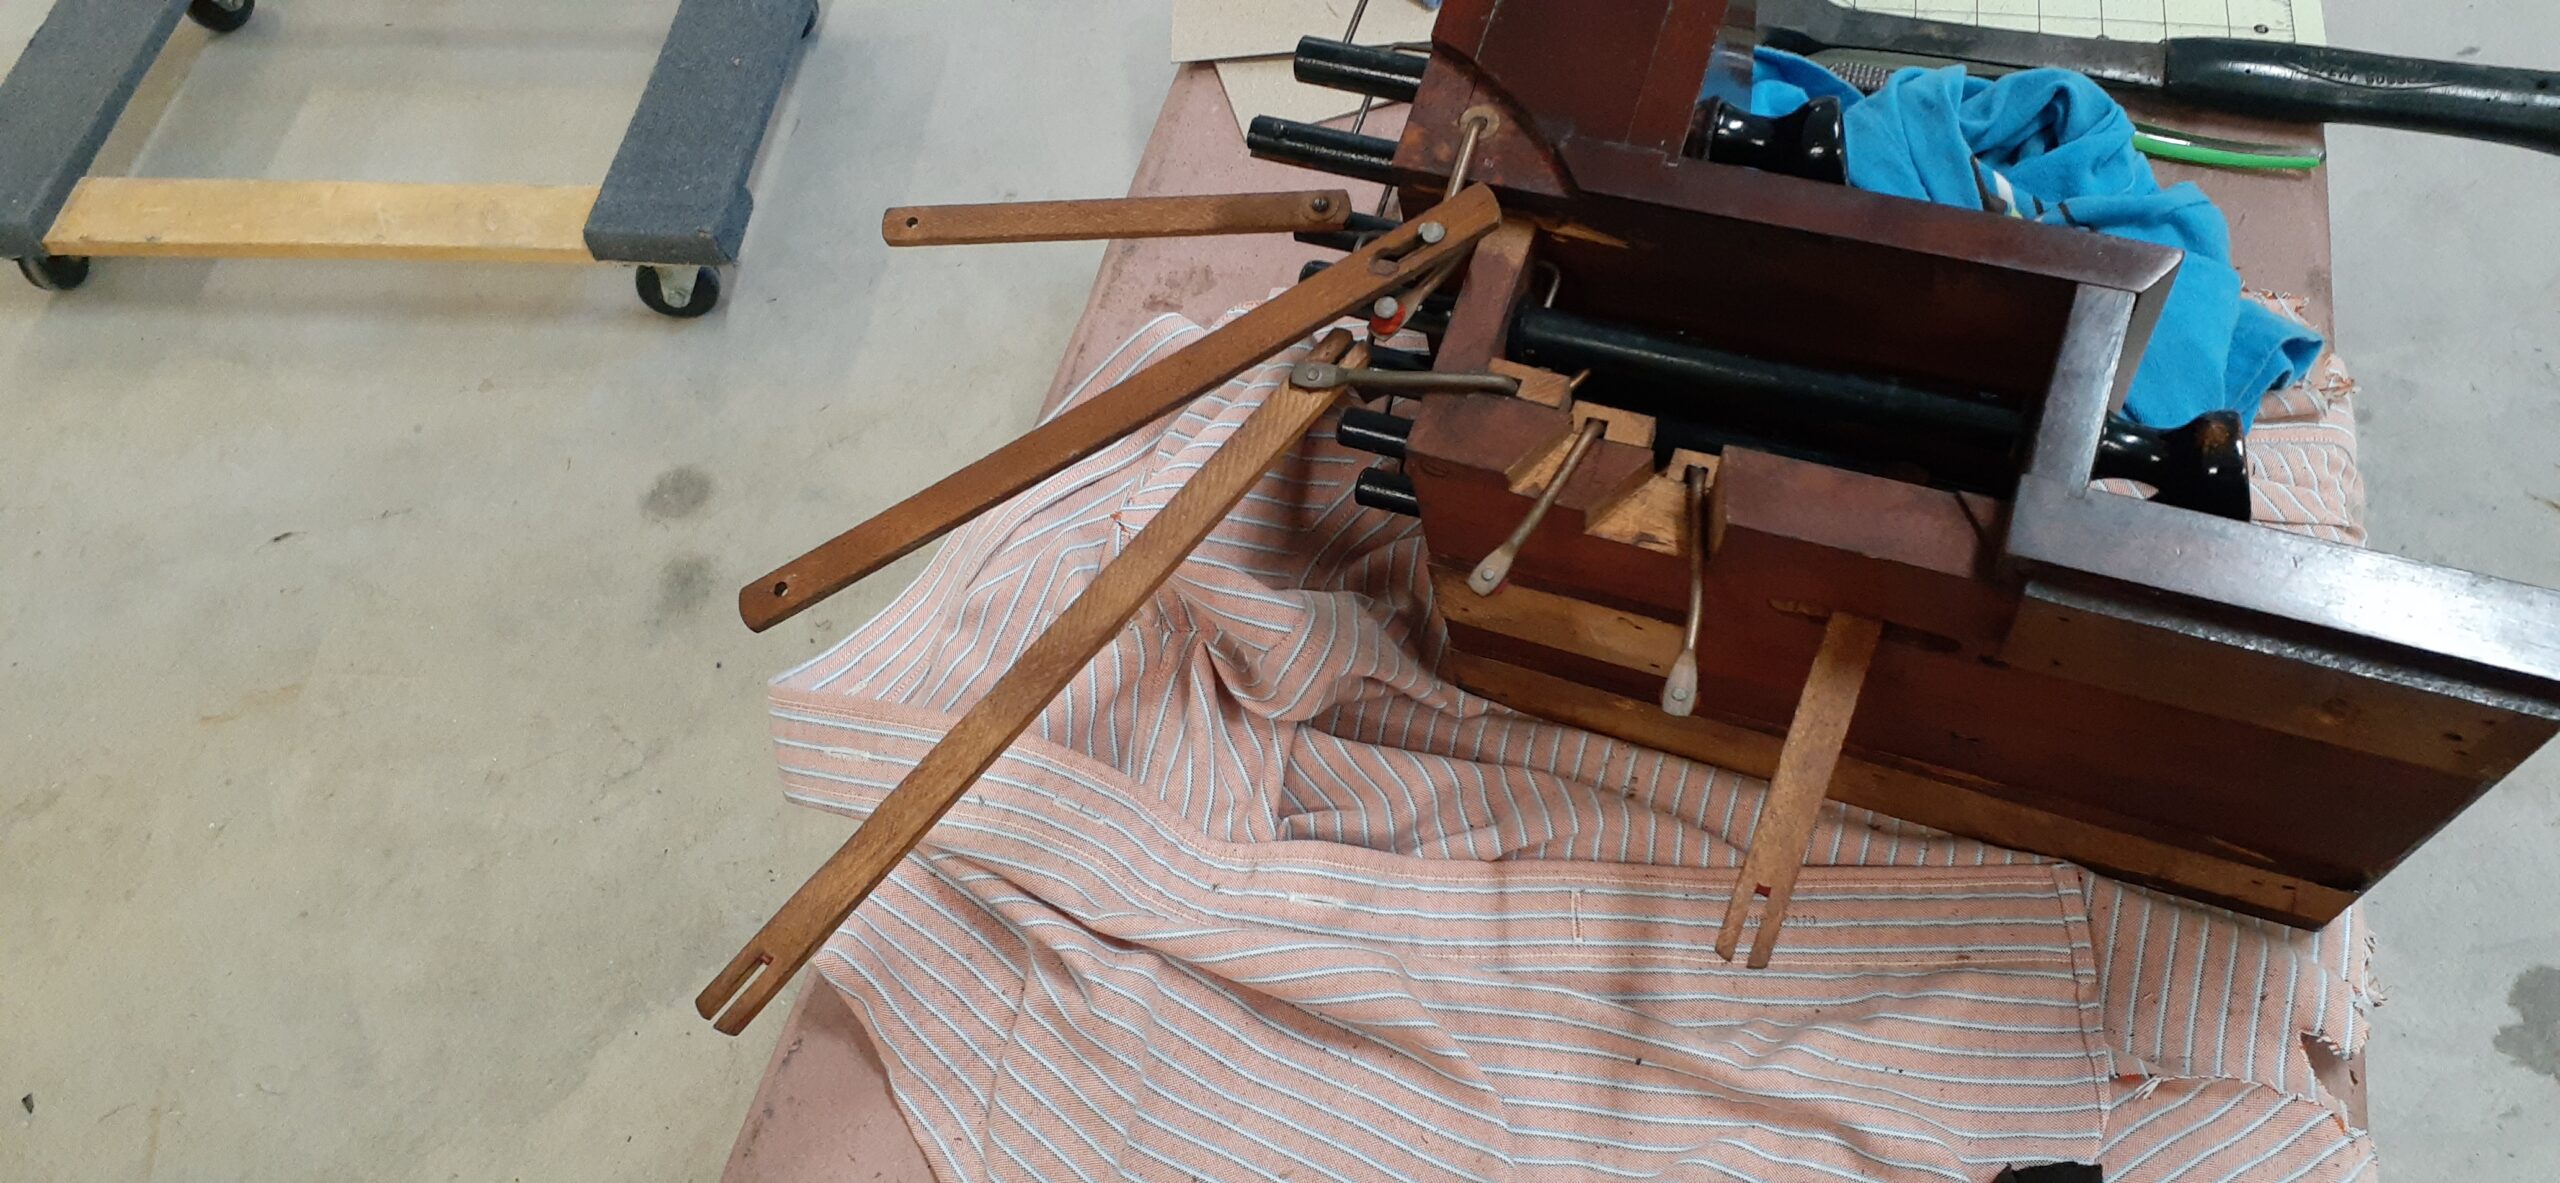
Upper action tipped on its side
A view of some of the great division reeds from the lower windchest with pallet valves removed
Polished octave coupler camshaft installed, some felts replaced
Swell control mechanism felts being replaced
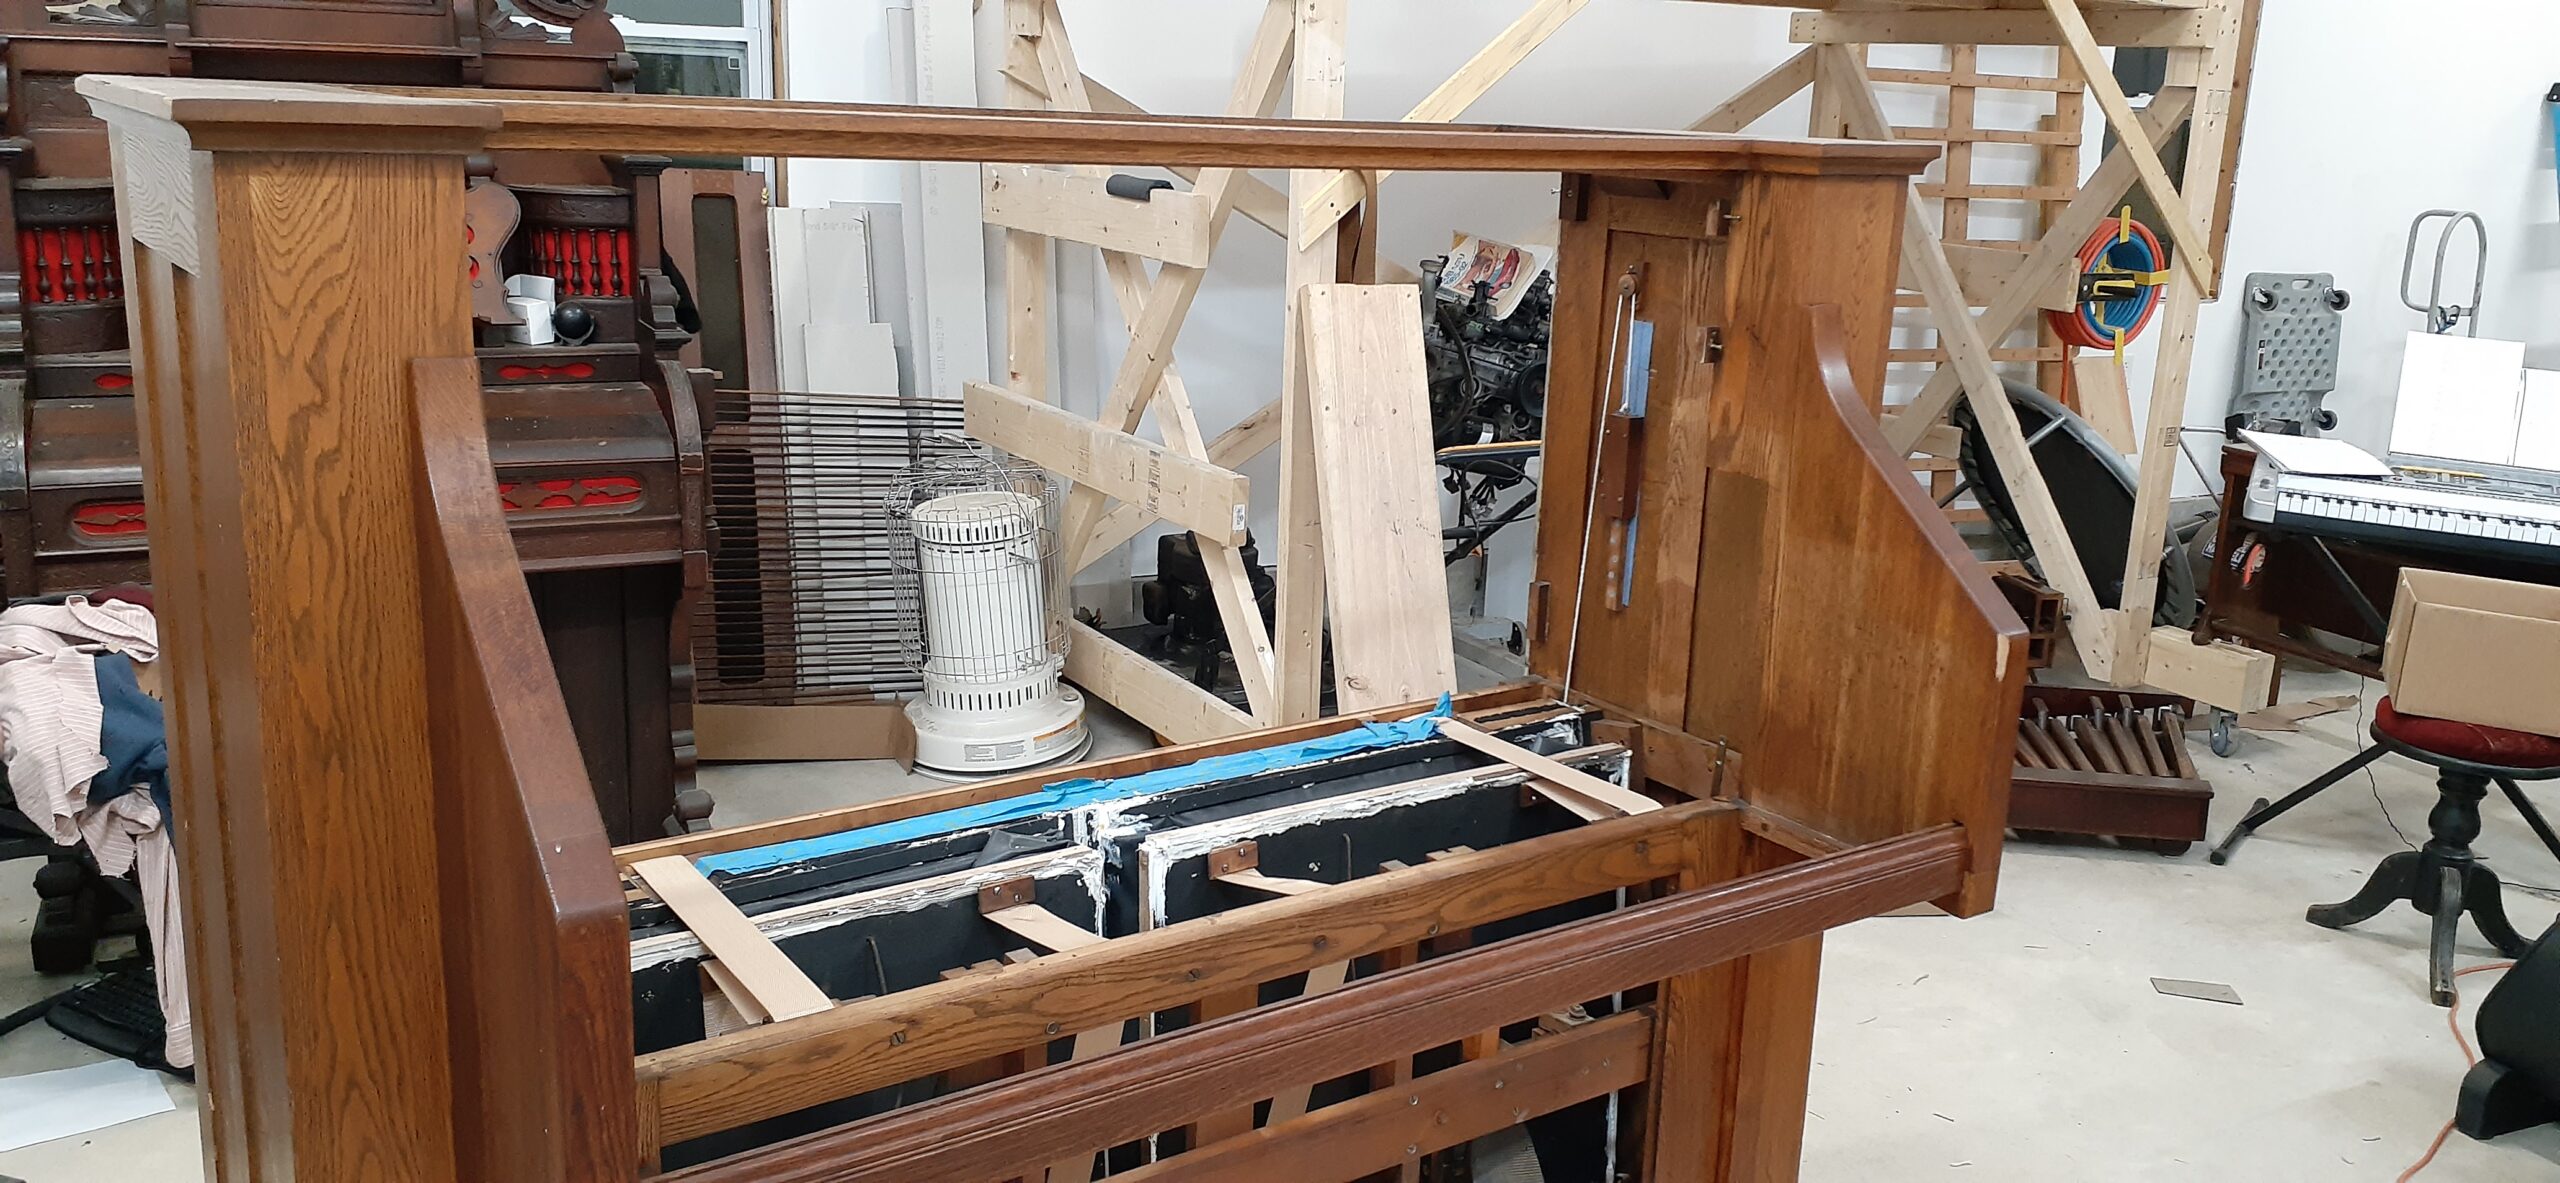
Upper action reinstalled into the organ with the upper windchest open to address a cipher
Part of the “grand organ” mechanism
Back of the organ with most of the upper action installed
Quick polishing of brass screws (one on the right is not yet polished)
More polishing of brass screws
Several case components installed
The final product
And with that, the organ was in good, playable shape, and put into the ROS database.
The blower is connected to the organ with dryer vent hose
However, in 2022, while investigating a cipher and a few mechanical issues, I discovered that mold in the swells and around the reed pan had come back. Thus, it was time to do a more detailed restoration on the organ.
Second Wave of Repairs – 2022
Upper action disassembly
Beginning upper action disassembly
Stopboards removed
Dismantling the stop action
Keyboard subassembly removed
Octave couplers removed
Part of the great reedpan with a mute removed; removing reeds
Removing reeds
More reeds
Even more reeds
Even more than even more reeds
…
The great reedpan, removing felts & ready for cleaning
Reedpan and swells
Replacing felt
The clean reed pan
Replacing worn-out and chewed-away lambskin on mutes
Mutes replaced
Reinstalling mutes
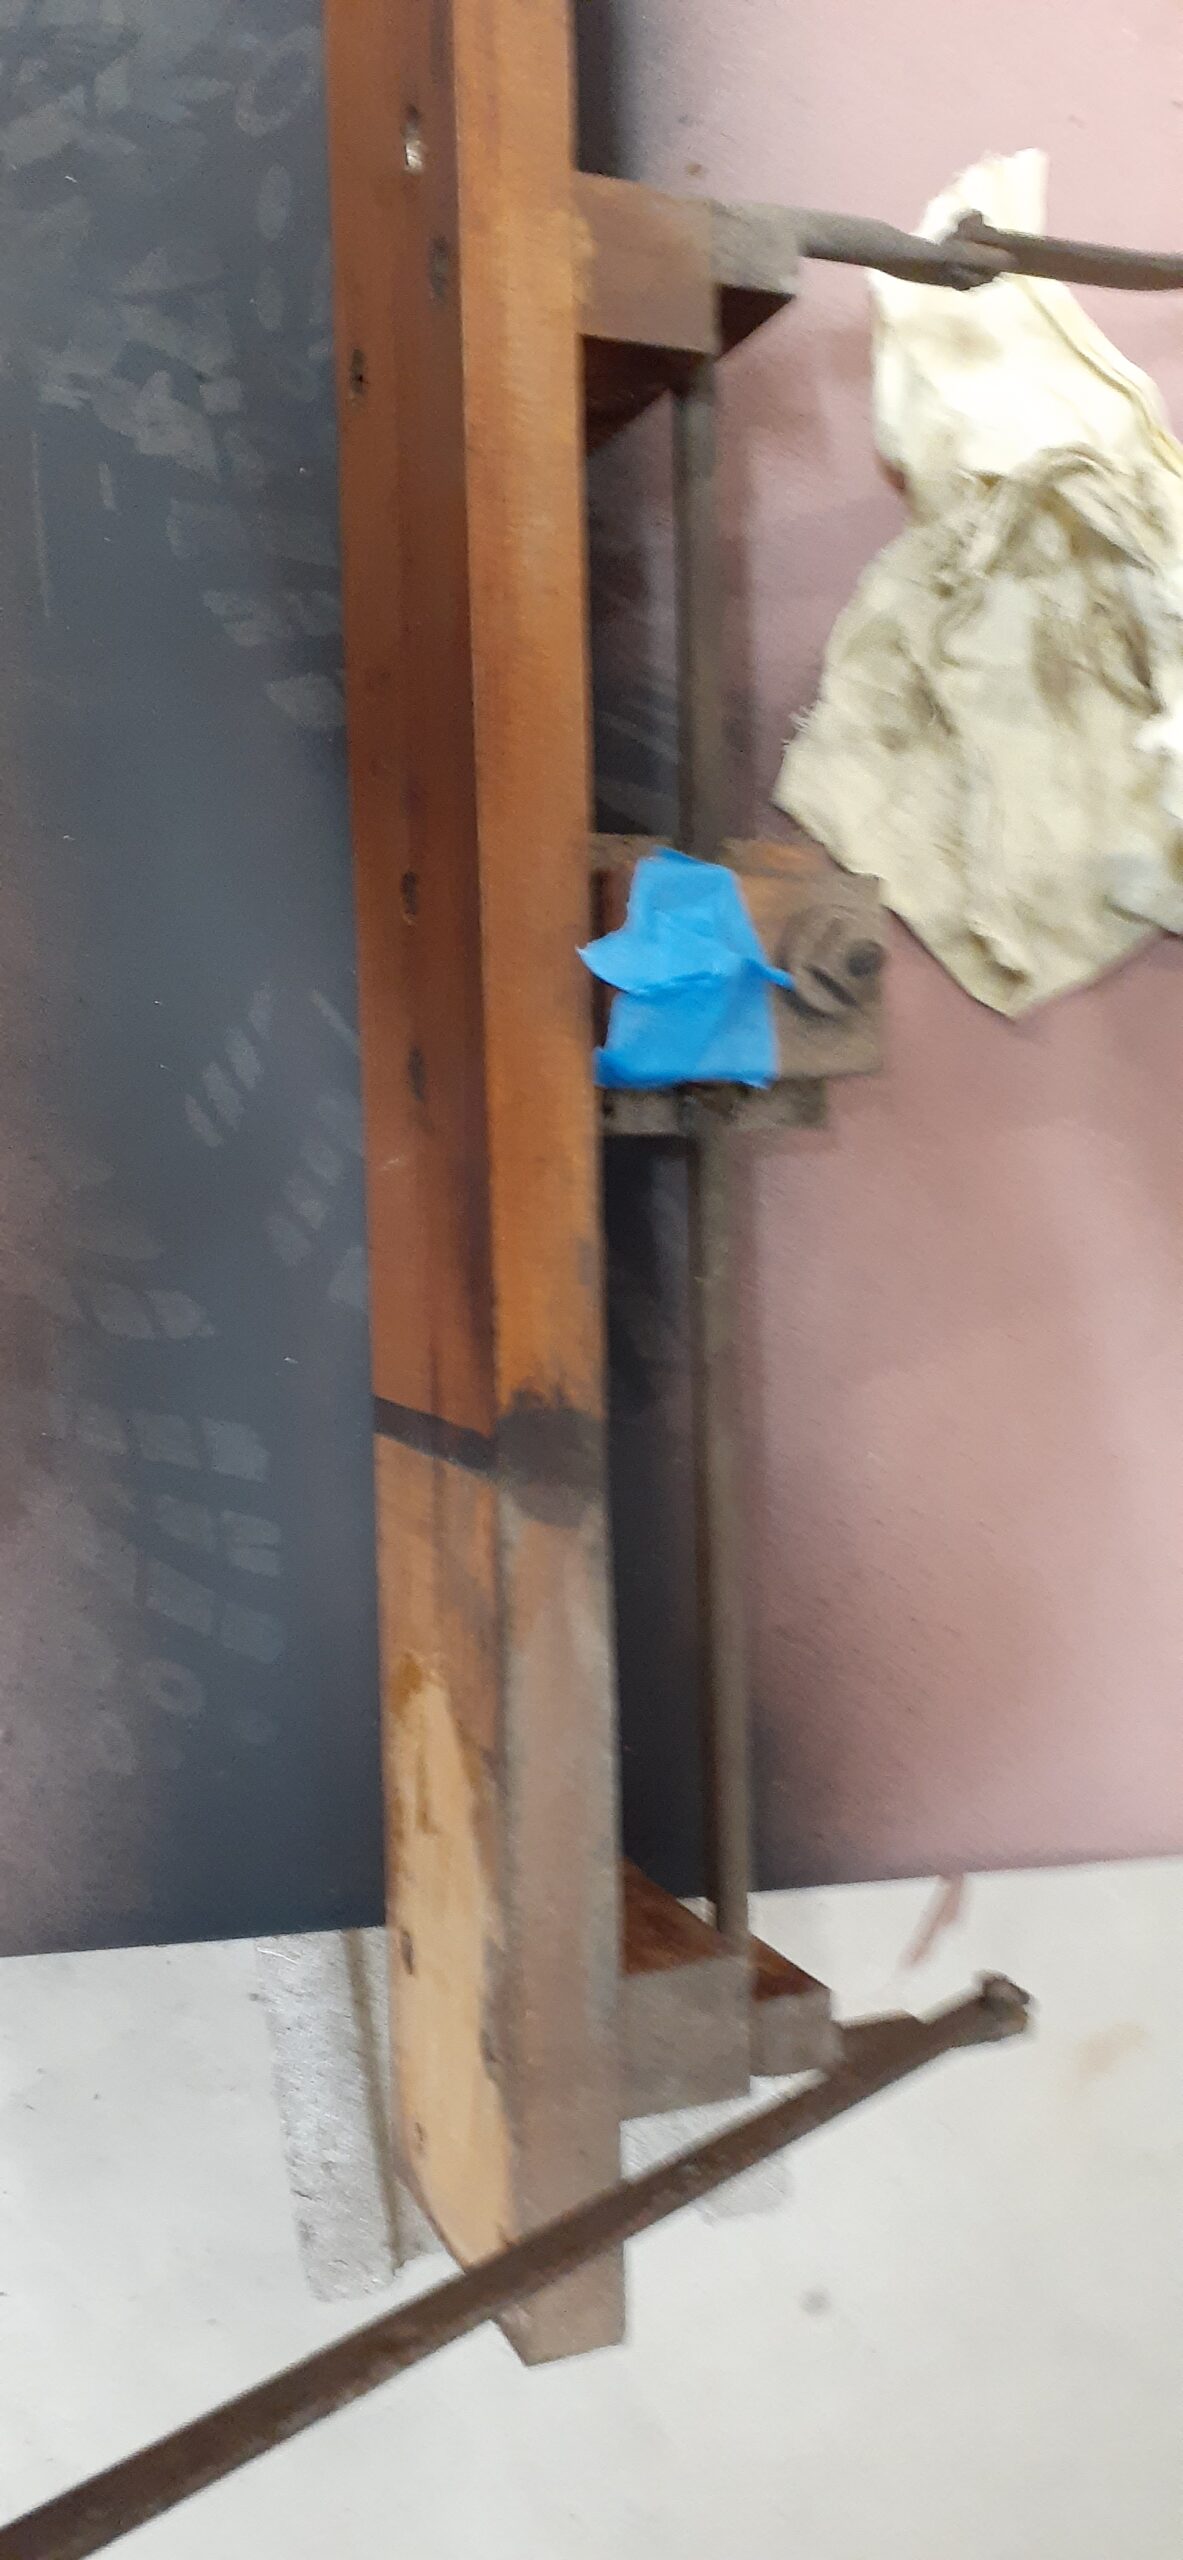
Refining how the 2-part mutes seat against each other
Trying to resolve ciphers by gluing small pieces of lambskin to the interface between the mute and reed cells where bits or wood have chipped out
Dirty piece of a swell
Cleaning, and applying a paste wax
Cleaning up some metal parts
Replacing felts on the clean swells
Clean and re-felted swell pieces
More upper-action work
Gluing/clamping an air duct that goes between the great and swell windchests, as it had many cracks where original glue joints were coming apart
Great division swell mechanism being reinstalled
Great division swells partially open
Buttressing a fabric hinge for the front great swell machanism
The front swell in place
The grand organ mechanism
Octave couplers
Replacing some chewed-away felt
Lower action with the octave coupler reinstalled
Setting octave coupler idle height
Keyboard with newly waxed piece
Keyboard reinstalled
A piece of the stop action
Replacing felts and cleaning
The piece of the stop action is replaced on the newly-glued air duct that it mounts to
Another piece of the stop action, with some mold growth
After cleaning, replacing felts, and applying a paste wax
Swell reedpan
Swell division reedpan after some initial cleaning
Some felts replaced and the aforementioned stop action component installed
More cleaning, replacing moldy felts and waxing
Buttressing a fabric hinge for the swell division swell
The clean, buttressed swell piece installed
Swell reedpan and windchest reinstalled
Swell windchest top installed
Finalizing octave coupler height adjustments and key buttons
Blower
The blower was having trouble starting, and I had put more oil into the oil wells than it seemed possible for it to require. As it turns out, the body of the motor was filling with oil, which sloshed around each time it was starting. The bushings of the motor had grit inside them that allowed oil to seep through directly into the body of the motor. Additionally, it did not help that the contacts on the centrifugal starting switch were extremely dirty and probably quite resistive.
The blower impeller, removed to take off the motor
The Westinghouse CAH 1/6 HP electric motor
Motor coils and starting switch, after cleaning contacts
Motor with the bushing rings removed (top), case apart, and rotor removed.
Pouring the excess oil out of the body of the motor
Clean bushing rings reinserted
Cleaning the shaft, rotor, and centrifugal starting mechanism
Finishing the case
Applying paste wax to the key blocks and buffing
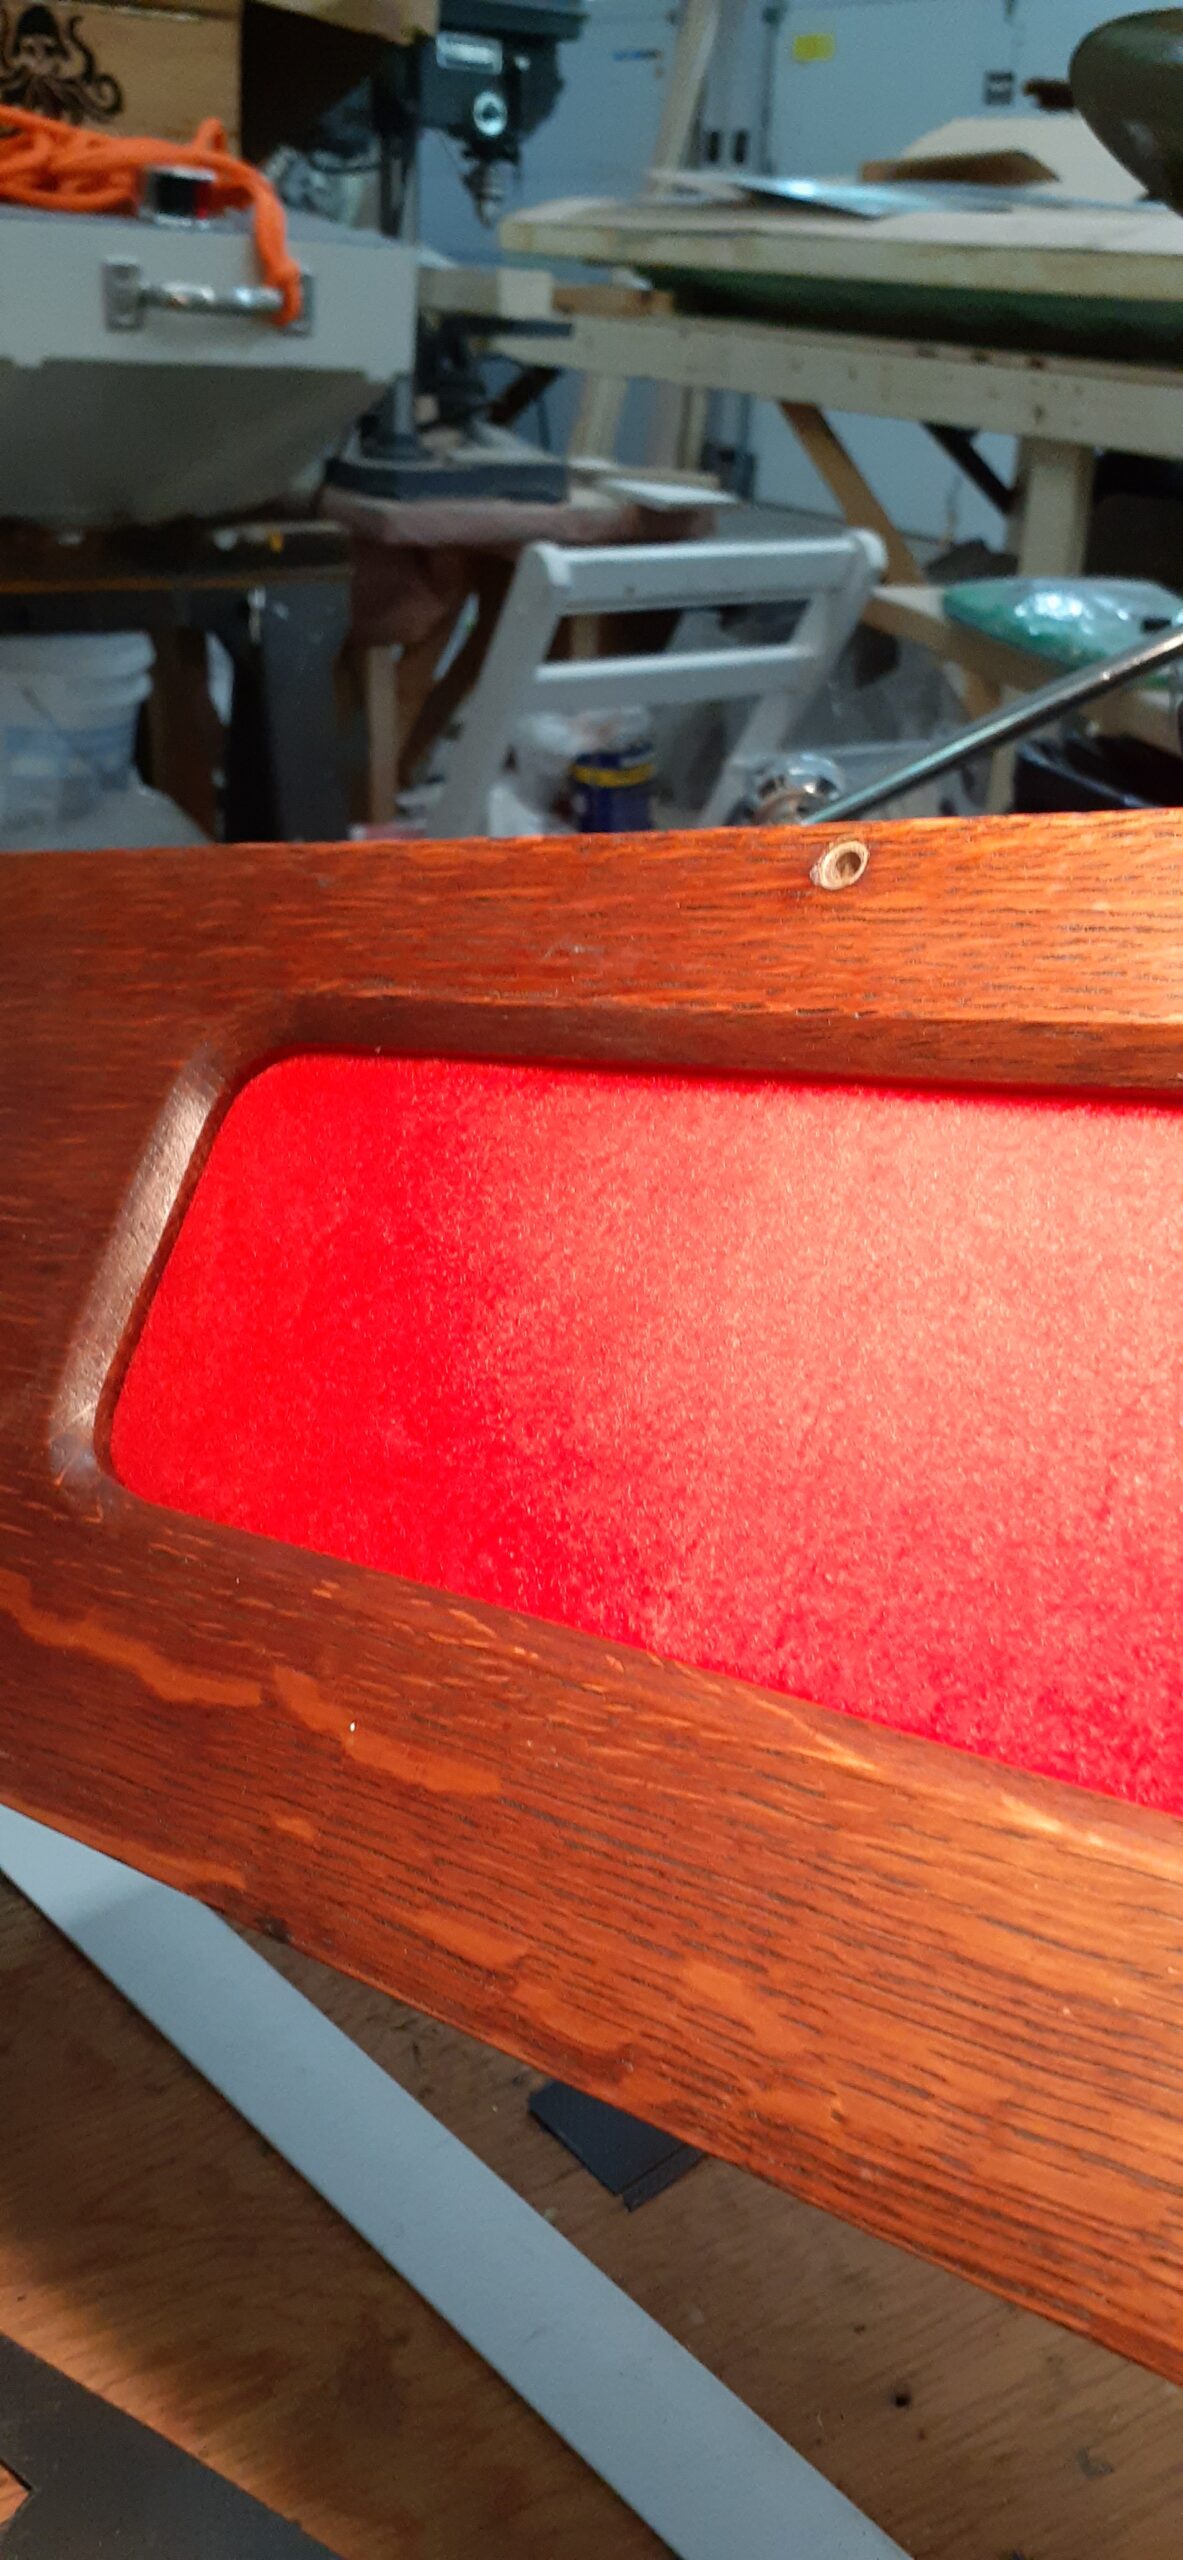
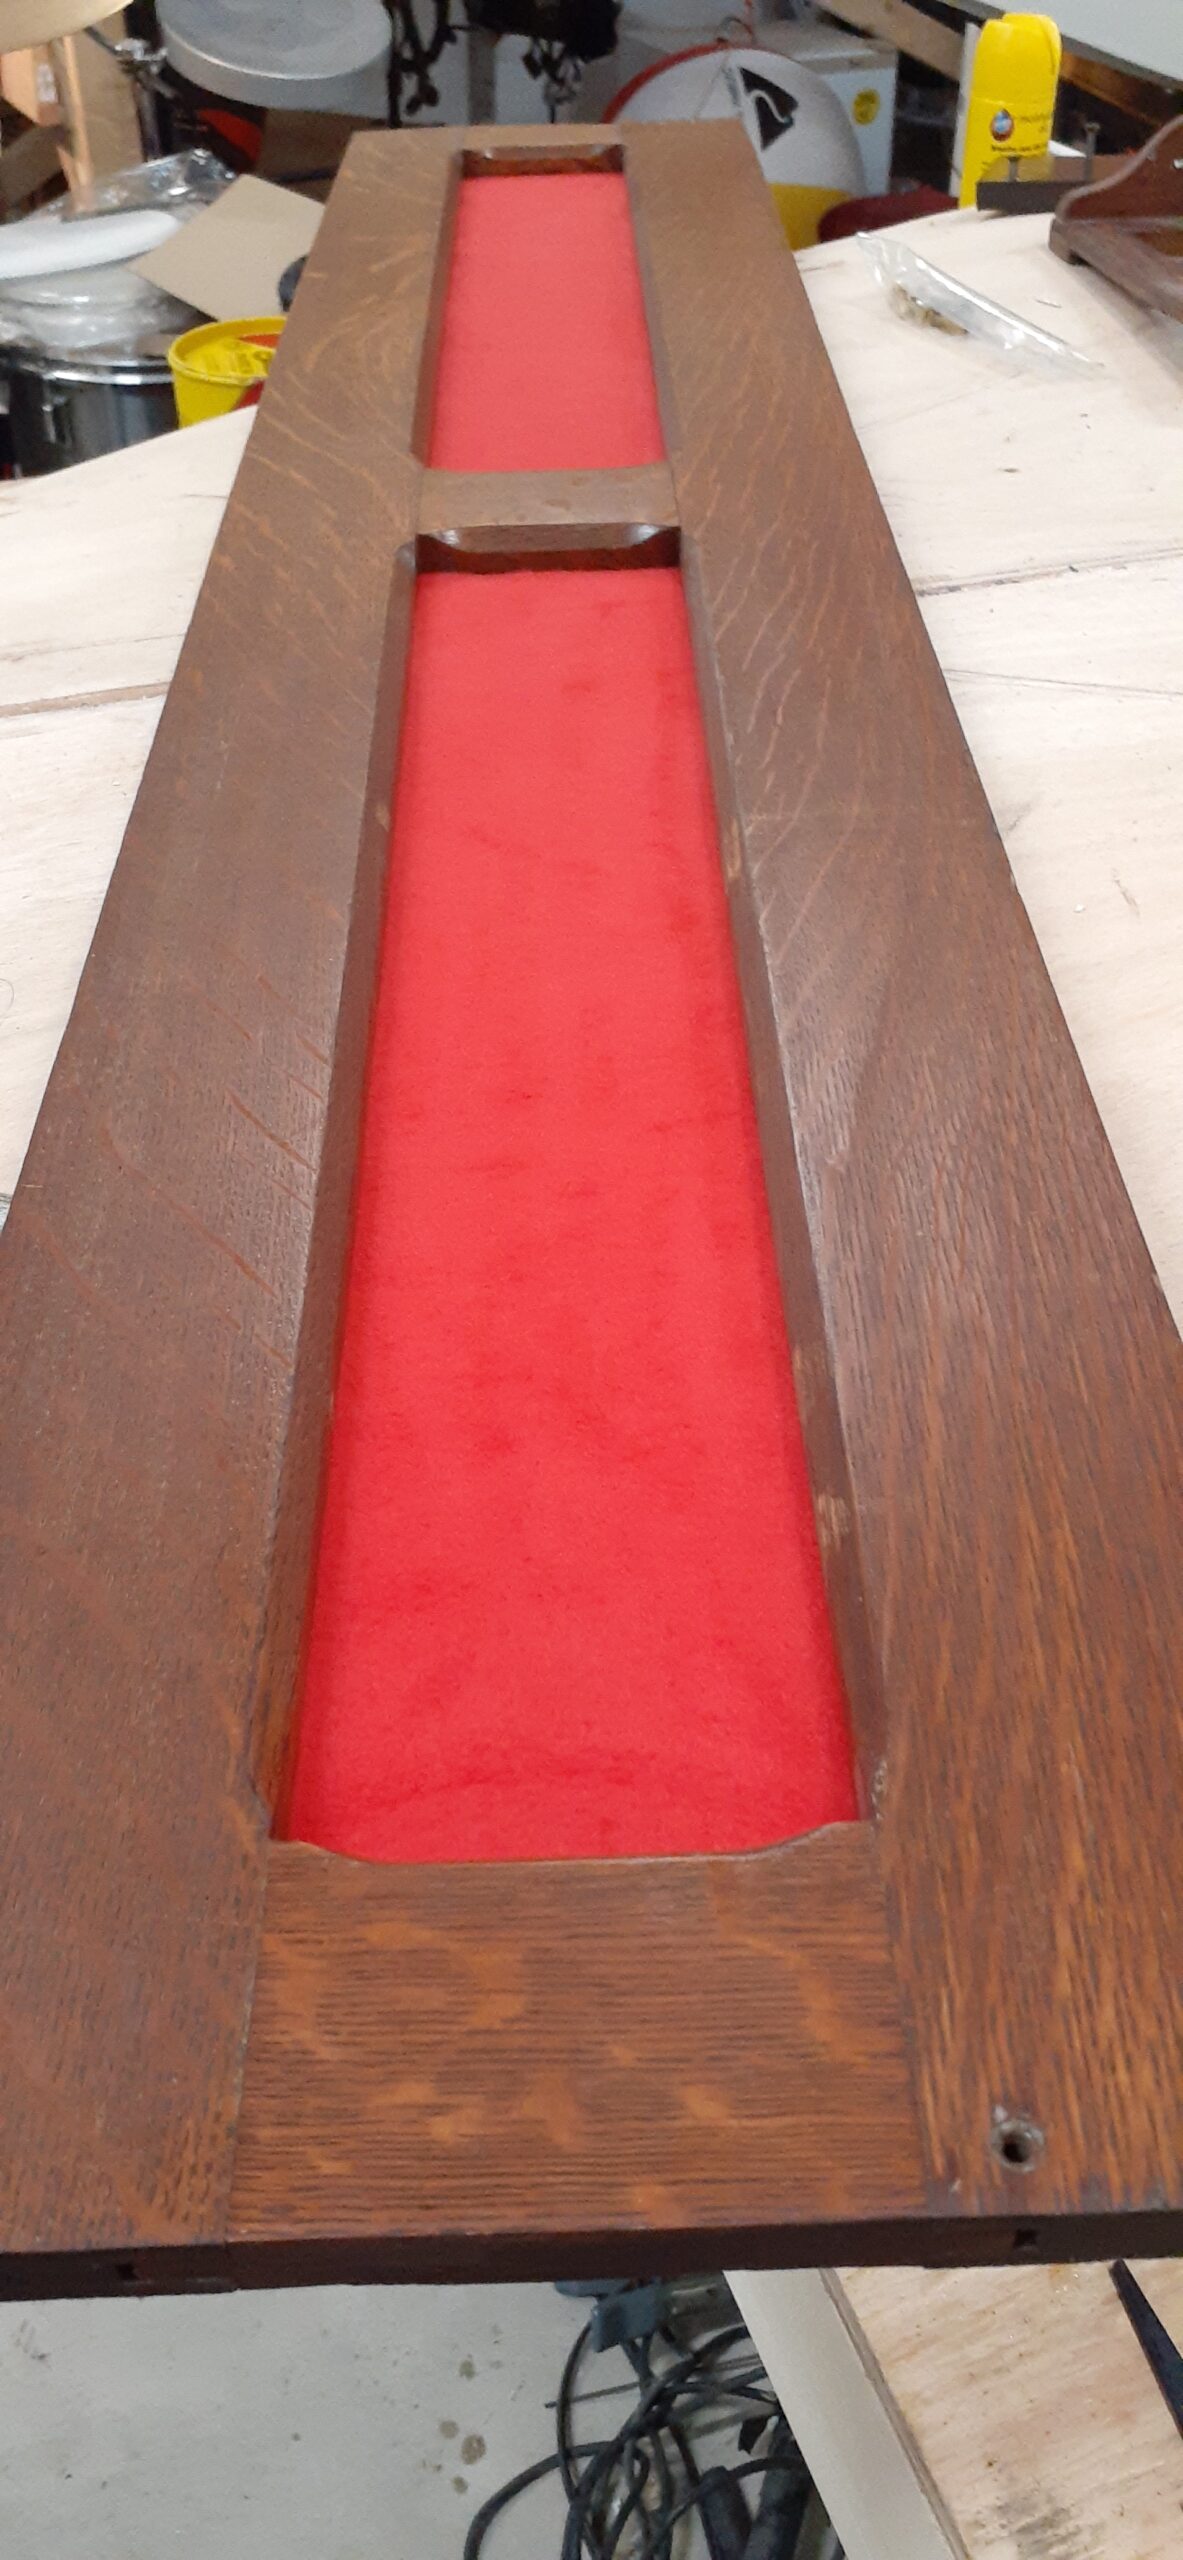
Putting new cloth into the case panels, as the old cloth seemed to be growing mold and generally gross


")


")


")


")


, case apart, and rotor removed.")


Leave a Reply